Just the facts.

Just the facts.
Tonight I was watching The Wire and doodling the occasional character, and thought I’d explain why I mostly sketch with an unusual tool.
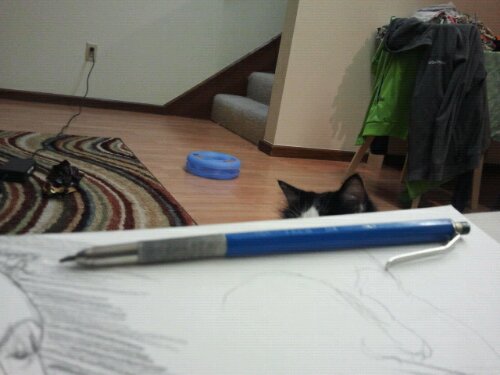
Mechanical drafting pencils are awesome. They give you the softness and flexible line weight of a wood pencil. But unlike wood pencils, sharpening them has way less mess, and way less “dangit!” moments of breaking the lead right when you have the sharpness perfect. And who needs sharpening? These babies give you the instant lead benefits of a mechanical pencil. You can also use a favorite technique of mine for mechanical pencils: extend the lead overlong, shade at an angle, and the long lead will force you to draw light or break the tip. (This, IMHO, is an awesome way to learn how to draw on a bumpy bus ride.)
Nowadays I don’t often sharpen thanks to an economy of strokes. Here’s a McNolte caricature, and at this point my lead’s gone blunt.
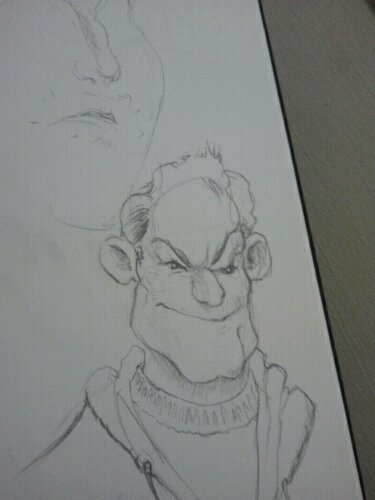
At this point, I don’t grab my sharpener; rather, I start blocking in with an angled pencil.
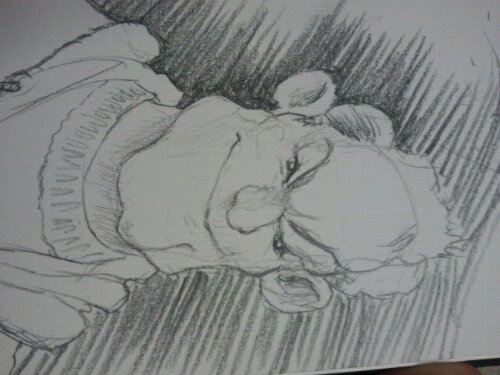
(This is a blatant homage to J.C. Leyendecker. My theory is he blocked in to resharpen his tools as well.)
Once I’ve done a first pass I go in closer, refining my edges to be crisp. And what do I have at this point?
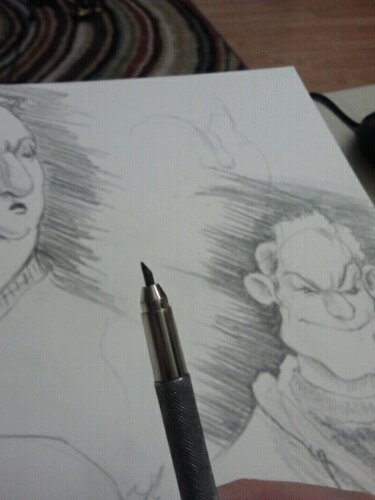
An incredibly sharp pencil tip, perfect for refining the silhouette and adding the final details.
There’s two downsides to mechanical drafting pencils. First, they’re expensive ($8) so don’t lose them. I bent this one’s arm out so its awkward shape would keep it conspicuous. Second, their lead choice is limited at most art stores, no darker than 2B. But I was able to find 4B lead on the internet, and that pack has lasted for ages.
Anyhoo, I’m writing and posting this from the WordPress android app, so forgive any horrible quirks.
Here’s the presentation materials for my talk at OSCON tomorrow. Er, today? Contents include Slides, Textures, and a file.
If you don’t care about the slides, here’s a much lighter version.
Enjoy!
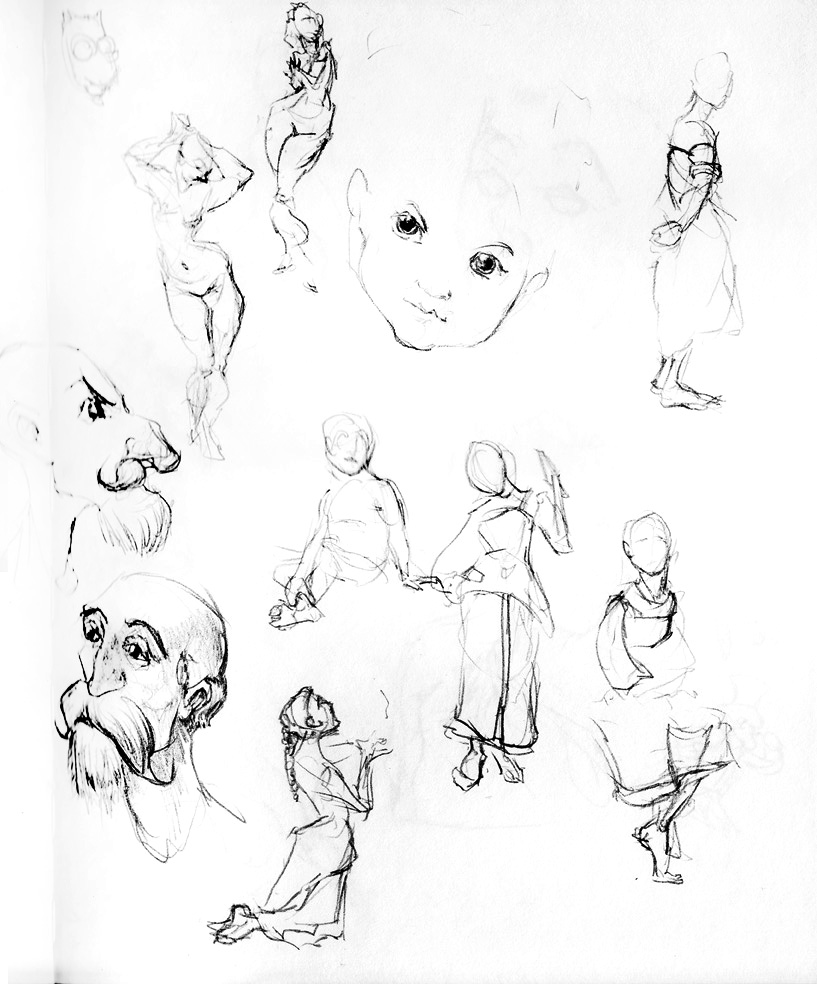
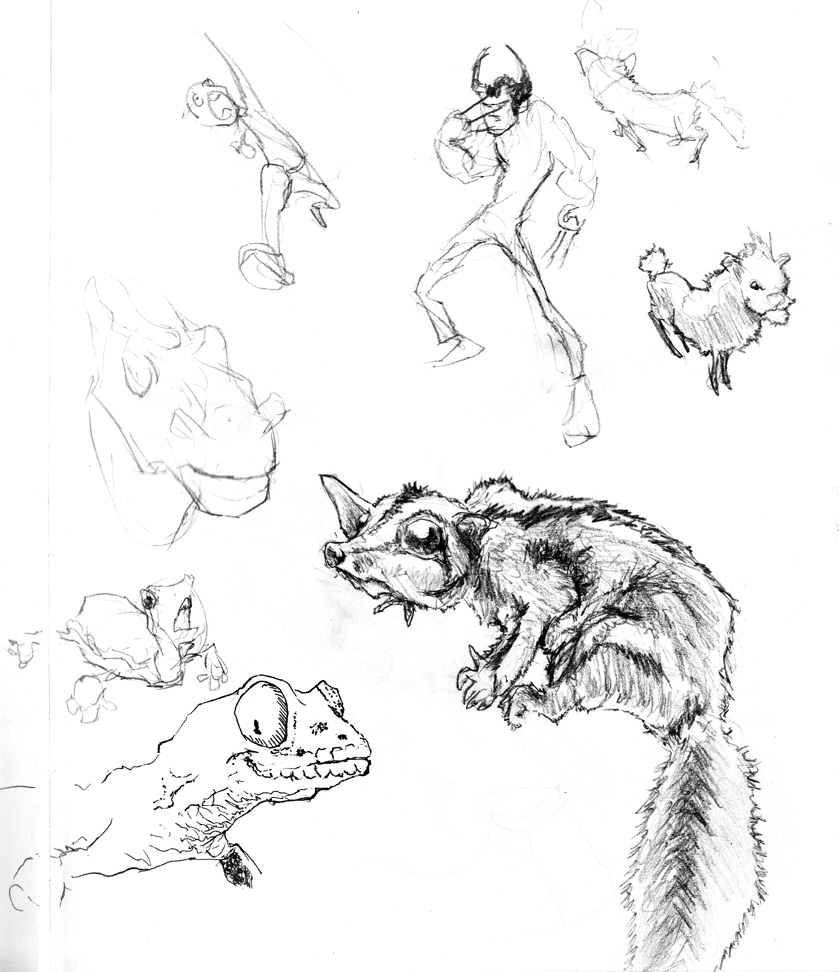
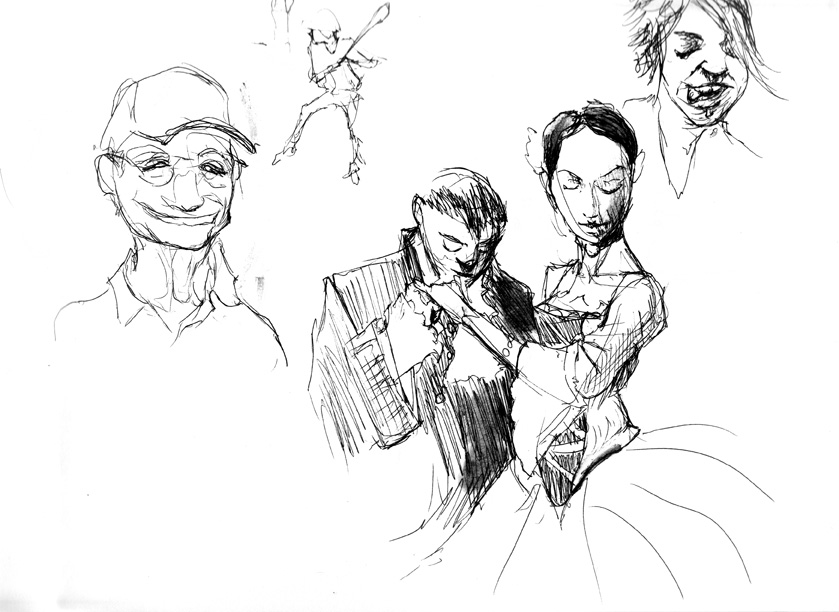
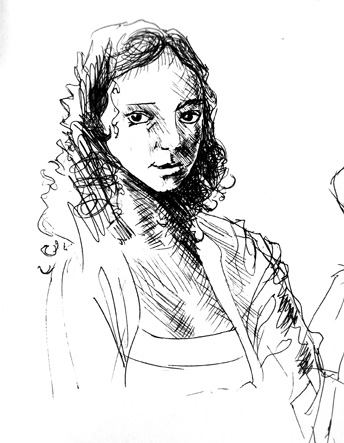
Some belated pics from a while back. My scans are getting some unpleasant artifacts from the page below; The most immediate solution is scanning with white paper behind the page, but the likelier solution is that I need to go back to sketchbooks with thicker paper stock.
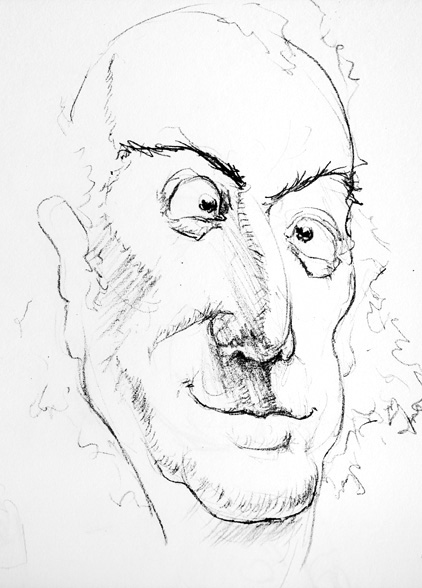
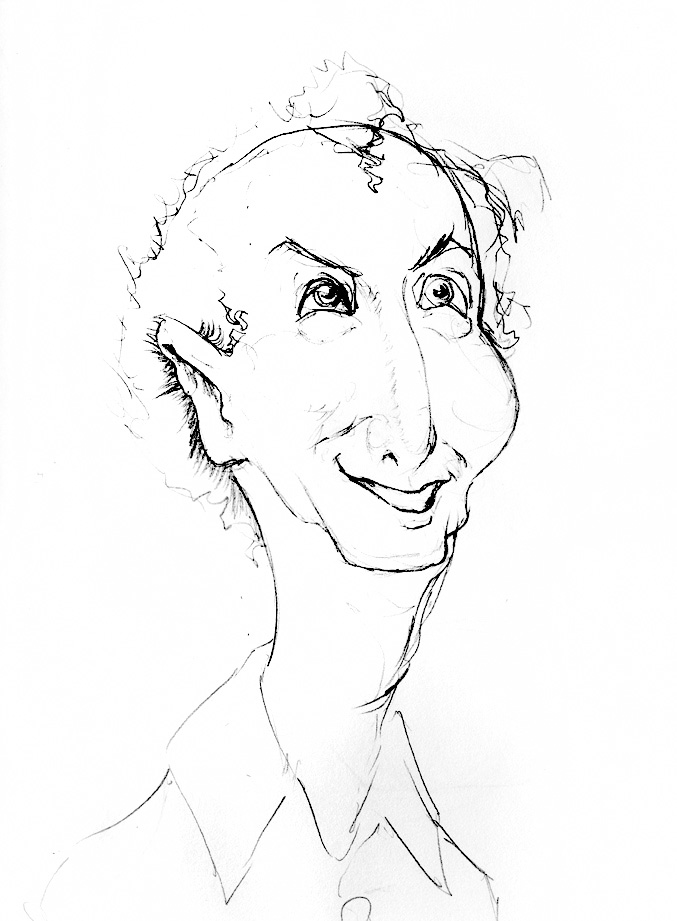
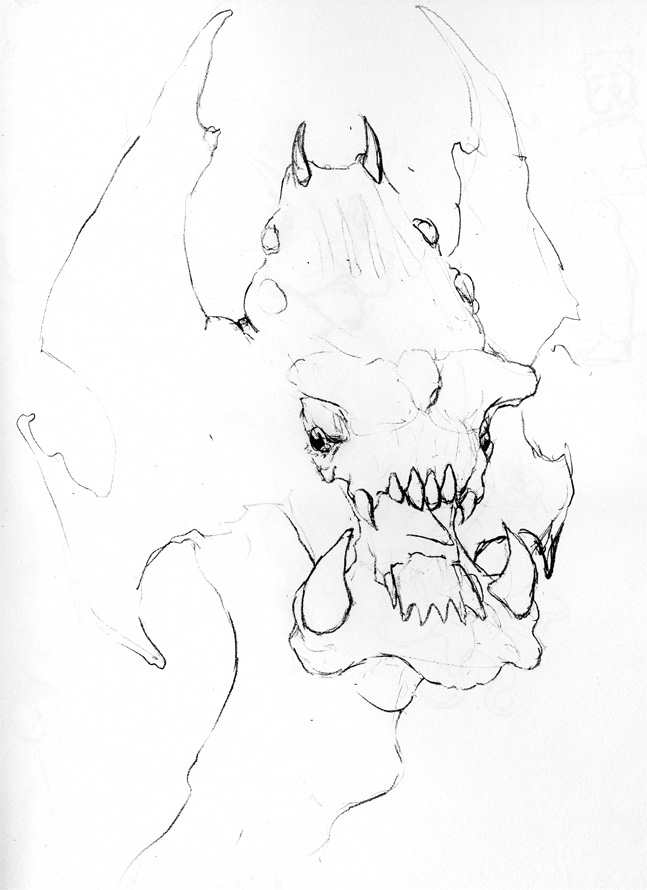
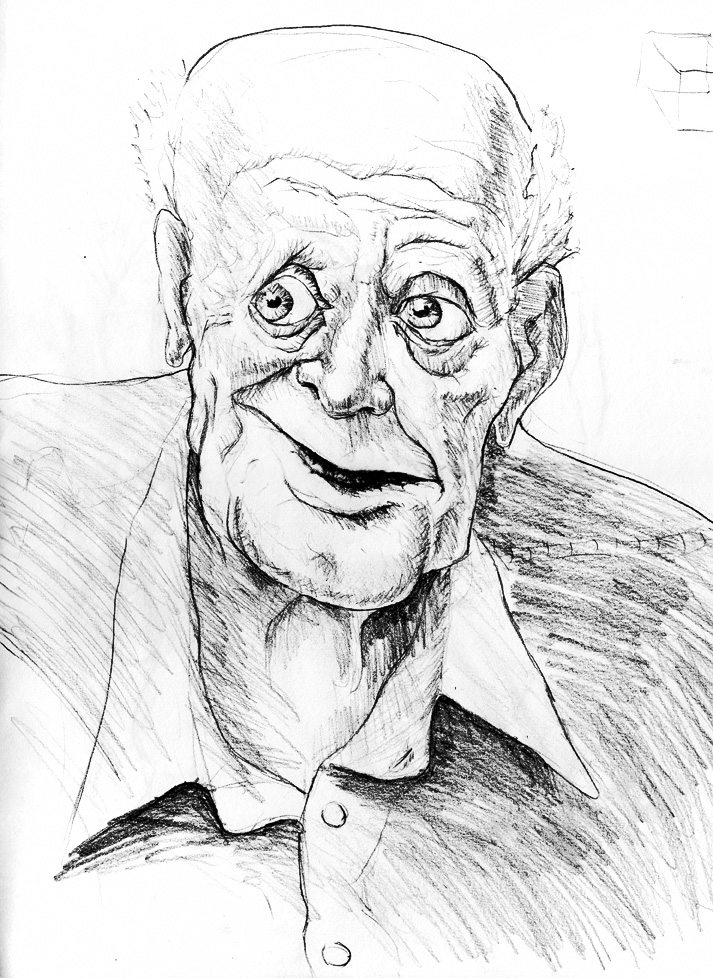
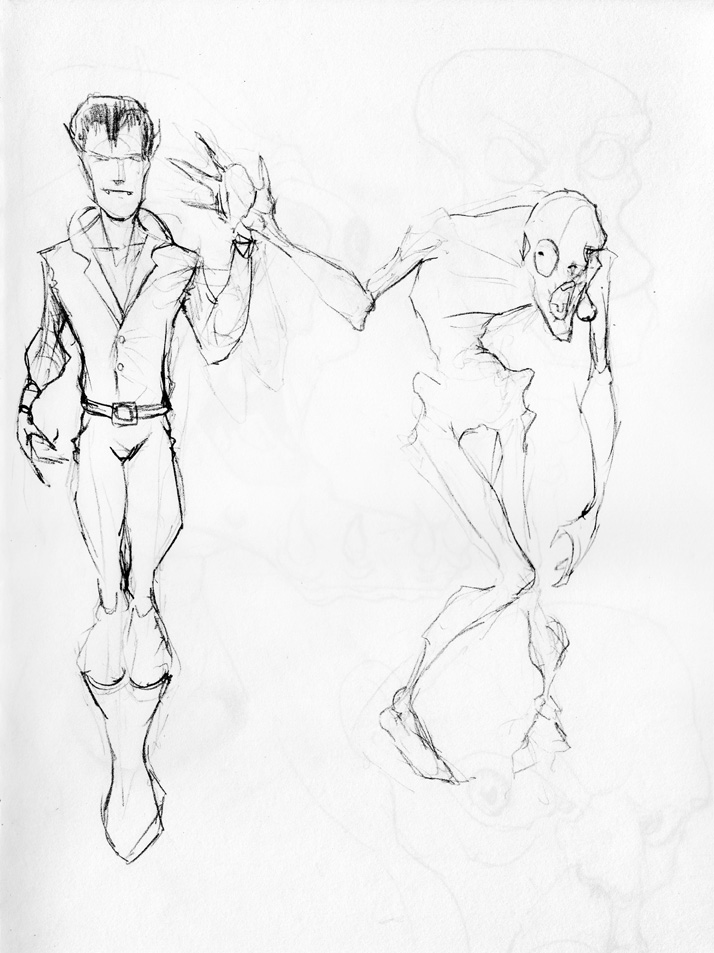
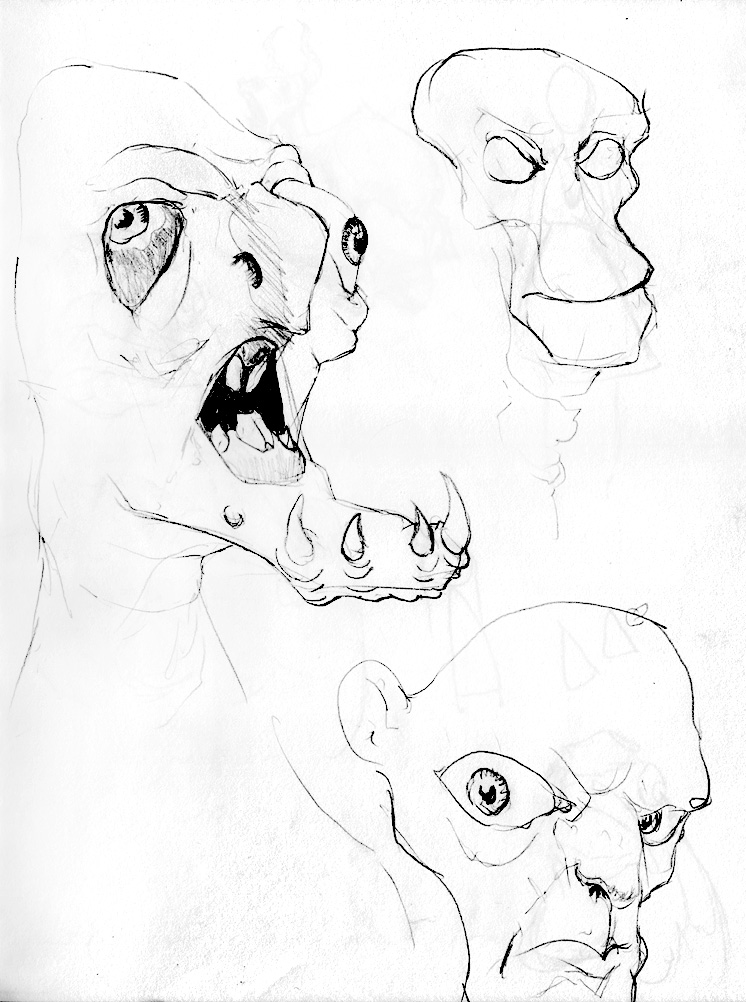
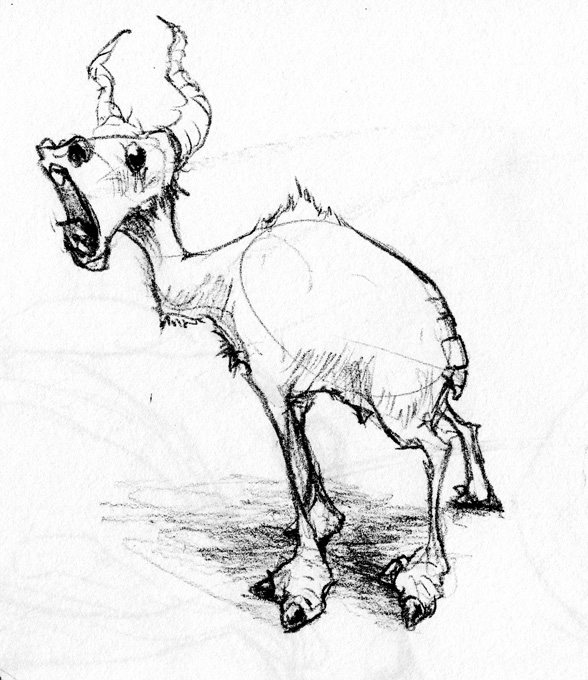
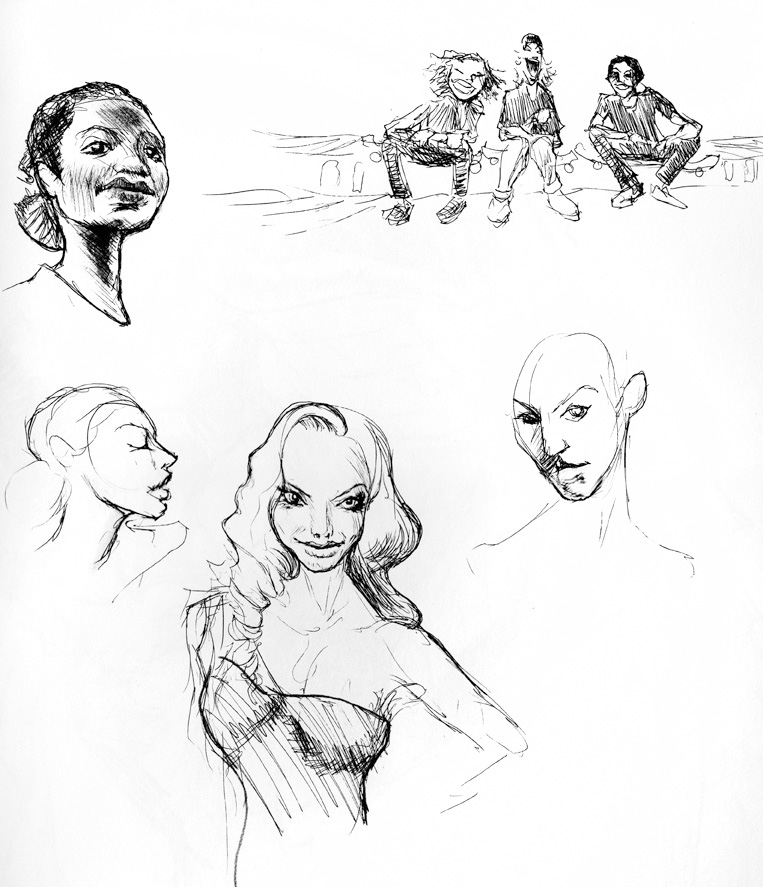
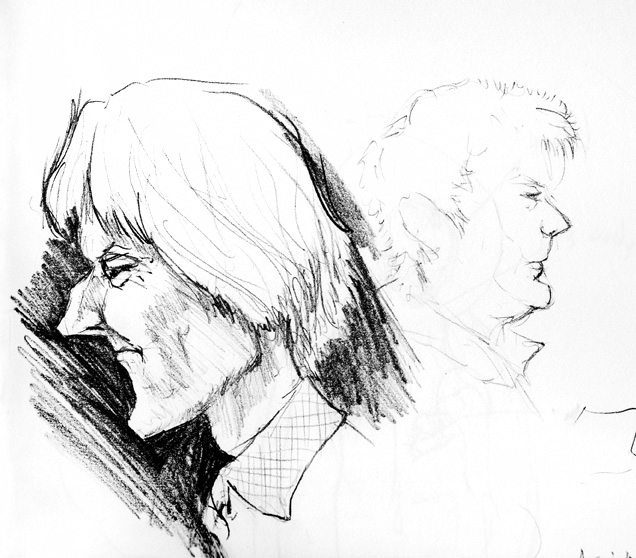
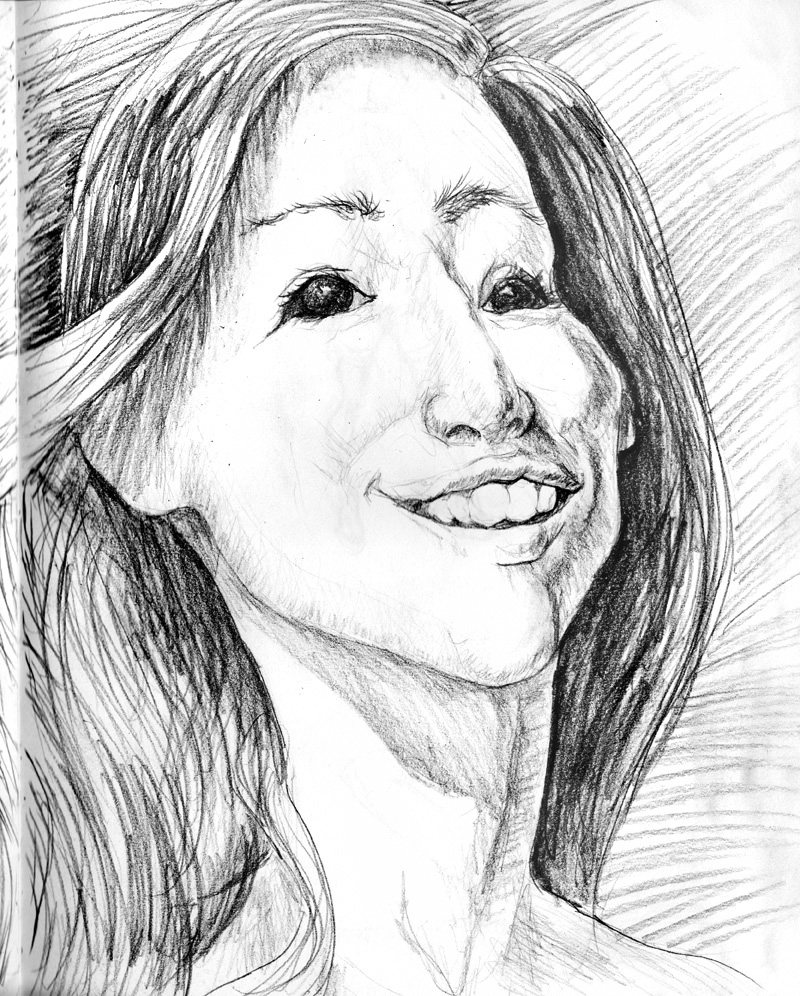
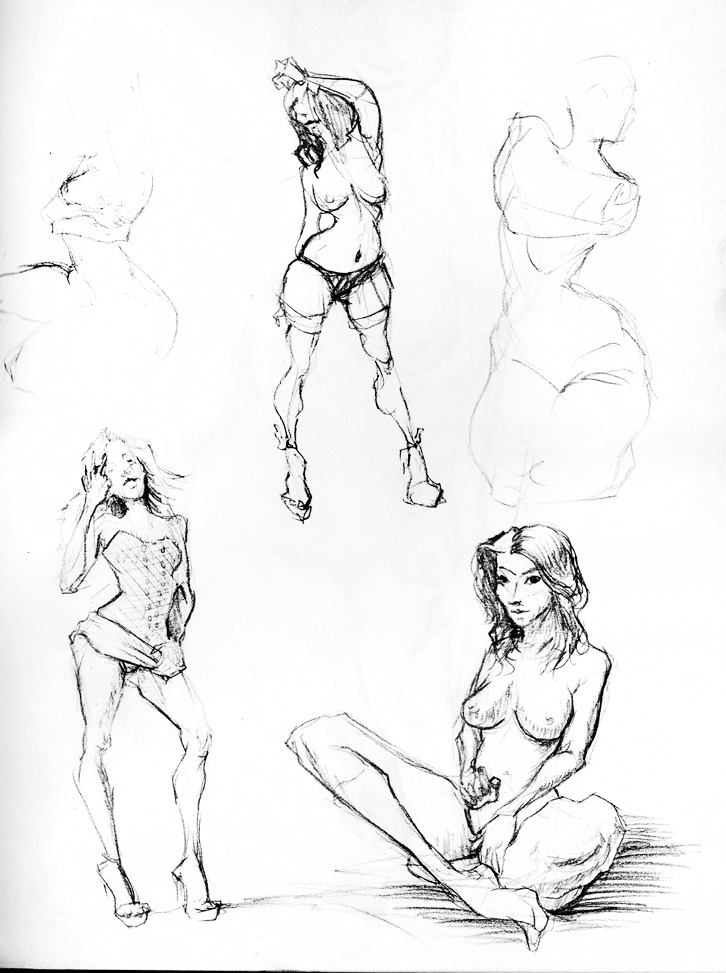
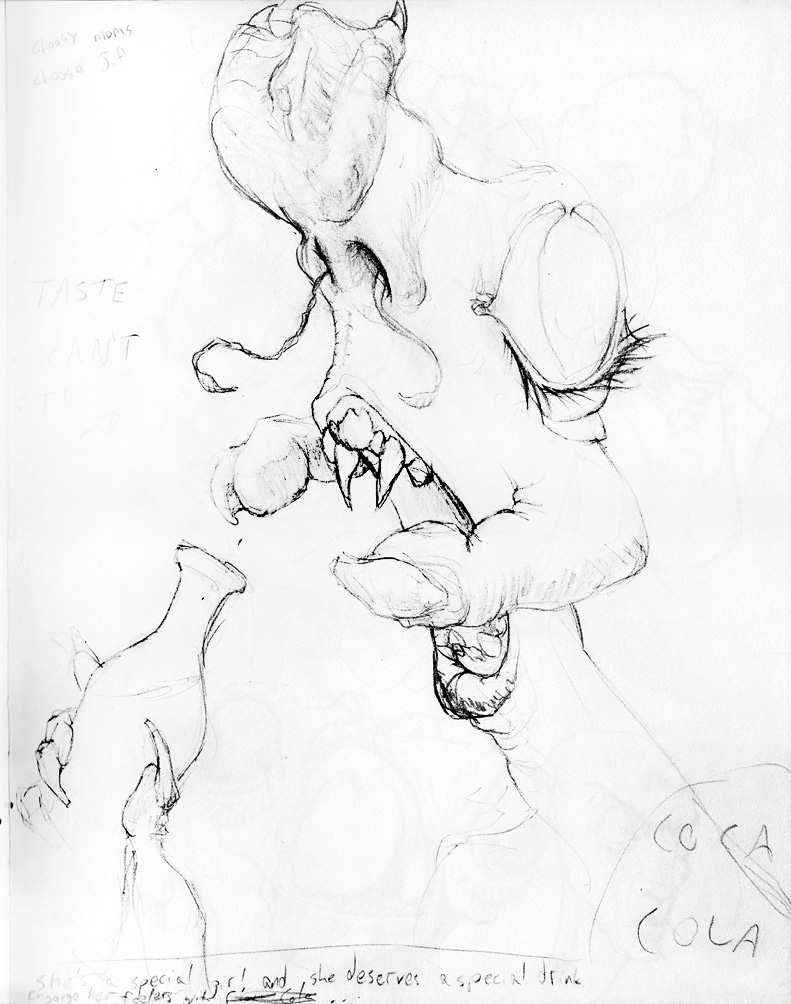
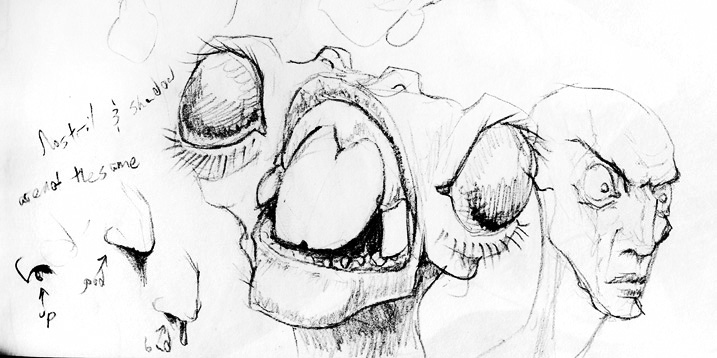
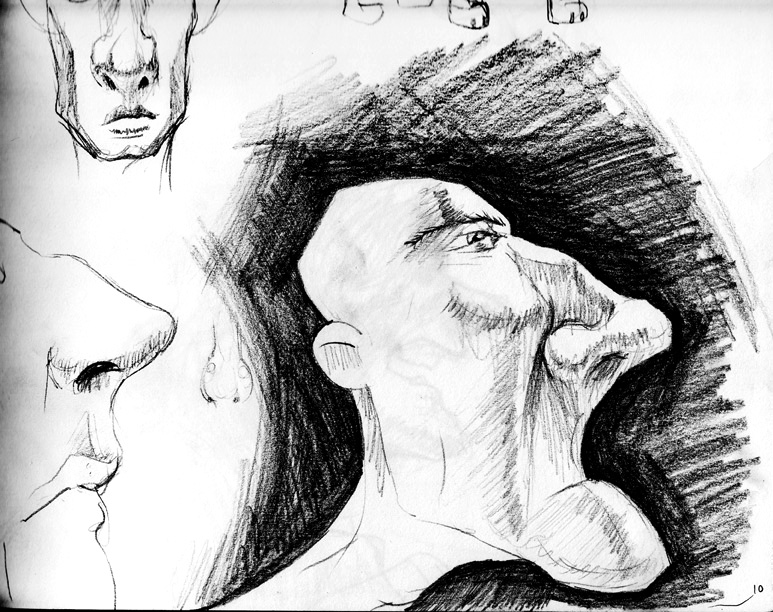
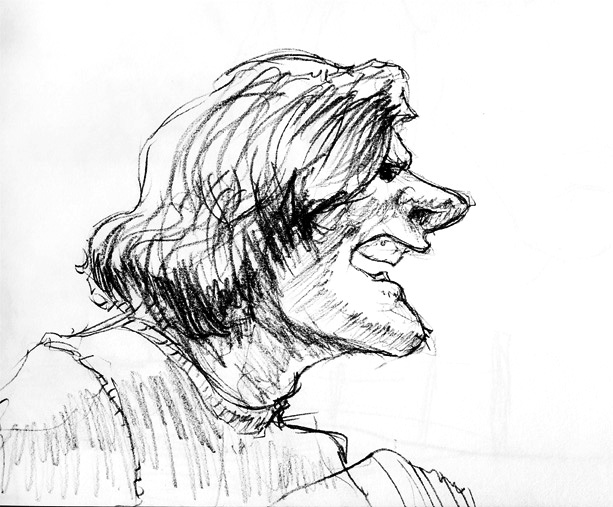
In my spare time I’ve been messing around with oil painting recently, and one time-honored technique is that of the cartoon. Although its modern meaning points to animation, the term originates from the technique of inking a drawing as an initial paint layer. Since you paint oils in transparent layers that become increasingly opaque, this lets you put down initial layers, and once it’s dry you can still grasp the concept of the inked drawing through the earlier transparent layer, until finally it disappears.
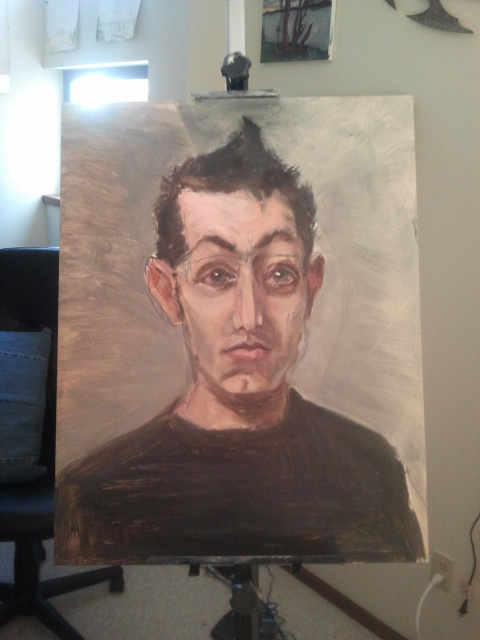
Here’s a self portrait I recently started. Among things I ought to have done with this initial layer include painting a monochrome grisaille rather than working in a variety of color (and arguably too much detail), but since I was painting on top of failed previous attempt I dove ahead, just to have fun and not waste a practice board.
Because I still use drawing techniques as a crutch, I wanted to try methods of cartoon with a pen instead of a brush. I’m curious to see if it has negative results in the longevity of the painting. And if it’s eventually covered with opaque paint, is it possible nobody will notice? Are certain pens less damaging? Are some usable on canvass, some on boards? MANY earlier things I’ve tried failed to take to the art board’s slick surface. Indeed, it’s possible this pen only did so because it was painted on the failed oils of an older project.
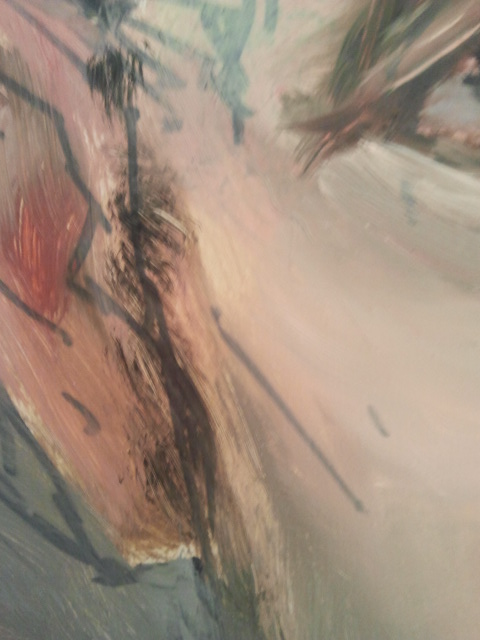
After a day of drying, since I was painting on a flat board (thus meaning brush strokes occasionally scraped through unpleasantly) I went in and blended certain edges, and buffed out some brush artifacts. I couldn’t do this the day before, but after a day of drying the paint was sticky and tacky, allowing for a finger to blend adequately. Had I done this the day before, a finger would have mopped paint away far too much, showing the failed painting beneath. But another side effect I noticed was worthy of note: As the paint dried, it became more transparent. Perhaps this means initial layers can be painted more opaquely without fear of losing your structural data. The day before this photo was taken, the cartoon was significantly less visible.
Final note: although I draw almost every day, I usually wait til half a sketchbook, then upload the good stuff. However, I often take crappy phone pictures and upload them to Facebook. Isn’t this the place for daily progress? Hence, I plan to upload many more daily crappy blog posts. (And I can still sort the future good stuff into the Sketches section of this wordpress, eh?)
Sketching. What lies beyond it? When does one jump into the world of color, of rendering, of painting?
I’ve painted digitally, with one big complaint: if you can’t put it on your wall, who cares? It is not yet tangible.
As a result, I’ve been diving into oil painting. With the aid of an amazing book (Traditional Oil Painting by Virgil Elliott) I feel like the amount of progress I’ve made has been wonderful. Stay tuned for my first oil painting worth looking at by the public!
In the meantime, I’ve been keeping a journal of oil painting notes as I go. Here’s the main entries so far:
5/13
6/10
6/13
First off : Seabug is Saturday! So come hang out and talk Blender with Blender people.
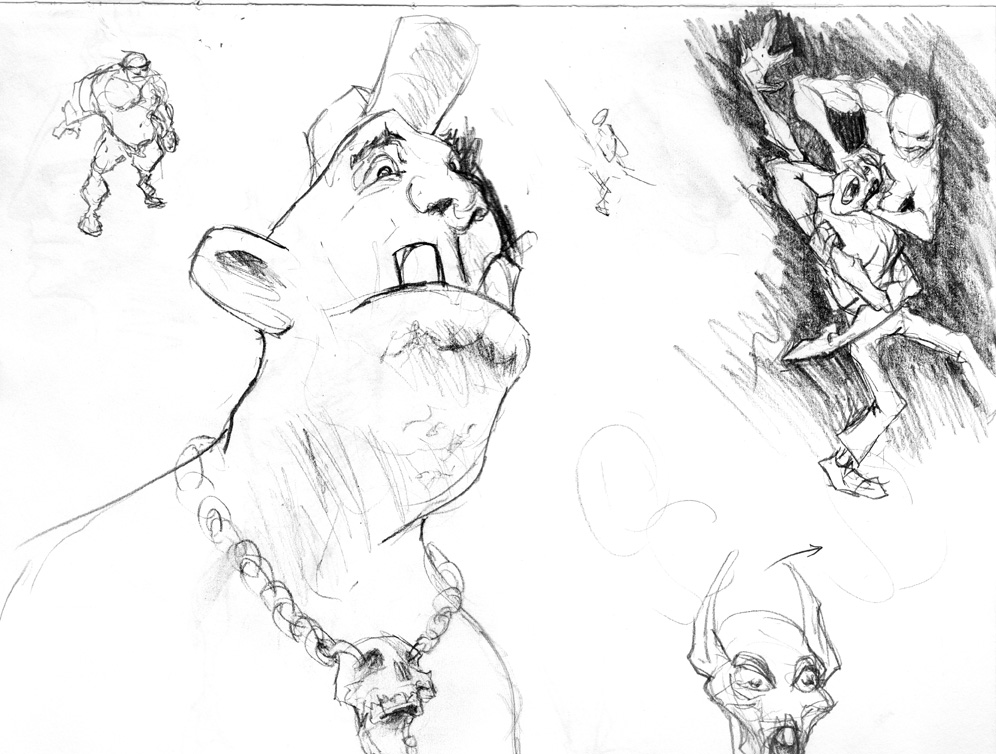
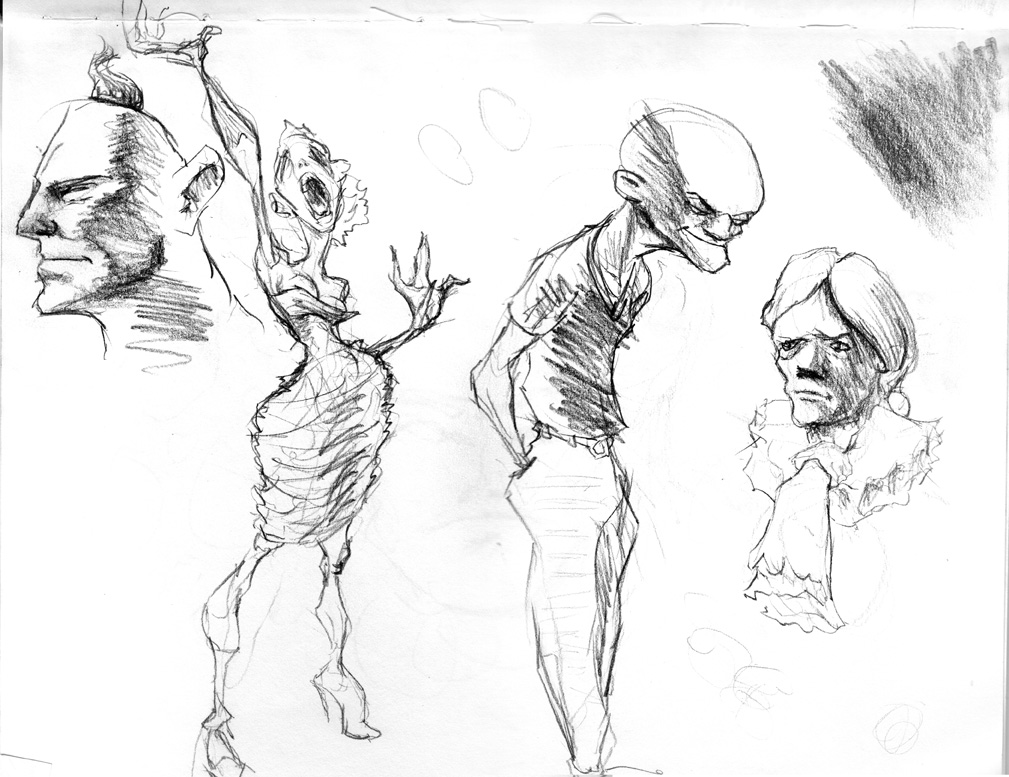
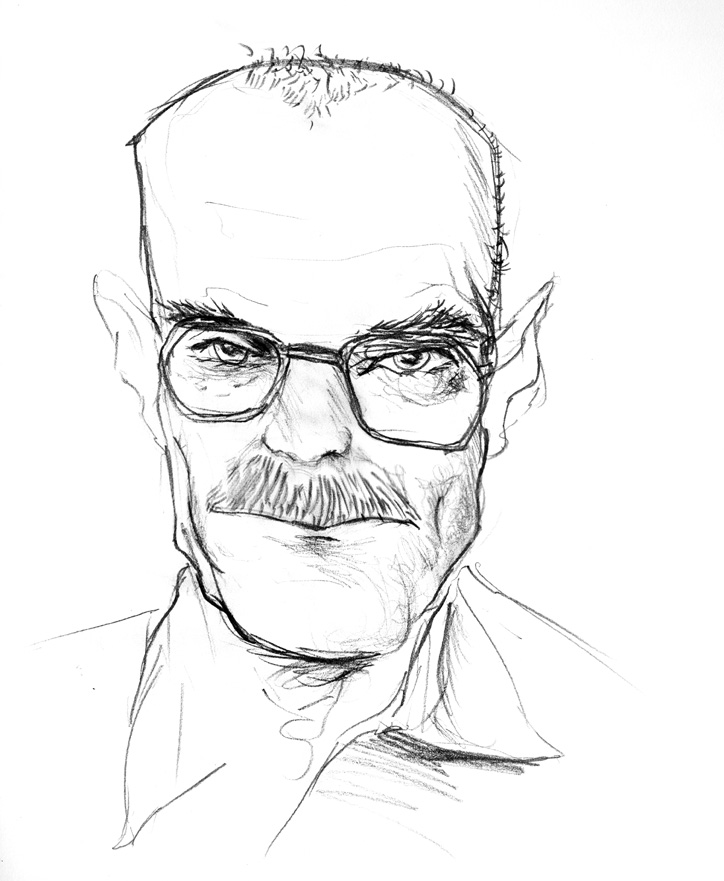
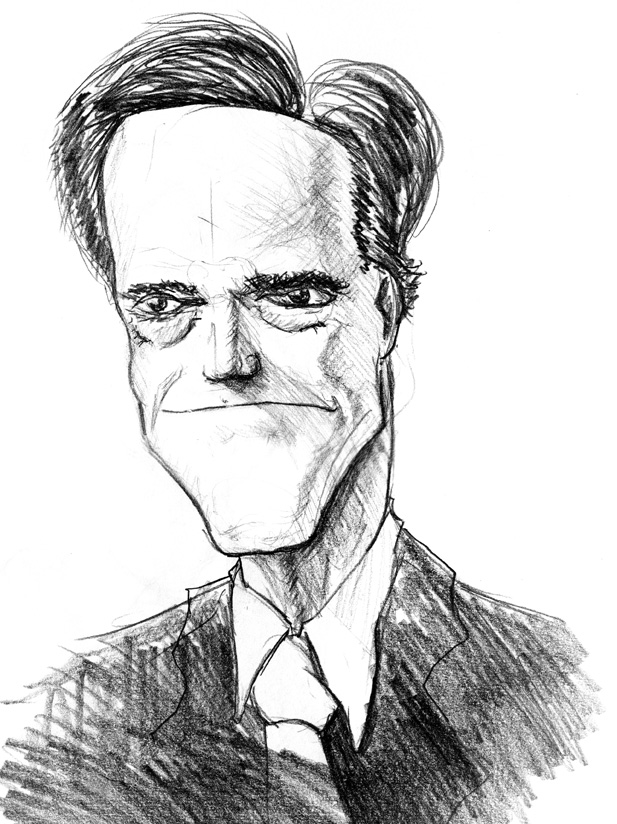
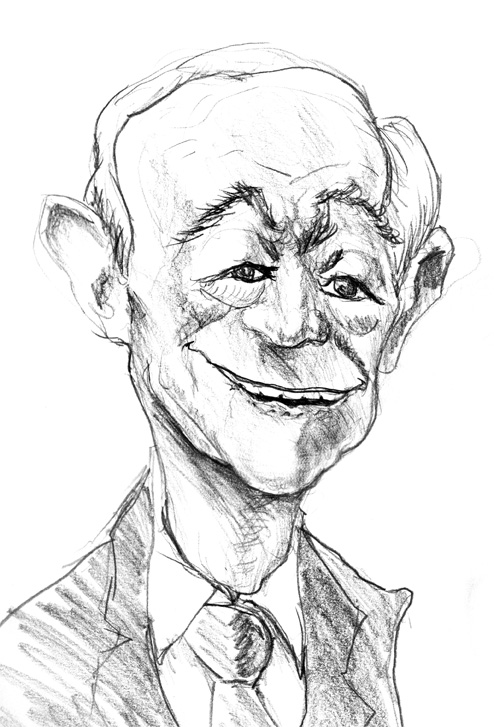
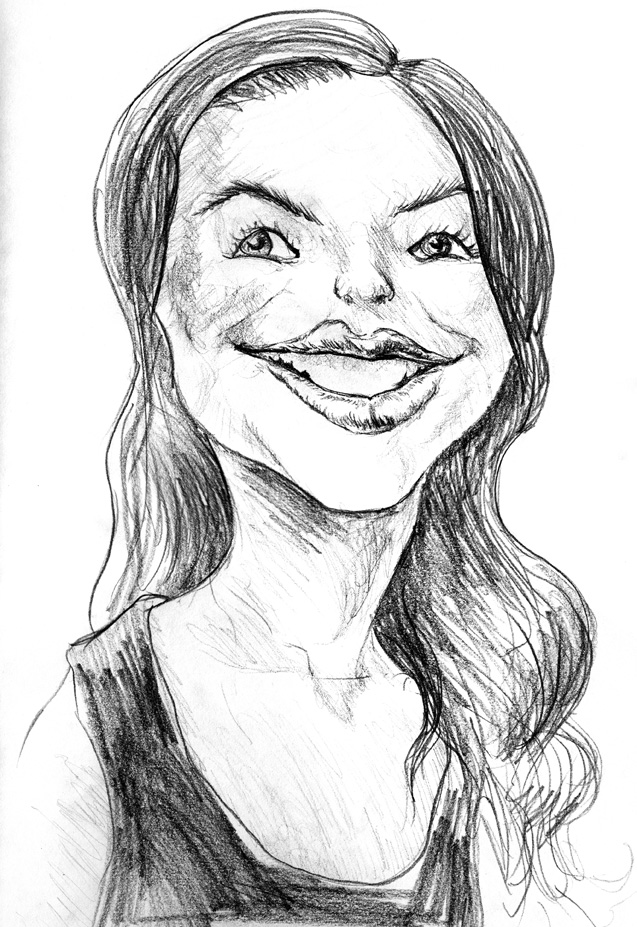
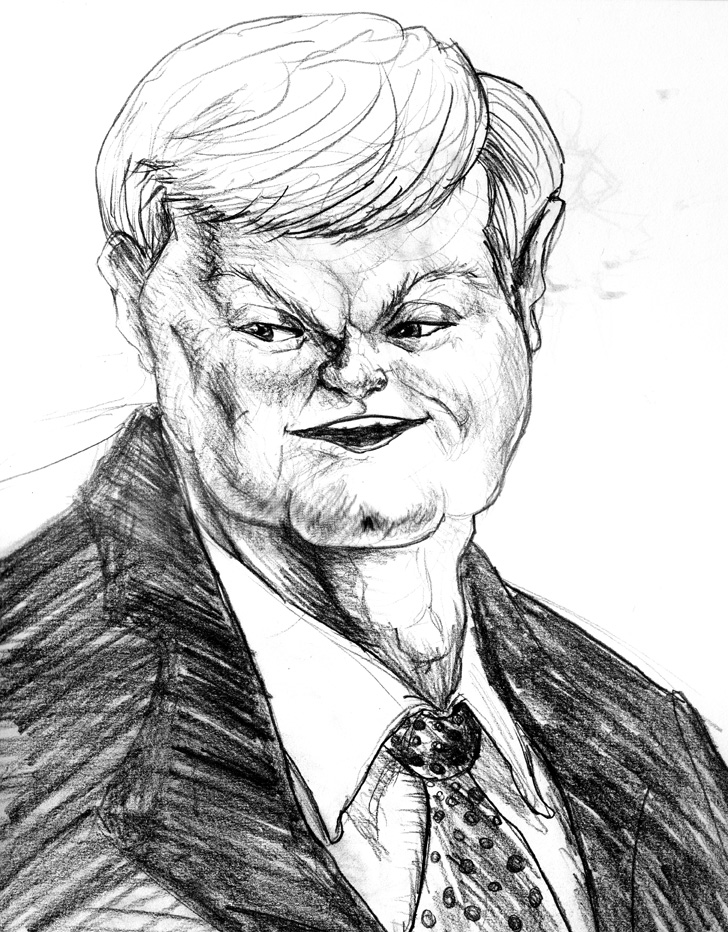
Been caricaturing more. It’s hard to nail down a formula. There’s a clear difference between drawing a funny anonymous face, and drawing a funny face that looks more like Tony Danza than a Tony Danza photograph. Been trying to formalize a process, and at the very least here’s the ideas I’ve got so far.
Anyway, blah blah blah, talky art crap.
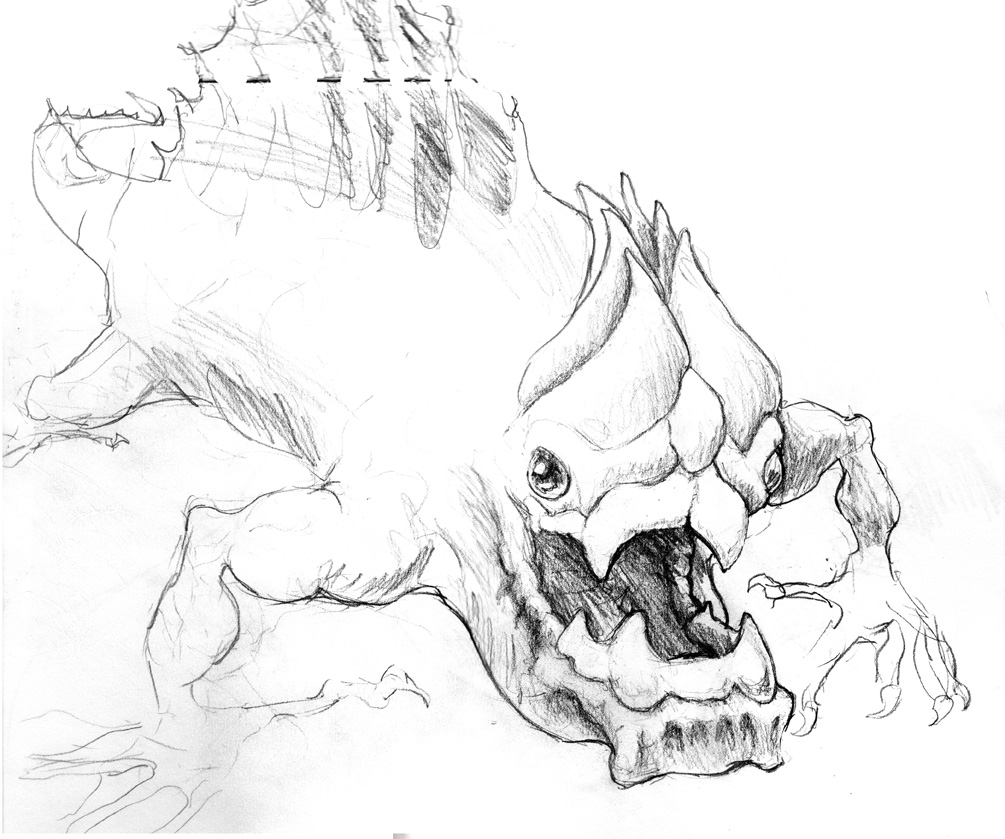
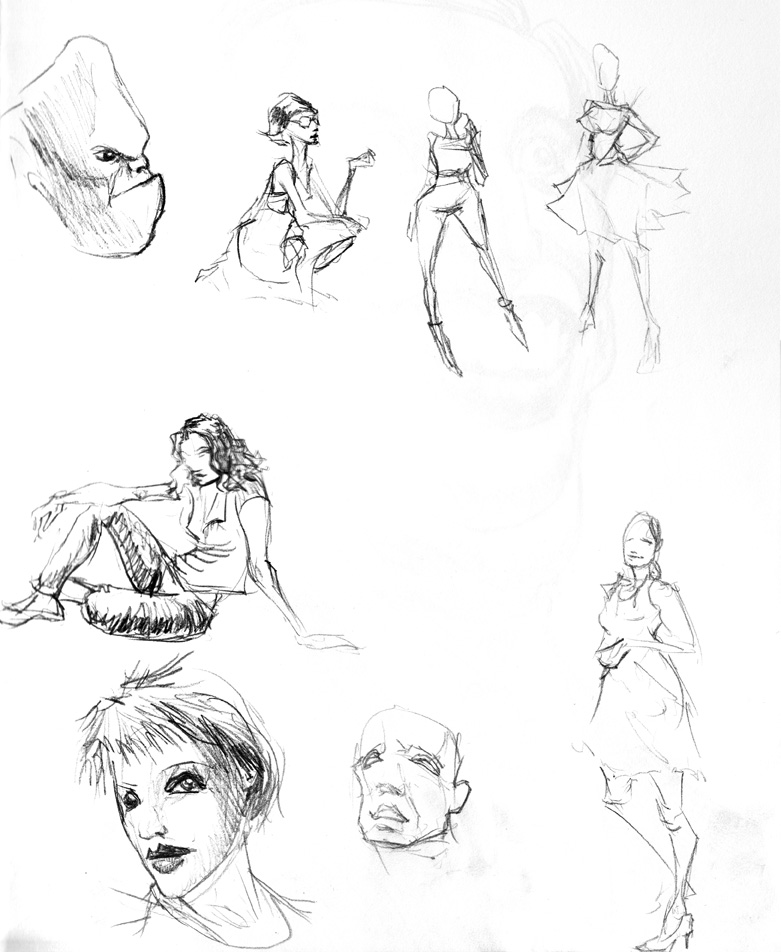
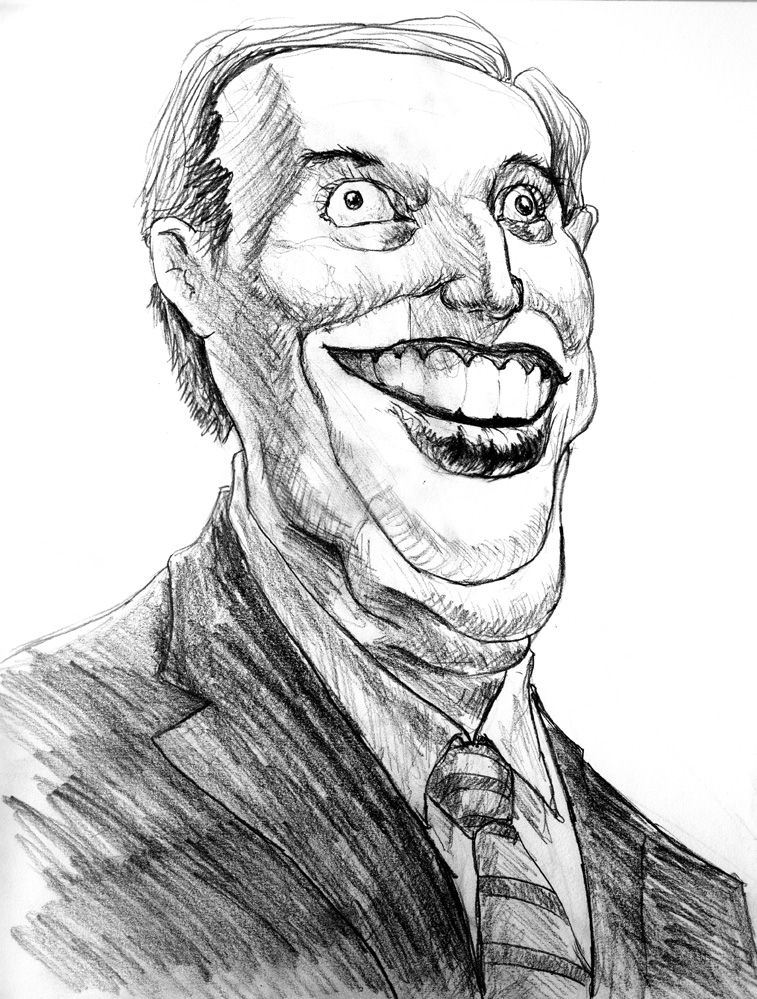
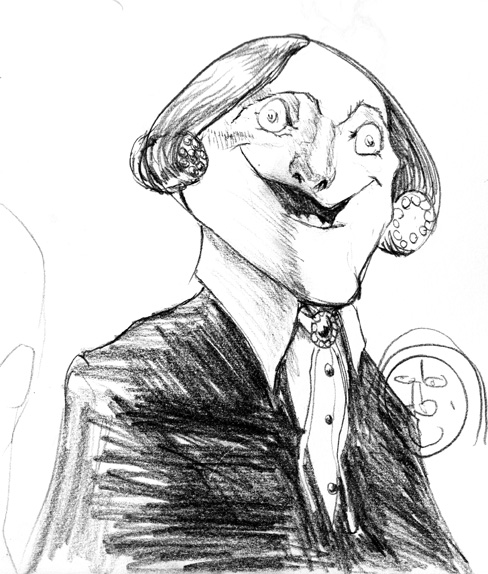
Here’s my Krita talk from LinuxFest Northwest. Enjoy!
I’ve been reading up on HDR lighting for 3D. I’m no photography buff, but it’s a handy way to light 3D scenes without doing a lot of work. Then spring came around and during walks around Seattle, I’d find myself thinking, “What a beautiful day! If only I had a mirrored ball and an expensive camera handy.”
Then again, I usually don’t need high res hyper-RAW pics for scenes. A relatively low-res image gets you pretty far. I’ve always got a quick and dirty camera via my phone. But what about a quick and dirty light probe? Hence, a crazy scheme is born: to make a chrome ball keychain, and photograph it wherever I happen to be.
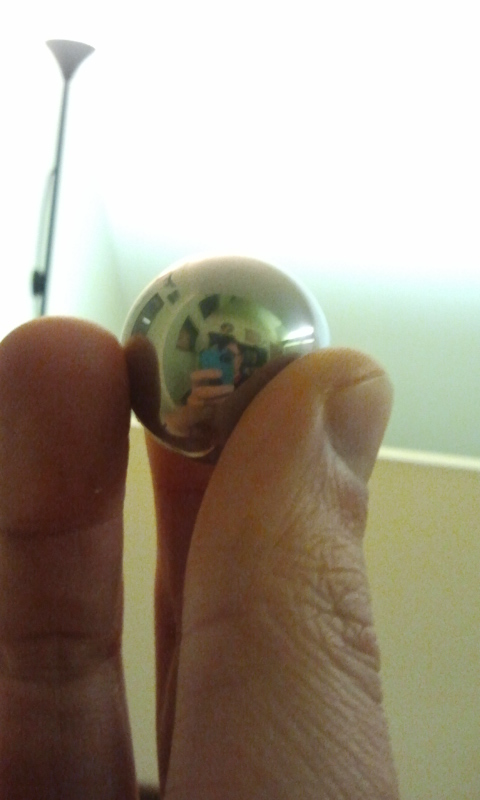
First, the chrome balls. They can be found in all sorts of shapes, sizes, and quantities on Amazon, but you’ll probably have to buy in a pack of 10 or 20. Why not assemble a Blender User Group, like Seabug (this Saturday!) and share the leftovers with others?
Shopping around revealed some bad news. Handier folk than I recommended either welding or tapping a screw to fix this to a keychain, but I lack both the skill and equipment to do so. Additionally, paying a professional to do one of these options would cost far more than the metal balls themselves! (quotes ranged from $60 to $600.) Hence, we turn to the glue option.
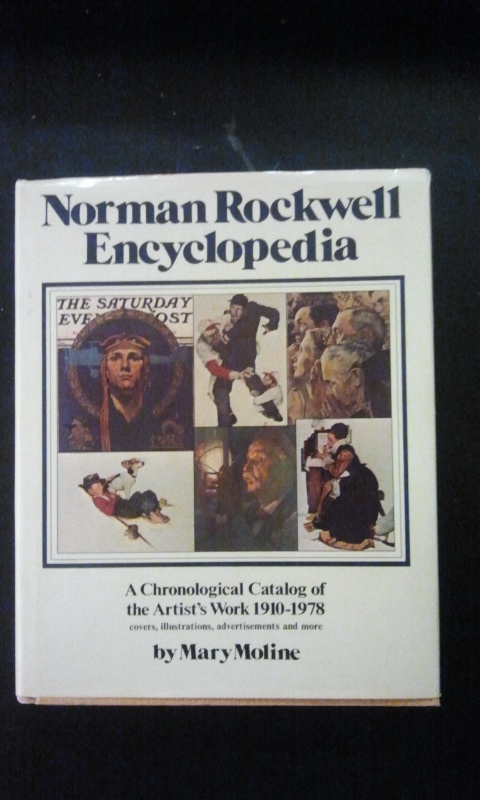
We’ll need a good work surface we don’t mind getting beat up or glued. I used this Norman Rockwell book, because like Picasso and the Ninja Turtles, he’s the sort of zeitgeist-hogging artist that even the lowliest pleb can namedrop. Hence, his literature over-saturates the pseudo-bourgeois coffee tables of Americana, and any number of volumes can be obtained for a tuppence at your local Goodwill.
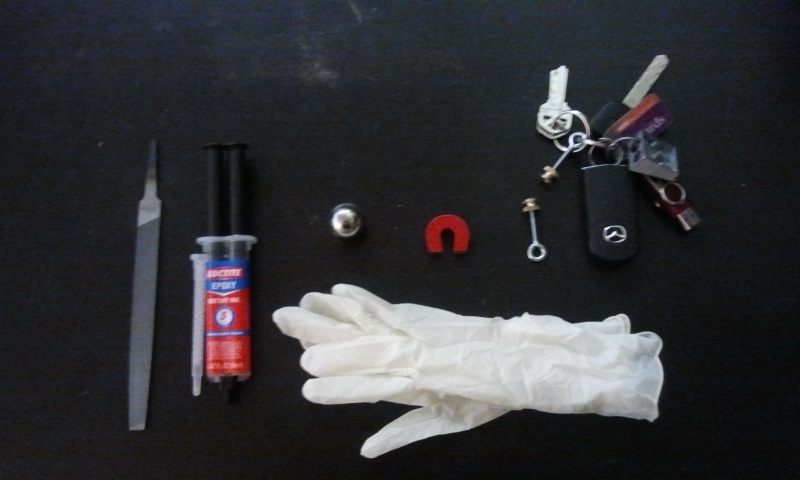
When shopping for glue, search for ones that specify metal-on-metal contact, like this Loctite epoxy. Additional tools include a metal file for roughening surfaces before gluing and removing glue later, a magnet for easy anti-roll propping (old CDs work well too), disposable gloves to avoid emergency room visits, an eyelet screw, and a thicker washer for wider base and increased stability.
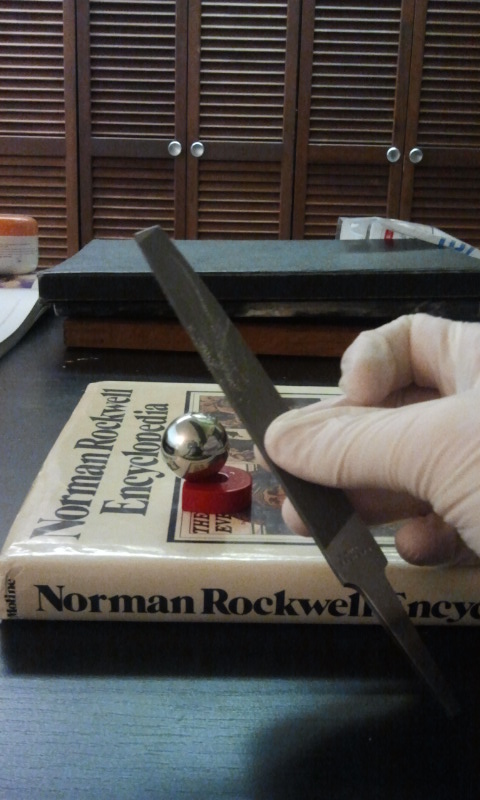
File on the surface of both the chrome ball’s contact point and the washer/screw contact point. This roughening will help the glue bond.
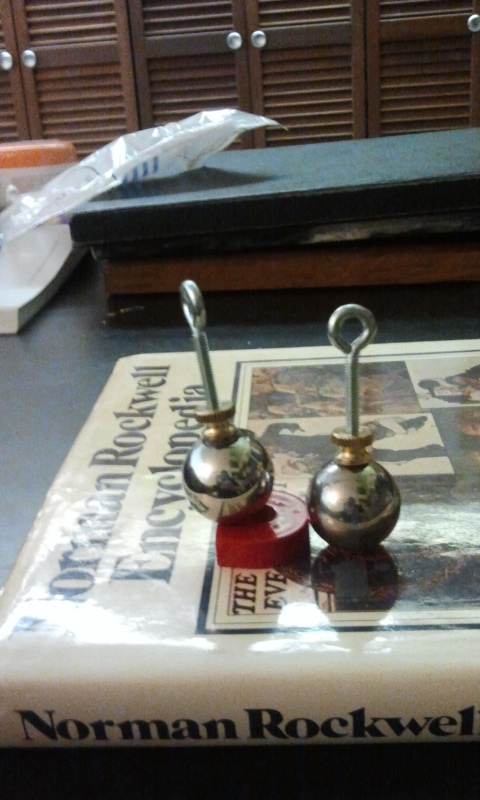
Glue the two things together, and also try to get some glue inside the washer, along the screw thread. hold them upright, with the magnet helping you out, but be careful not to let the eyelet droop; it’ll zoom right to the magnet. After a few minutes, it should be dry enough to stand on its own, but is still structurally weak.
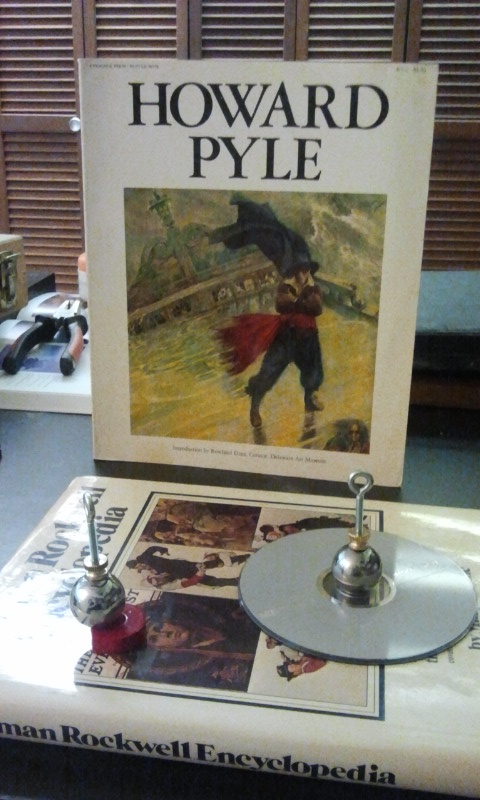
I switched one ball to a stack of CDs for the remainder of the drying. While you’re waiting, why not read up on a grander and more obscure artist for future name dropping? Ah, Howard Pyle. That’s the ticket! Master of color, the best early illustrator to make it big mass marketing to the lowest common denominator, and an educator to whom many great students trace their lineage. Why, imagine how he’d feel knowing now that his children’s book fancies are now prized among…good news! The glue is dry.
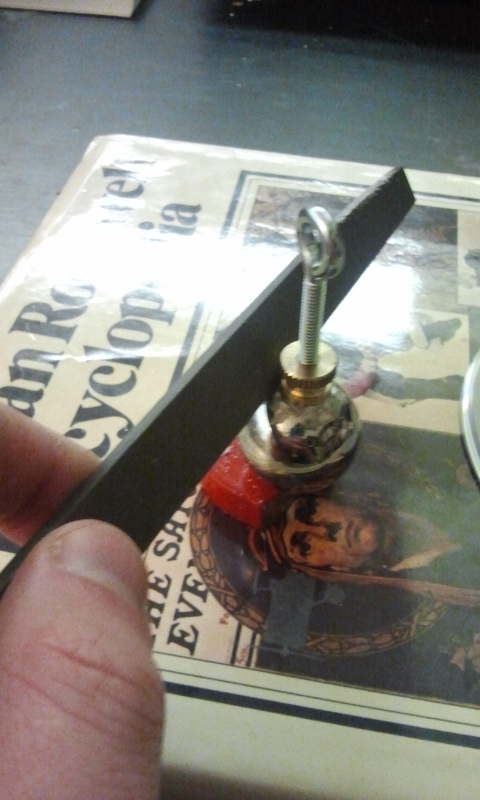
Ready to have your mind blown? When you look at a reflective ball, you see more than the 180 degrees facing you! This means that when you photograph your ball, you’ll have to edit out two things: yourself and your keys. To minimize other artifacts that will clog your photo, use the file to remove excess glue.
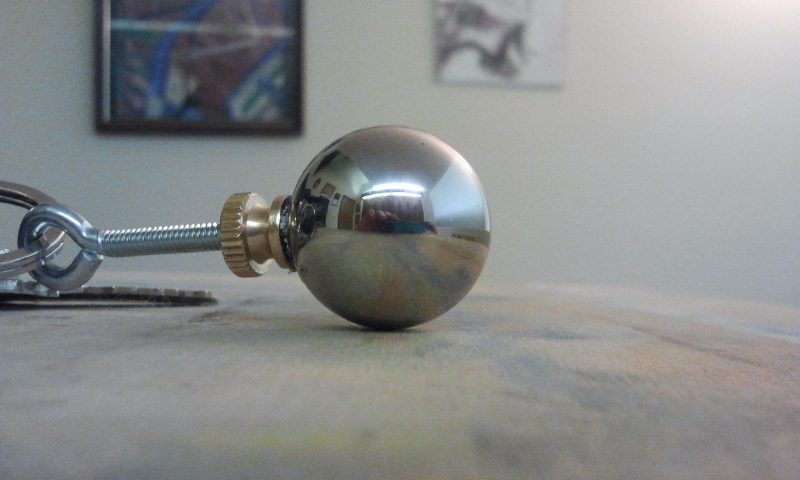
Learn what you can about operating your crappy camera phone. Try to get good resolution. Also, although it illustrates the hardware, try to position the your keys behind the ball, rather than on the side.
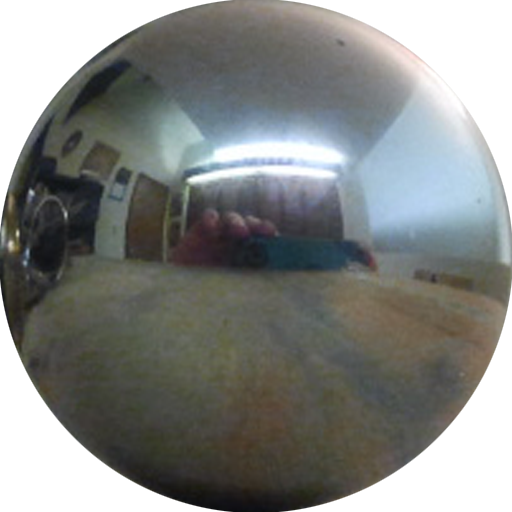
My camera crops with only a little bit of uprezzing to put this exactly in the center of a 512×512 texture.
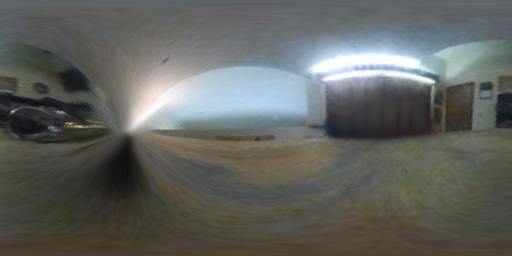
I distort this to a rectilinear map using the Flexify 2 filter for Photoshop from Flaming Pear. Although I haven’t tried it, there’s also Panorama Tools for GIMP, and probably some other stuff. I dunno, google it. The settings I used were Mirror Ball to Equirectangular, which jams it into 256×512. I cleaned out two artifacts: myself in front of the closet, and the keys along the left pole. In retrospect, I should have cleaned out the ball’s contact shadow (AKA ambient occlusion for you 3D types) before remapping as well.
Now to get this in 3D! I used two setups, Cycles and Internal for Blender. The Cycles render is simple. On the World coordinates tab, change the Color to Environment Texture, and select your equirectangular texture, leaving the Vector at Default. Turn on Ambient Occlusion, and under Settings turn on Sample as Lamp.
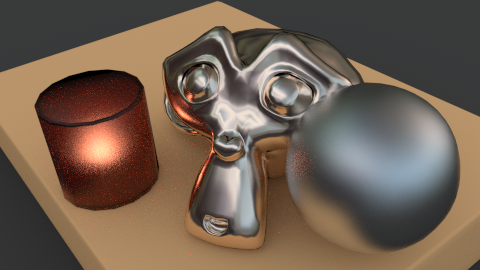
Hey hey, instantly lit scene!
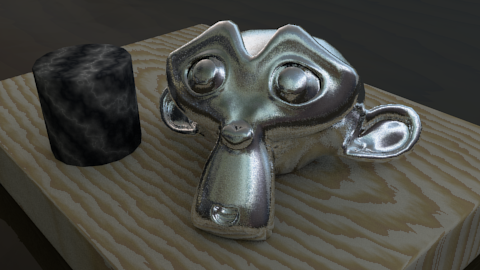
For the internal renderer, you have to do a lot more finagling. First, the World should be mapped to Real Sky. Turn on AO, Environment lighting (set to Sky Texture), and set Gather to Raytrace, and enable raytracing in the Render tab. For the World texture, instead use an Image type texture (instead of an Environment Map) because this is quick and dirty, and thus can’t use Env Map’s fancy goodness. Select your equirectangular texture, and map to Vector and Default.
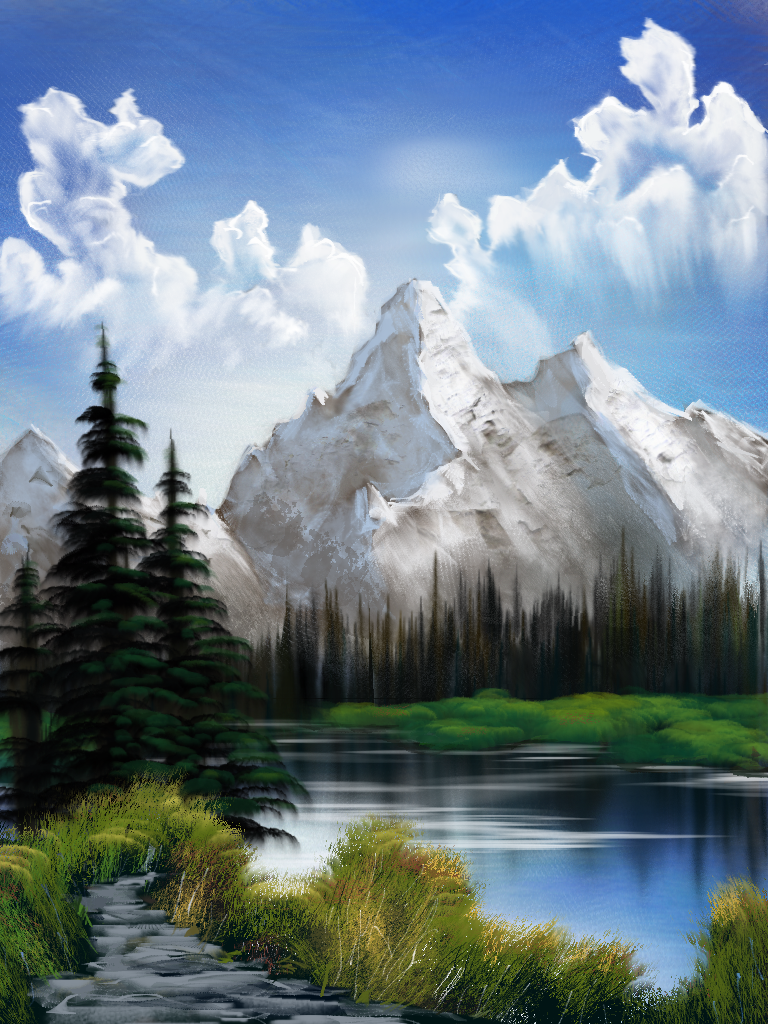
I painted this landscape in Krita, and threw some acapella Bob Ross music on it for emphasis. Hope you like it!