Thar tis. My gazing ball’s getting a bit scuffed due to all this wear and tear. To do list: a post about how I jury-rigged this little toy of mine.

Also, guess what jerks! Today is Seabug! Hope to see you there, it’ll be Blenderific!

Thar tis. My gazing ball’s getting a bit scuffed due to all this wear and tear. To do list: a post about how I jury-rigged this little toy of mine.
Also, guess what jerks! Today is Seabug! Hope to see you there, it’ll be Blenderific!
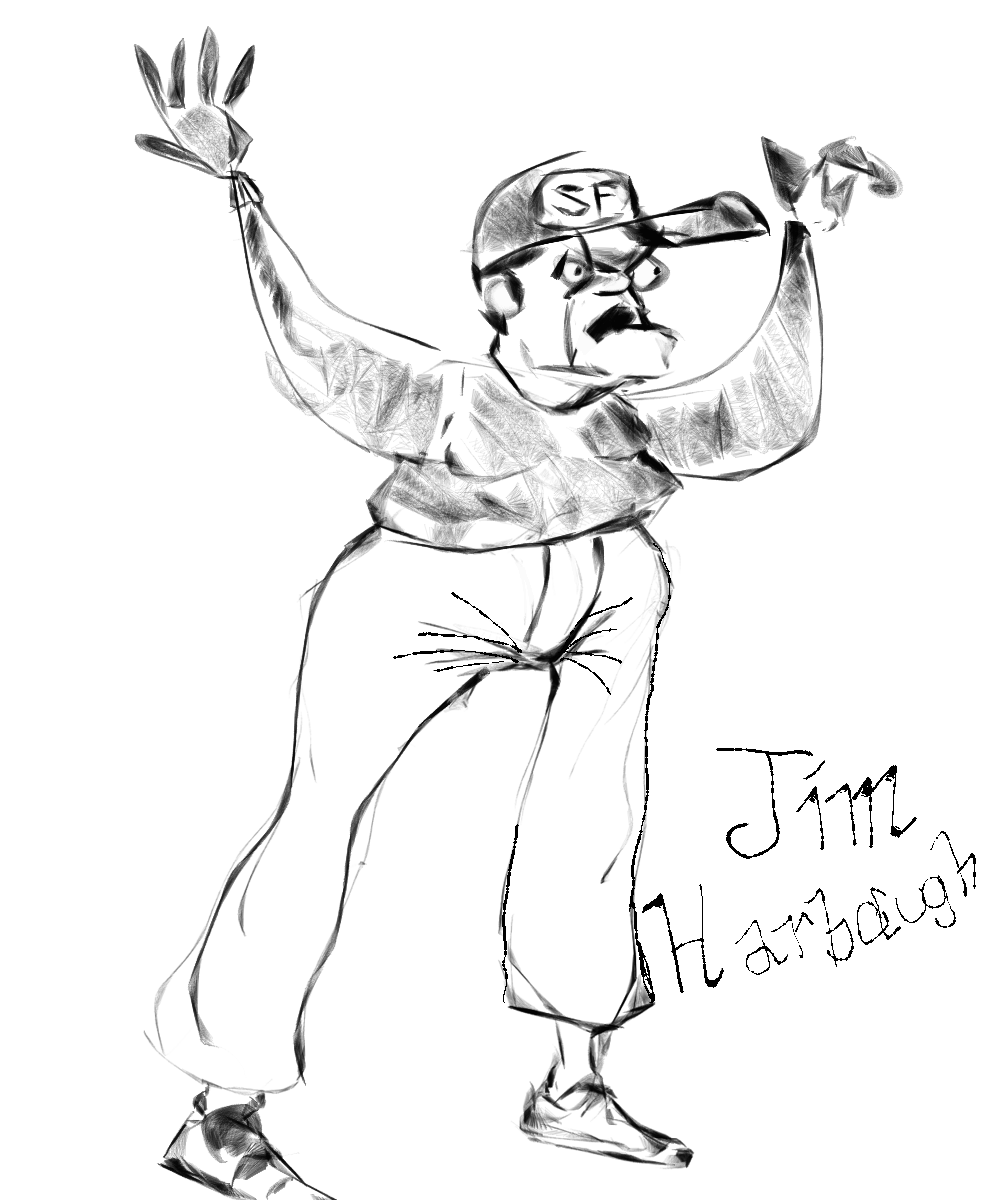
This was shot during last Seabug, February 22nd. Which reminds me: next Seabug is March 1st! Last month we kerploded with a bunch of experts having a billion projects made over 2 months of wintry cabin fever. This month we should have a chance to aid beginners daunted by Blender, so bring your n00b questions one and all!
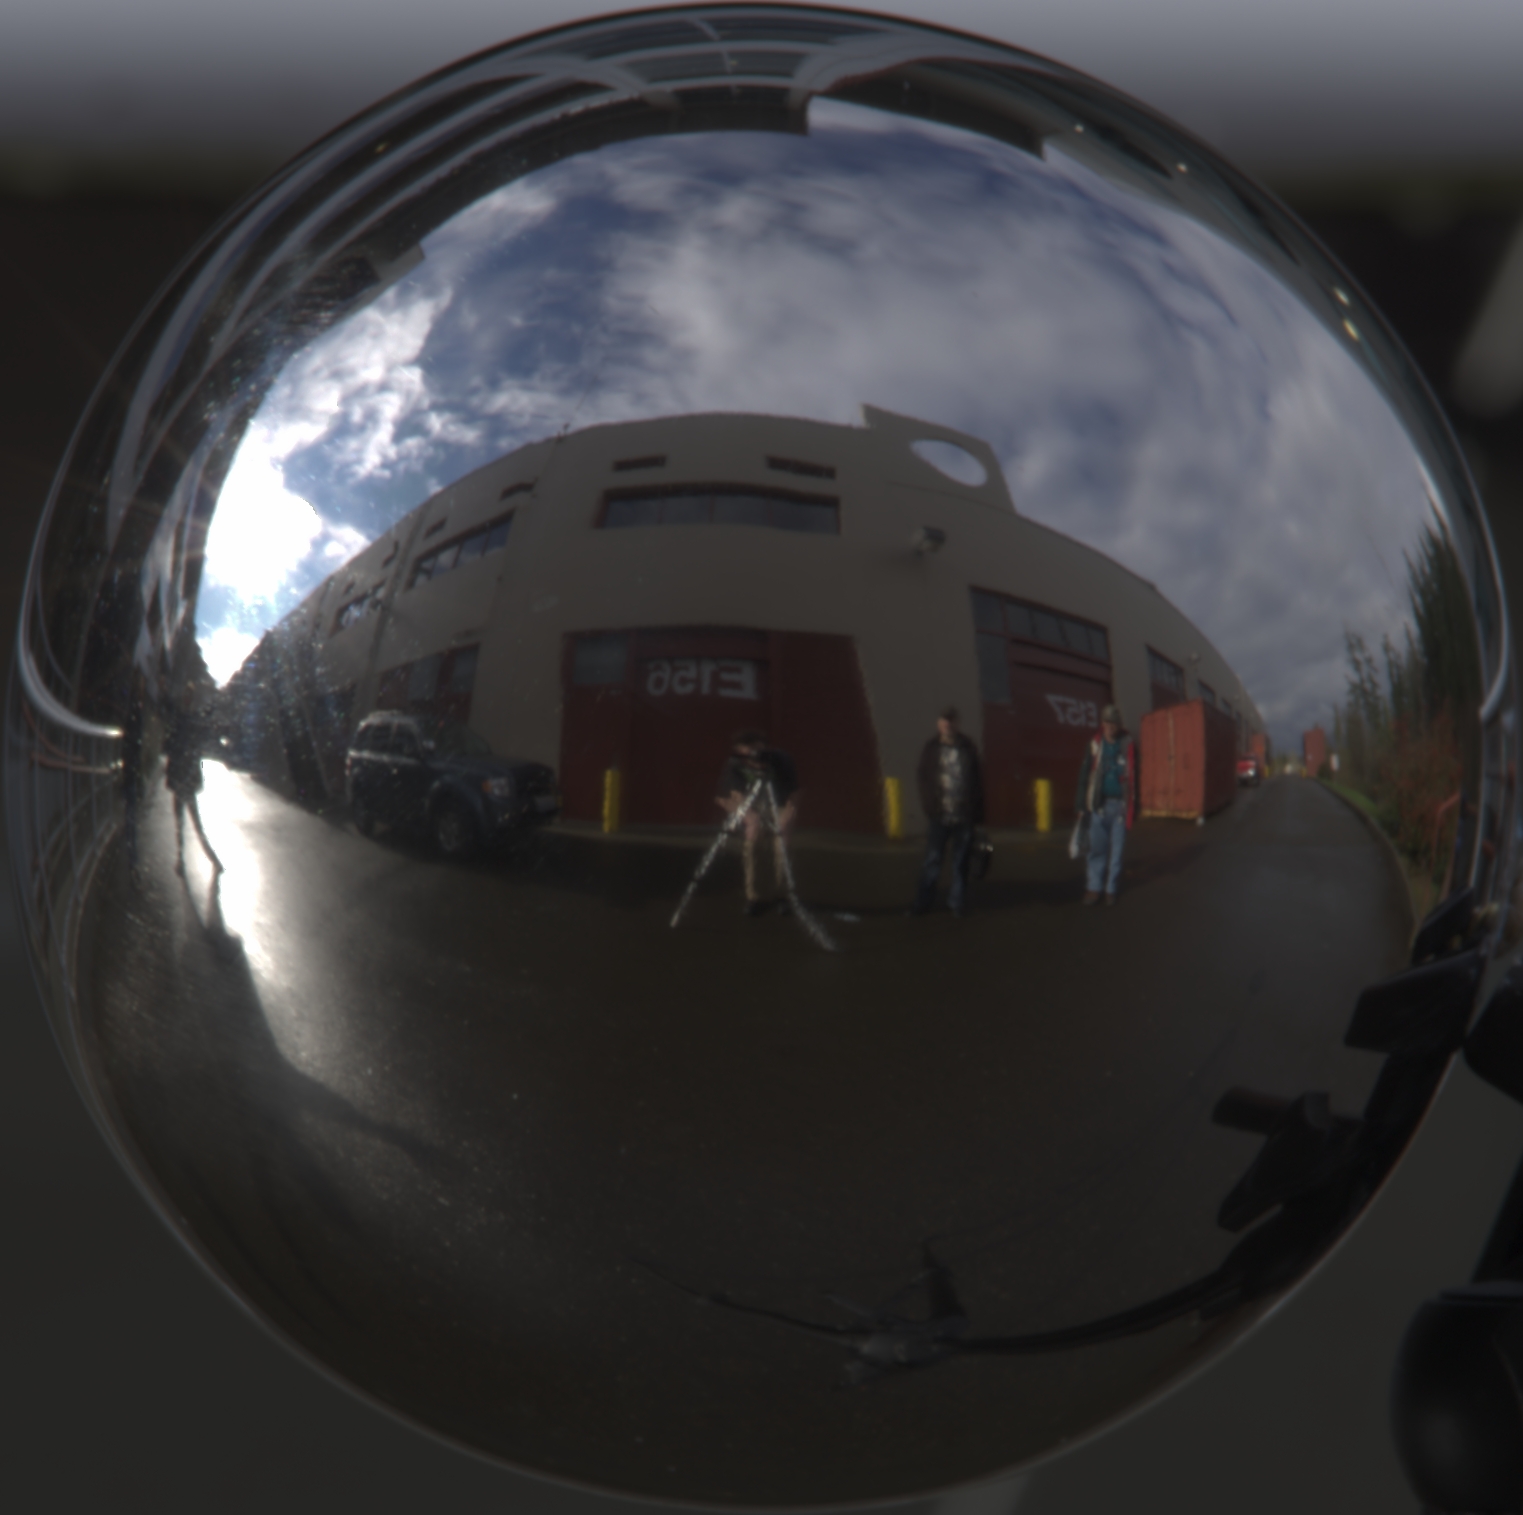
BTW, that guy off to the left with his hands in the air is Blender sensei Nathan Vegdahl. Go check his stuff out, he’s a beast!
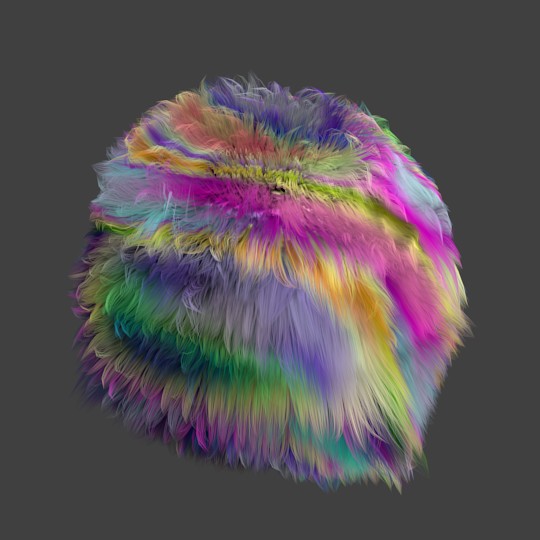
It’s been a while since my last Old Crap blender post, so here’s an old fur file of mine. I usually start with this as a baseline for good settings.
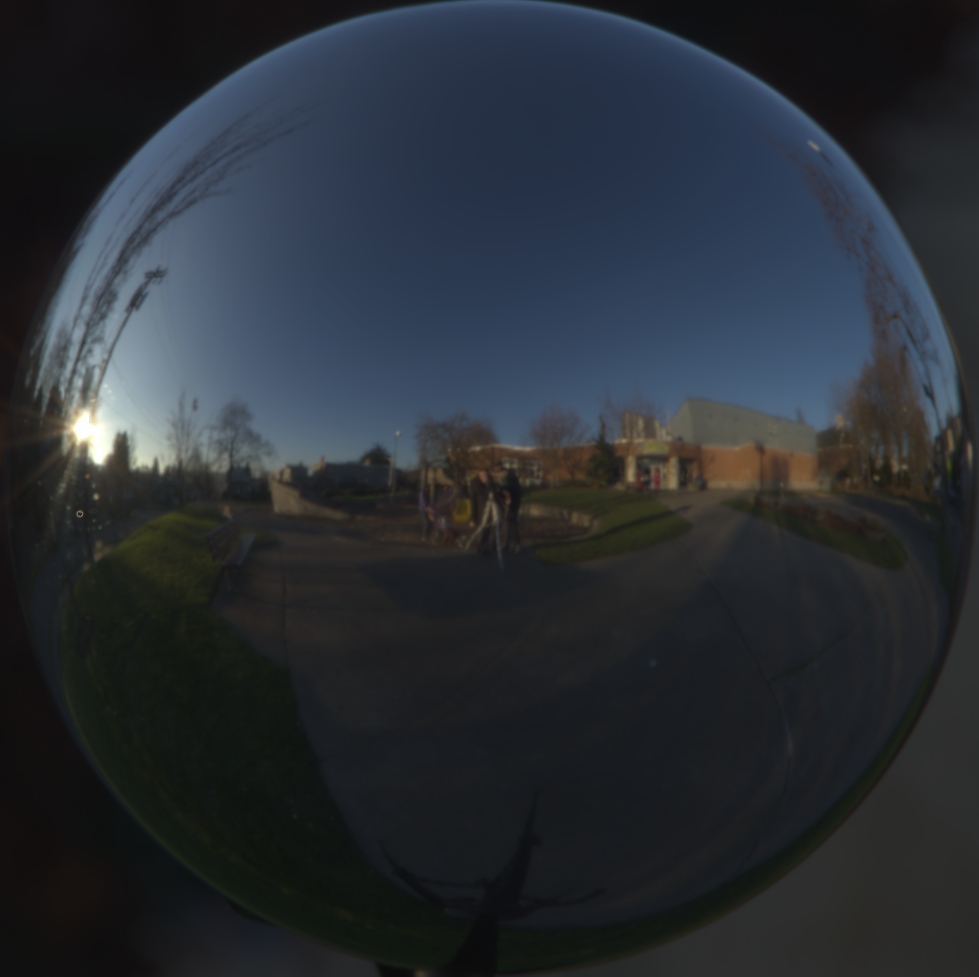
Just a boat sculpture from my neighborhood. Frickin’ kids running around. Who do they think they are, running water? #hdrcomplaints
I’m a week and change behind on my 1/week environment maps. So here’s three! Next Saturday I should be back on schedule.
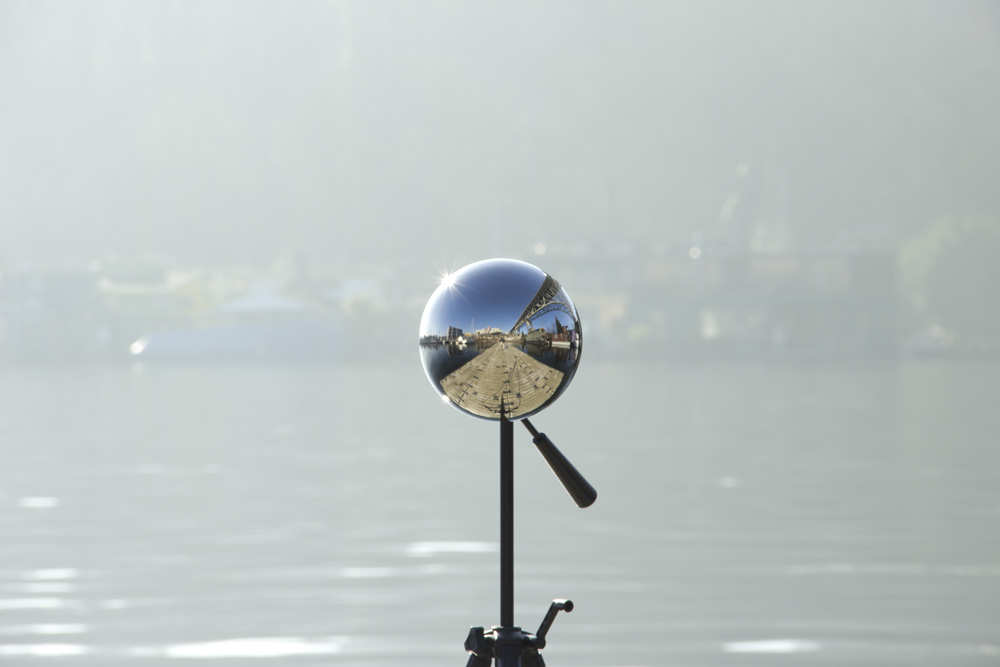
These were shot along the Fremont Canal under the Aurora bridge, and the weather was insane. A giant cloud of mist came up and bloomed the whole sun, and I don’t know if the light probe truly captured the experience. Look how engulfed the water is in this pic, and this was my lowest exposure photo! The rest were the lil silver ball, plus pure white mist.
This pic also highlights the weird physics-bending nature of HDR. The tripod is about 6 inches behind the light probe, and yet the spot directly under the tripod is about 20% up from the bottom of the gazing ball. This should give you a sense of how the reflection bends light to show what’s behind it.
I experimented with using fewer photos to generate the HDR. What’s better, more info per pixel, or less blurry pixels? Especially the shots on the end of the pier, with the water moving up and down, I erred against blurriness.

My buddy Mark asked me for a commission of Sam the Eagle, and, as a longtime Muppet fan, I of course had to oblige. Painted in Krita, my go-to software nowadays. Check out Mark’s blog, it’s pretty epic!
As I mentioned in Old Crap, part 1, a blender user creates all kinds of edge projects, experiments, and goodies for clients-who-never-were, and then they just sit around gathering dust. Some are garbage, but some are really cool! I’m trying to dig through the closet, find all those files and give ’em some daylight in the land of Creative Commons.
So here’s a bug monster. When dynamic sculpting came out, I started a lil project to learn it. Much further down the rabbit hole, I realized the practice file served no point, but had lots of hours invested in it. I bequeath it to you now, do what you will with it.
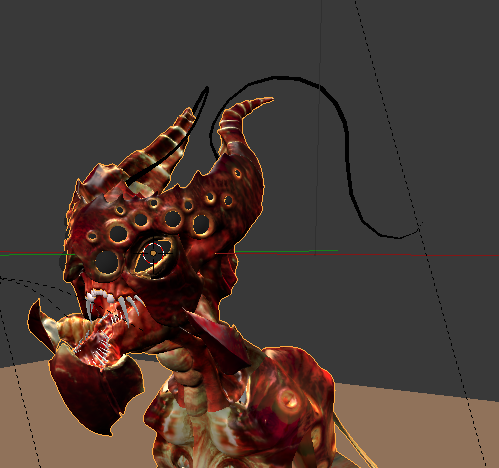
As a side note, Seabug is this Saturday! Come learn some 3D skillz and have fun and stuff.
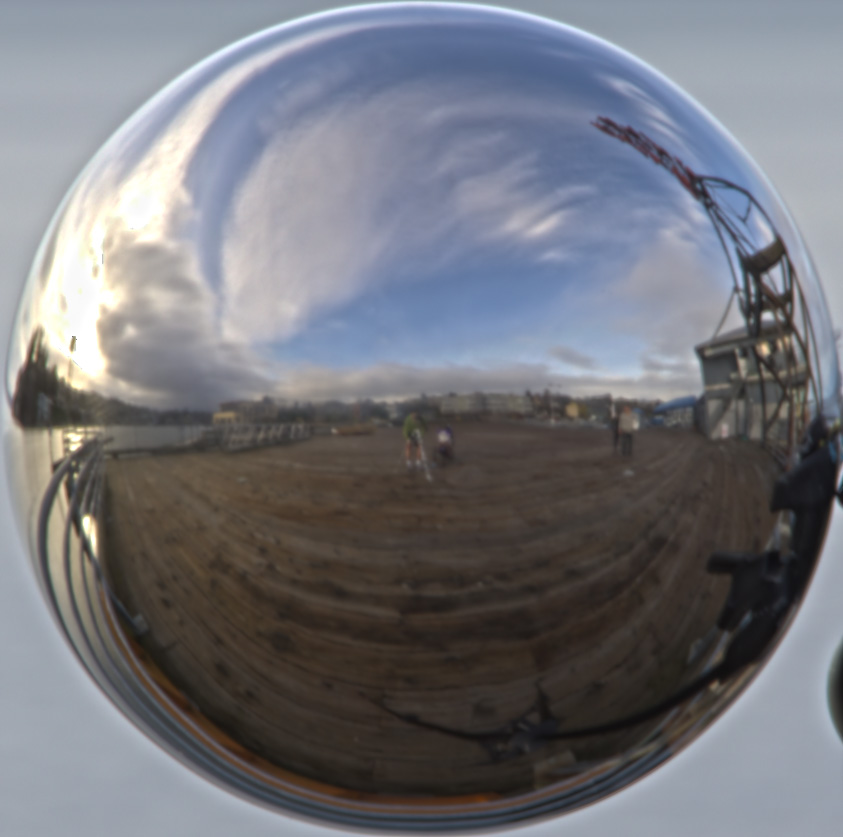
Environment maps shot via light probe have some problems you don’t see with full-on panoramas. The distortion around the probe’s rim will pull away from some detail, culminating in the blind spot behind the probe. This means you have to make hard decisions about what gets distorted. If several things are important, how do you put them in a heirarchy?
I usually try to make the angle from me to the probe to the sun 90 degrees. The pier at Anthony’s is one example where I make an exception. Since half this landscape is a view of the water, you’d end up using this in 3D scenes that also are at a water’s edge. So wouldn’t it stink to jam all those watery pixels into the rim distortion? But shooting parallel to the repeating boards of the pier also appealed as a detail to avoid distorting. I shot a little of everything.
Not that I’m trashing probes. Don’t forget, if you’re shooting a full-on panorama, you’re way more likely to have some jogger and his dog ruin your scene, or have the clouds and light shift over the time it takes to shoot. And who wants to slave over 2 gigs of CR2 files, just to make a single EXR that crashes Blender anyway?
Just to reiterate, these HDR environment maps are perfect for the small time crook. Because I use a probe, they’re much faster to make. My 3D scenes are usually budgeted such that any HDR environment is already above and beyond, so doing a full-on panorama stitch would be WAAAAAY out of scope. If you’re like me, these are right up your alley.
Last week’s HDR pack had a Blender file with a Cycles setup, if you’re not sure how to use them. I prefer the .HDR over .EXR; although you have to type in ludicrous values for the environment strength (.0005, which rounds up visually to look like it’s .001), you can REALLY see the potency of any given HDR pixel, especially when cranked through the gamma. But the EXR ends up a bigger file size, so it might be better data 😛
Painted in Krita, no reference.
