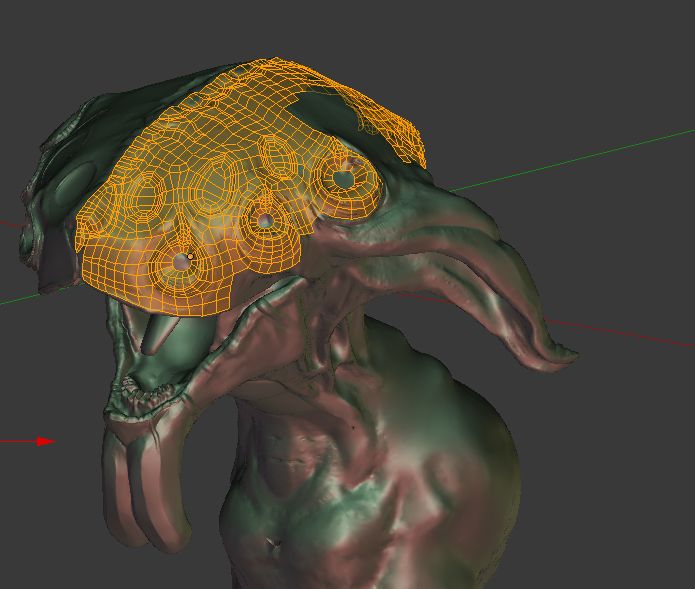
Retopologizing the head right now.

Retopologizing the head right now.
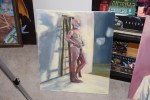
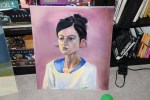
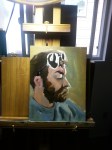
I took a one-week painting course with Nana Bagdavazde recently. It was a lot of fun, especially since painting has been very difficult to achieve by since having a baby 18 months ago.
My muscles were super-rusty at the start, but by the end I’d figured a lot of ideas out. A big change was realizing that the whole point of oil painting should be how baby-friendly it is! If you’ve got a secured room, you can duck out when your kid’s awake, hang out for 6 hours, and when you go back the palette will still be wet and ready for action.
The last picture is my buddy Ike, a work in progress. The amount of it I busted out in very short time made me happy, and highlighted the rust that had been shaken off by the course. Hooray!
I’ve been seeing tidbits of Freestyle Level Up at Seabug over the last year, and seeing the finished product is a massive enlightenment. Lee Posey and Sage Light Bwk have done an amazing job, and their BNPR homepage should be a routine destination for all Blender users. Freestyle’s development has skyrocketed in recent years, and truly took off when #1. Blender’s render layers reorganized and #2. Freestyle was included by default in Blender. Freestyle’s capability is ready for action, but the Blender community still has a drought of great Freestyle tutorials. Until now. Here’s my review!
Starting off…
If this is totally new to you, a bit of clarification:
Right off the bat, the production value of this series is terrific. Great editing, Clear voice-over, and constant set decoration to keep you engaged in the material. Before I even learned anything, I knew I’d be munching popcorn the whole time. Video game lingo and DBZ references keep you engaged during the most obtuse, difficult concepts.
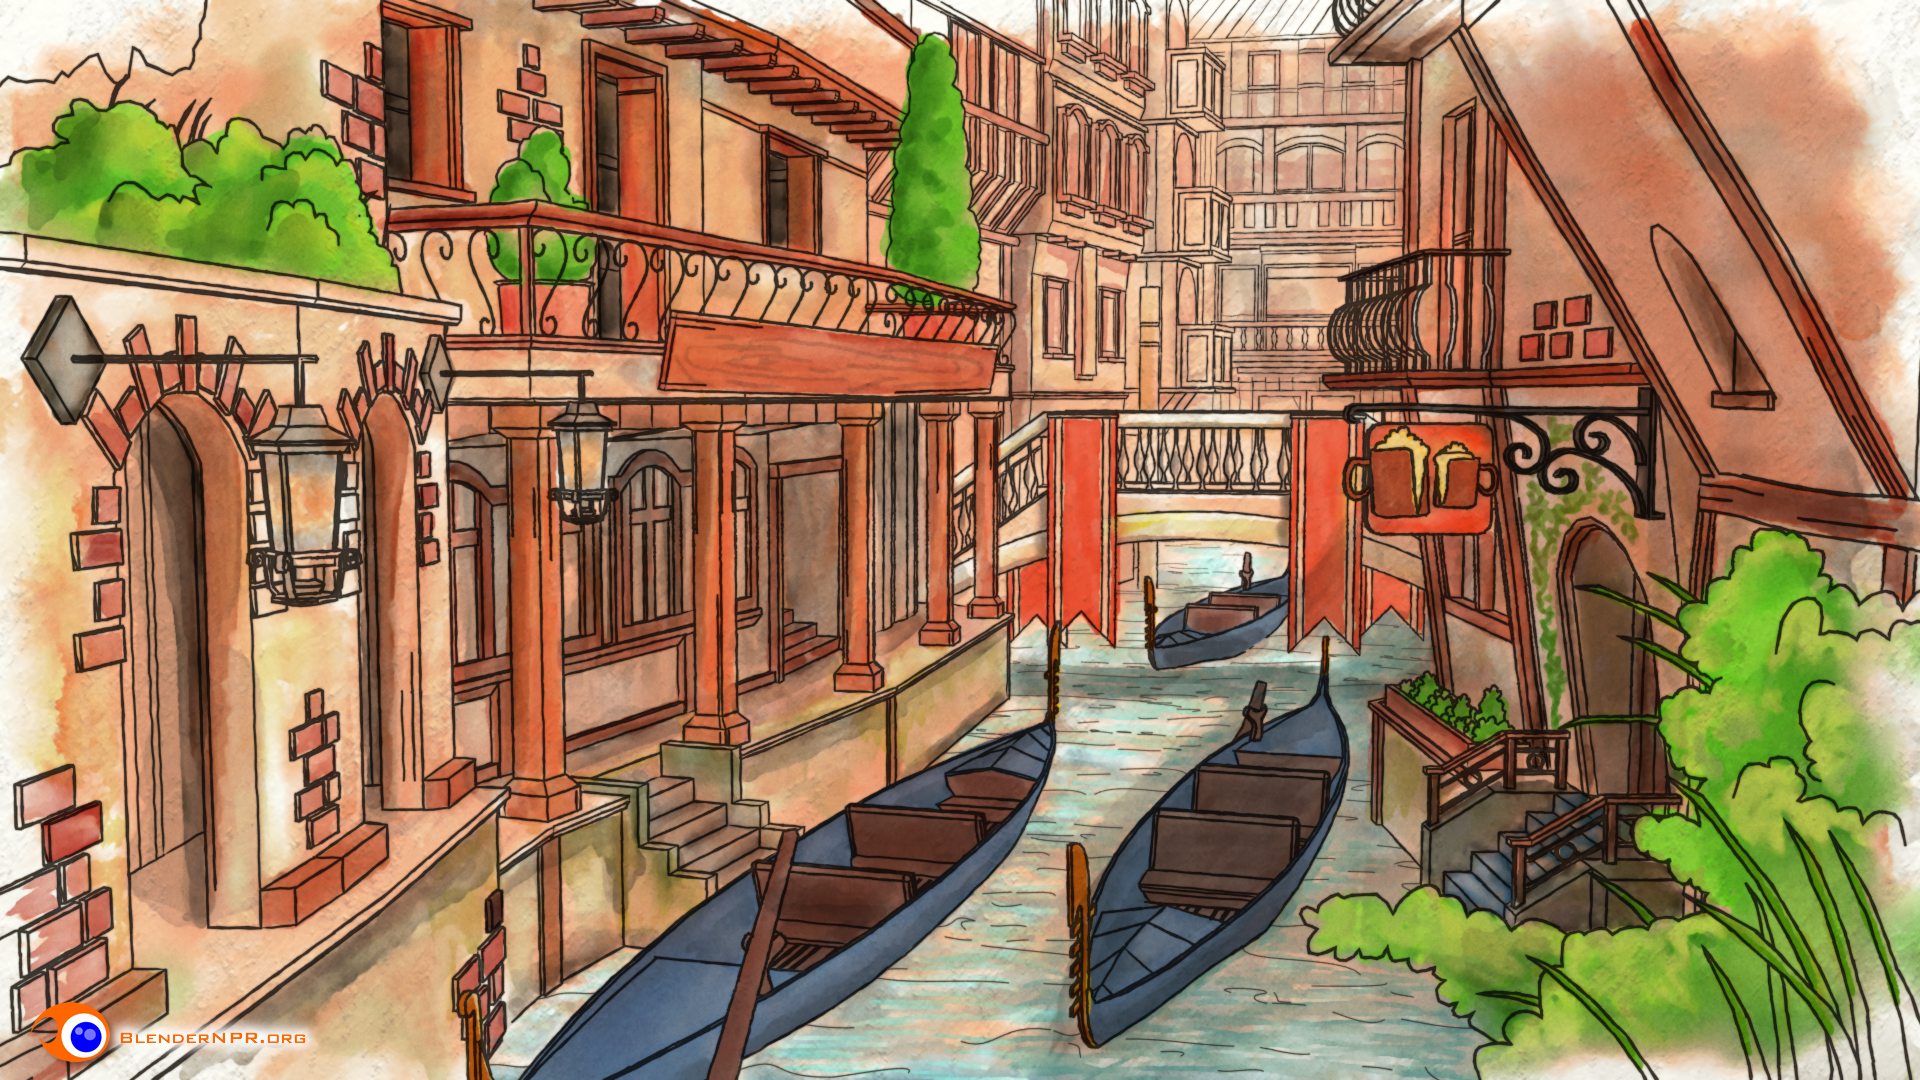
The guts
Freestyle has often confounded newcomers (myself included), because unlike many intermediate blender tasks, it’s not WYSIWYG. Switch your render to Cycles? It automatically works! You turn on Freestyle, hit render, and…well, lines appear, but how do I change ’em?!
Freestyle Level Up hits this problem right on the head with two major approaches. First, it explains the concepts, so you’re not just randomly turning buttons on and off any more. Sage and Lee take your brain and wrap it around the core concepts, so you understand edge types, line styles, and how it plugs into Blender’s overall rendering paradigm.
Secondly, once you know just what you’re dealing with, you can see infinite Freestyle combinations…and that’s intimidating. No worries though! BNPR’s team have come up with a formidable library of Freestyle recipes. Following along with their various recipes will leave you ready to start with the right style (or really close) right away, rather than fiddling for hours to get it right.
Conclusion
BNPR’s Freestyle Level Up video series fills a massive void in the Blender tutorial universe by covering Freestyle both aesthetically and under the hood. But not only is it the first major offering on the subject of Freestyle, it’s also a highly polished, easy-to-swallow romp that keeps you entertained while you learn. I’ve been excited to see Freestyle’s development over the years, but it’s even more exciting to know what the heck I’m doing in Freestyle! If you’re new to Blender, you might want to start somewhere else; Freestyle (like so much of Blender) is practically a program within a program. But if you’re comfy with your F12 key in Blender, Freestyle Level Up is a great way to add a great new tool to your toolbox.
Here’s a WIP shot of a guy I call “The broker.” Imagine him as a floormonger on some sci-fi commodities trading market. The final design will have red LED stock-tickers and news bulletins scrolling along his belt and shoulder apparati.

My modeling approach with this dude has been experimental and strange. Many methods exist for “sketching” a sculpt in 3D. Dynamic topology, Zspheres, Blender’s skin modifier. But all of these require under-the-hood nurturing that, in my opinion, makes you lose the effortless quickness that you can have with drawing by hand.
When you’re drawing in that way, a favorite technique is to just use big abstract circles and lines of action to represent a head, a muscle, a torso. Where is the equivalency in 3D? Here’s the modifier stack I came up with.
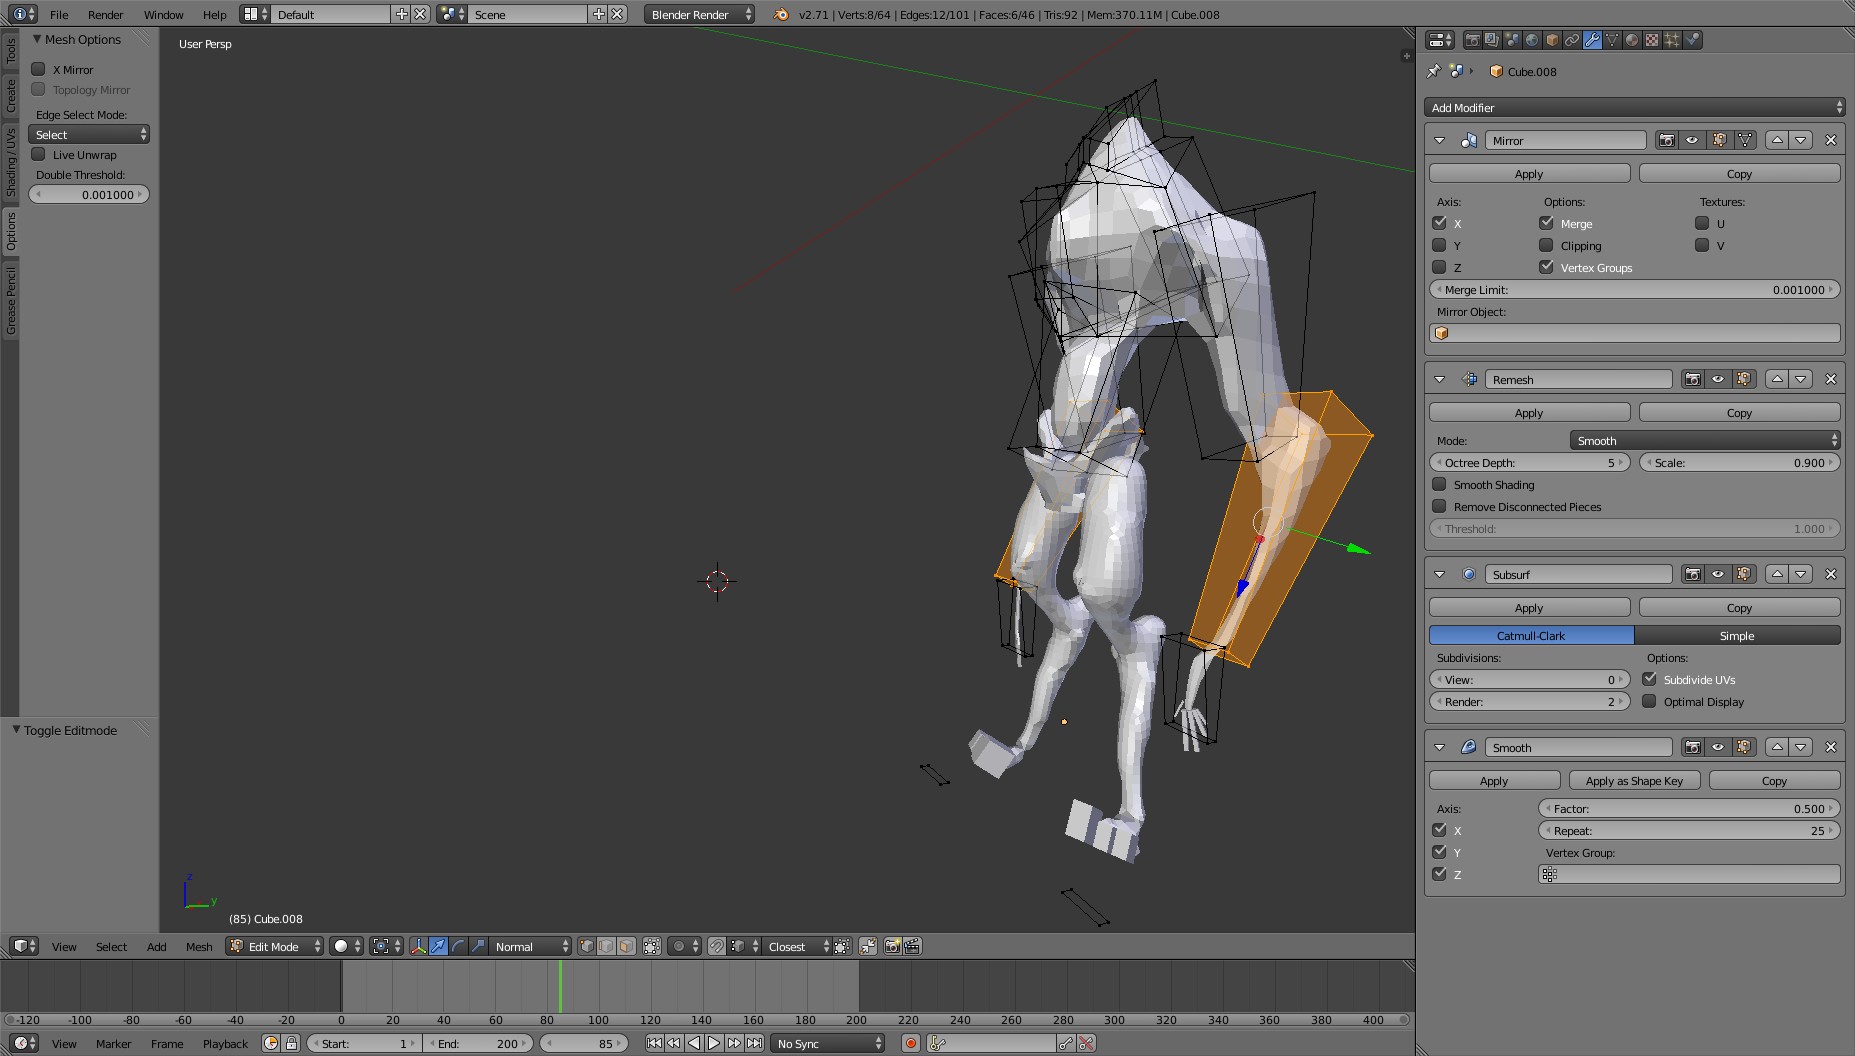
From here, you can just Shrinkwrap clothes onto the character, then begin retopology modeling what you actually want. I got something that felt really alive and stylish, and the model served as some baseline concept art.
Should I take this to sculpt first, then finish modeling? I don’t know. Instincts say yes, but I’m having fun with some old-fashioned modeling first, sculpt later pipeline.
Are you at my Blender talk? Welcome! Here’s notes, follow along.
Thesis
3D is gigantic. Although you can spend a lifetime on it, anyone can get enough 3D chops to print a 3D model, render something, or have fun. However, the first 30 minutes are truly, horrifically painful if you’re diving in blind. Let’s get your first 30 minutes out of the way!
Intro–Blender? I hardly knew’er!
Setup
Starting interface
3D Navigation & Mouse Button Basics
3 Basic transforms: Move, Scale, Rotate!
Edit Mode!
Preview
Some quick Krita examples of mine, and various shameless self promotions.
Setup
sudo add-apt-repository ppa:kubuntu-ppa/backports sudo apt-get update sudo apt-get install kritasudo apt-get install kritasketch (otherwise you won't have the sketch brush in 2.8.0)kbuildsycoca4
Starting Hotkeys
When in doubt, assume we’re using the brush with these.
But who cares? Let’s have fun!
Fun stuff in Krita
Basic workflow
Just a fun lil sculpt in Blender. Started with an old sketchbook drawing, but kinda went into left-field with it.
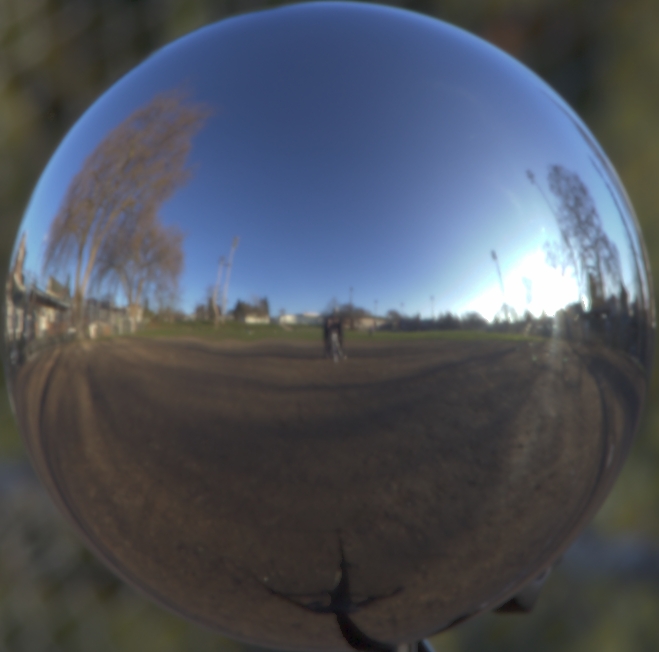
Took a drive out to Snoqualamie, shot several environment maps with the family. It was nice not having the city conundrum of people walking in the shot at one exposure, then being in the shot again at a different exposure.