from Instagram: http://ift.tt/25sFtpF

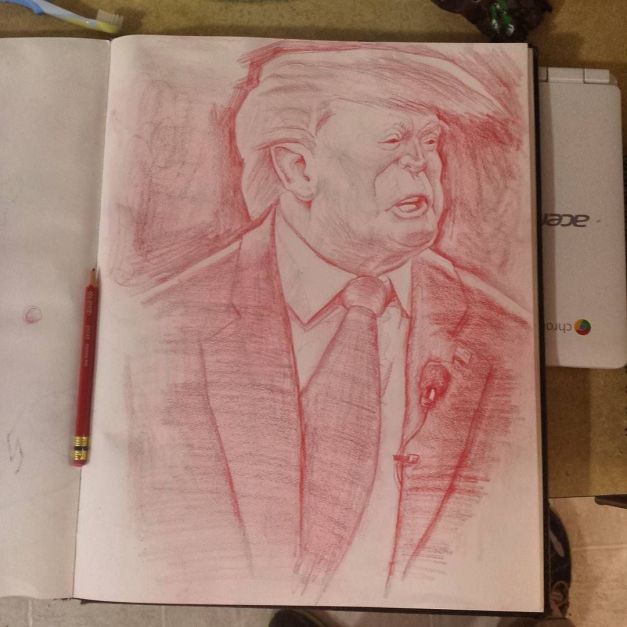
Image based lighting (IBL) has become an essential part of lighting for CGI. You might have the gumption to figure out all the buttons in Blender or Maya, download some panos off the internet, and hook them up, and instantly recognize how beautiful and instantaneous they make your lighting.
But how the heck do ya make them!?!?
Put your hand in mine, dear reader, and we’ll venture into the basics. I am by no means an expert, but at this point I’m at least a highly seasoned amateur. I’ll assume you’re like me: not a massive studio with a devoted IBL team already. But not a n00b, either. You’re versed enough in 3D (and possibly IBL) that you realize it’s time to shell out for some camera equipment and learn some new software. And we’ll try to keep that software as free and open source as possible.
Let’s begin!
I purchased my HDR gear cautiously and piecemeal, putting one toe in the water at a time for fear of blowing all my money on gear that didn’t work. Sometimes I regretted this or that purchase, but it still works well enough. So if you’ve got a bunch of camera equipment already, chances are you’re all set! Here’s what you need.
The camera body and fisheye lens are the biggest financial hits. You can often find camera bodies used, but they’ll still be expensive. Fisheye lenses are more specialized, so you’ll probably resort to getting a new one.
Before shelling out on a tripod, check Goodwill and yard sales. You can sometimes find them for a paltry $5! Often times they’re missing a tiny attachment part, easily replaced for pennies. Pano heads, like the fisheye, are specialized; chances are your local photography store doesn’t even carry them. Purchase it on the internet.
Together, DSLR controller and a micro-to-mini USB cable are less than $15. Well worth it.
The SD card your camera comes with probably isn’t fast or big enough. Drop $40 on a new one.
A sheet of .9 ND gel is around $6 and will last you a while. It’s actually still a ripoff–they sell whole reels of the stuff for $50. Start with just one sheet, and by the time you’ve used it all up you’ll officially be better at HDR panography than I am.
If you get lucky with some used gear, you might be able to get this whole setup for about $2000. If you already have a DSLR, just fit that square peg into this round hole and you’ll probably be fine, with considerable savings.
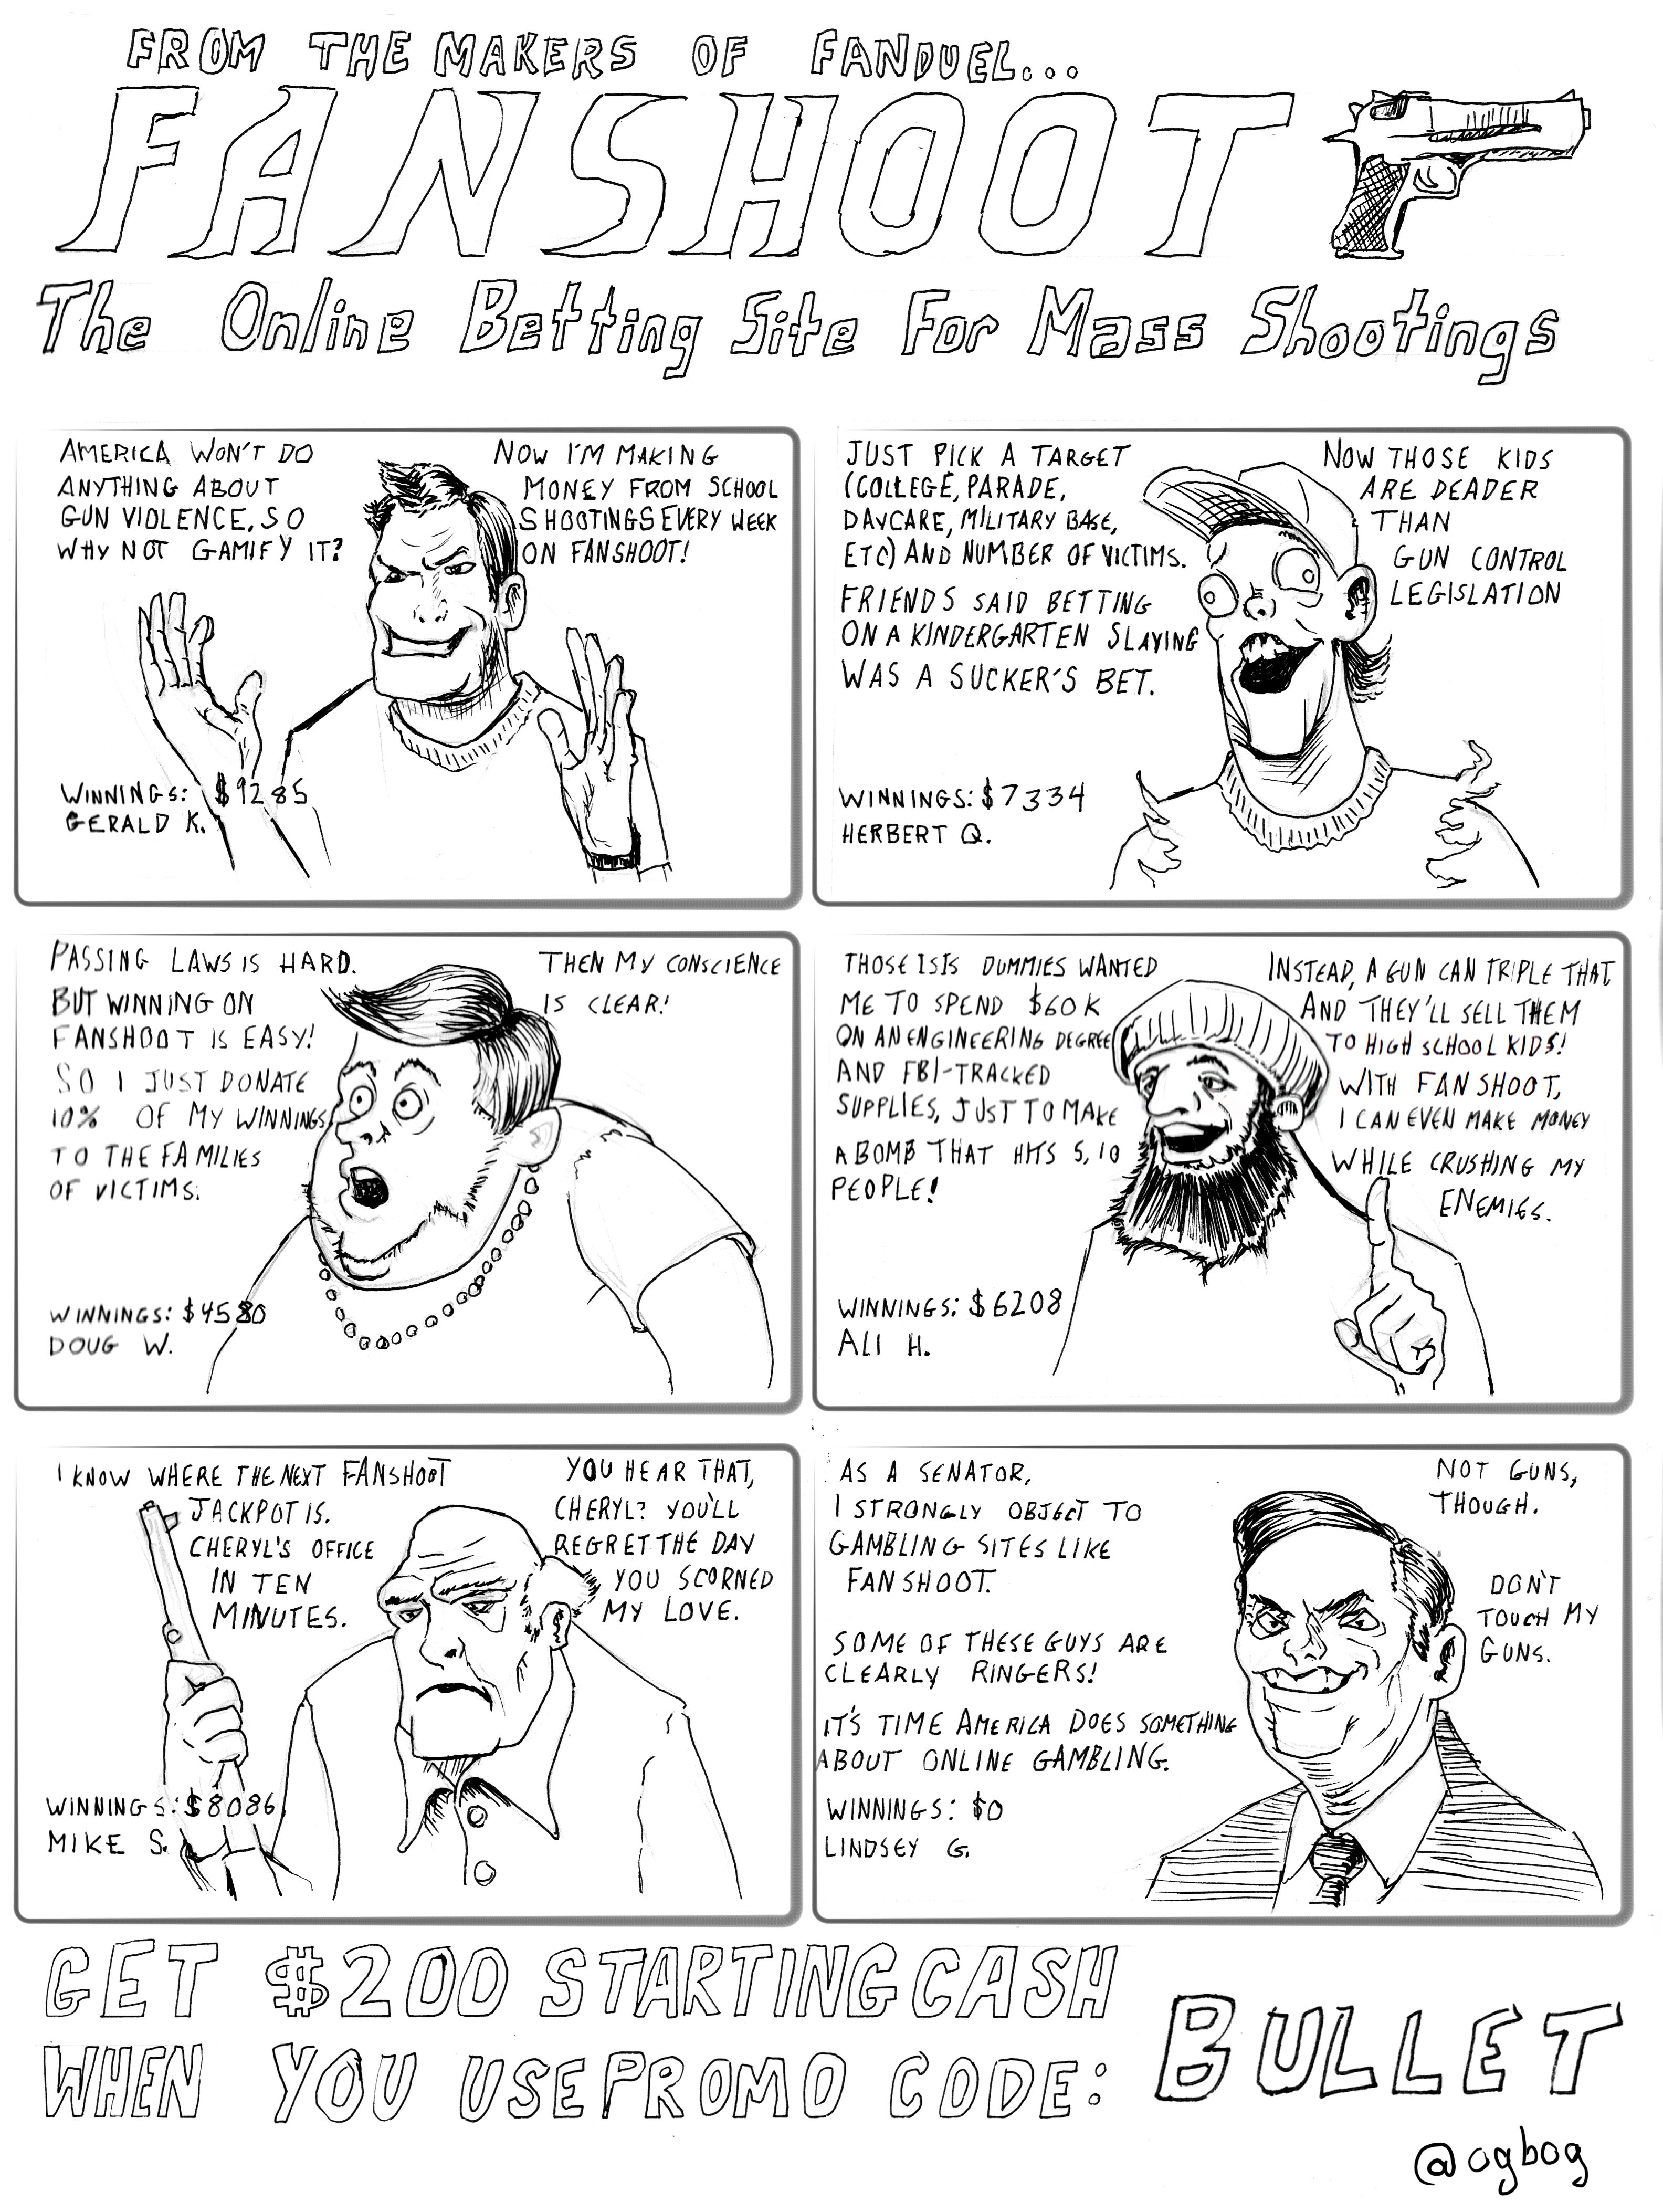
I drew this after the Oregon shooting. Today there’s one at NAU.
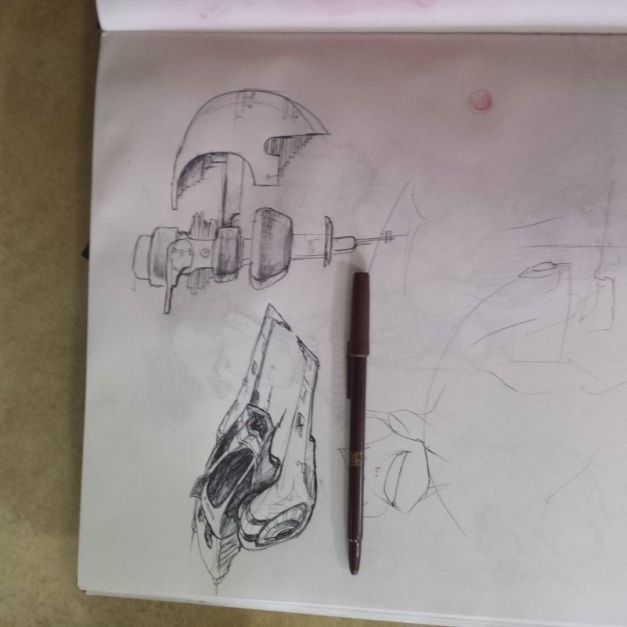
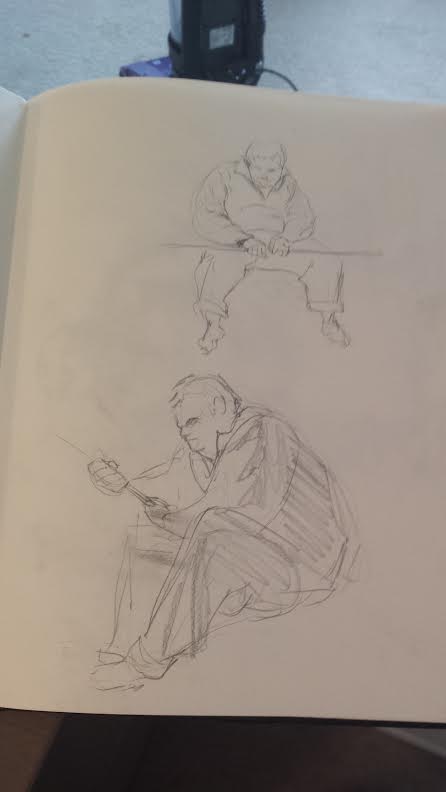
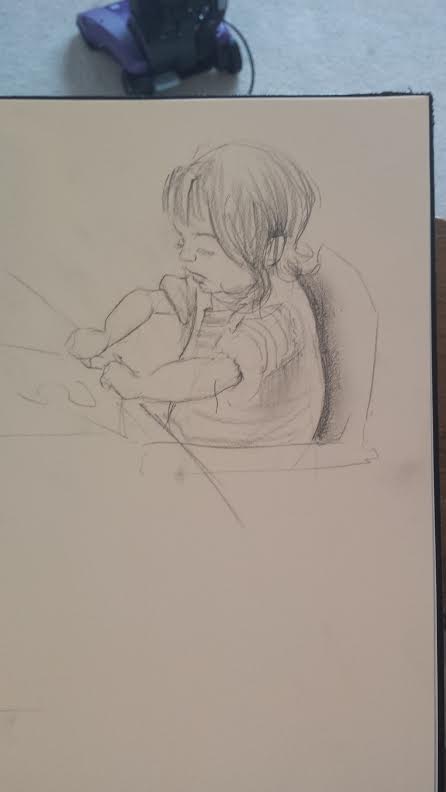
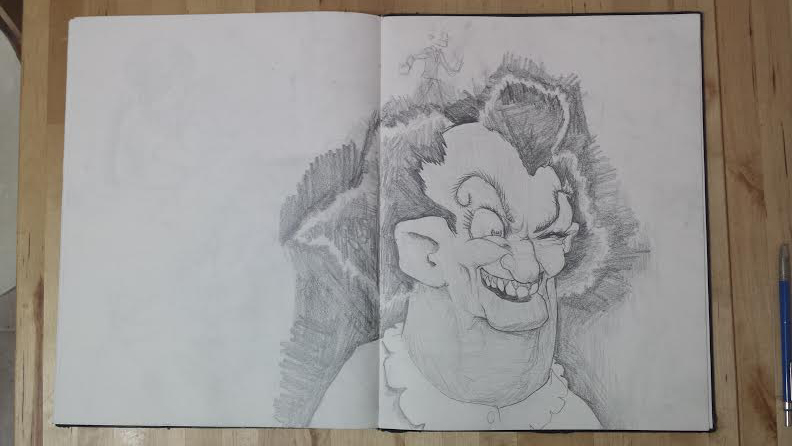
Draw365 is the challenge to draw every day for a year. Can I put it down? 6 days in, so far so good. Here’s some winners thus far.

Here’s a thing I painted as a live demo at SeaGL.
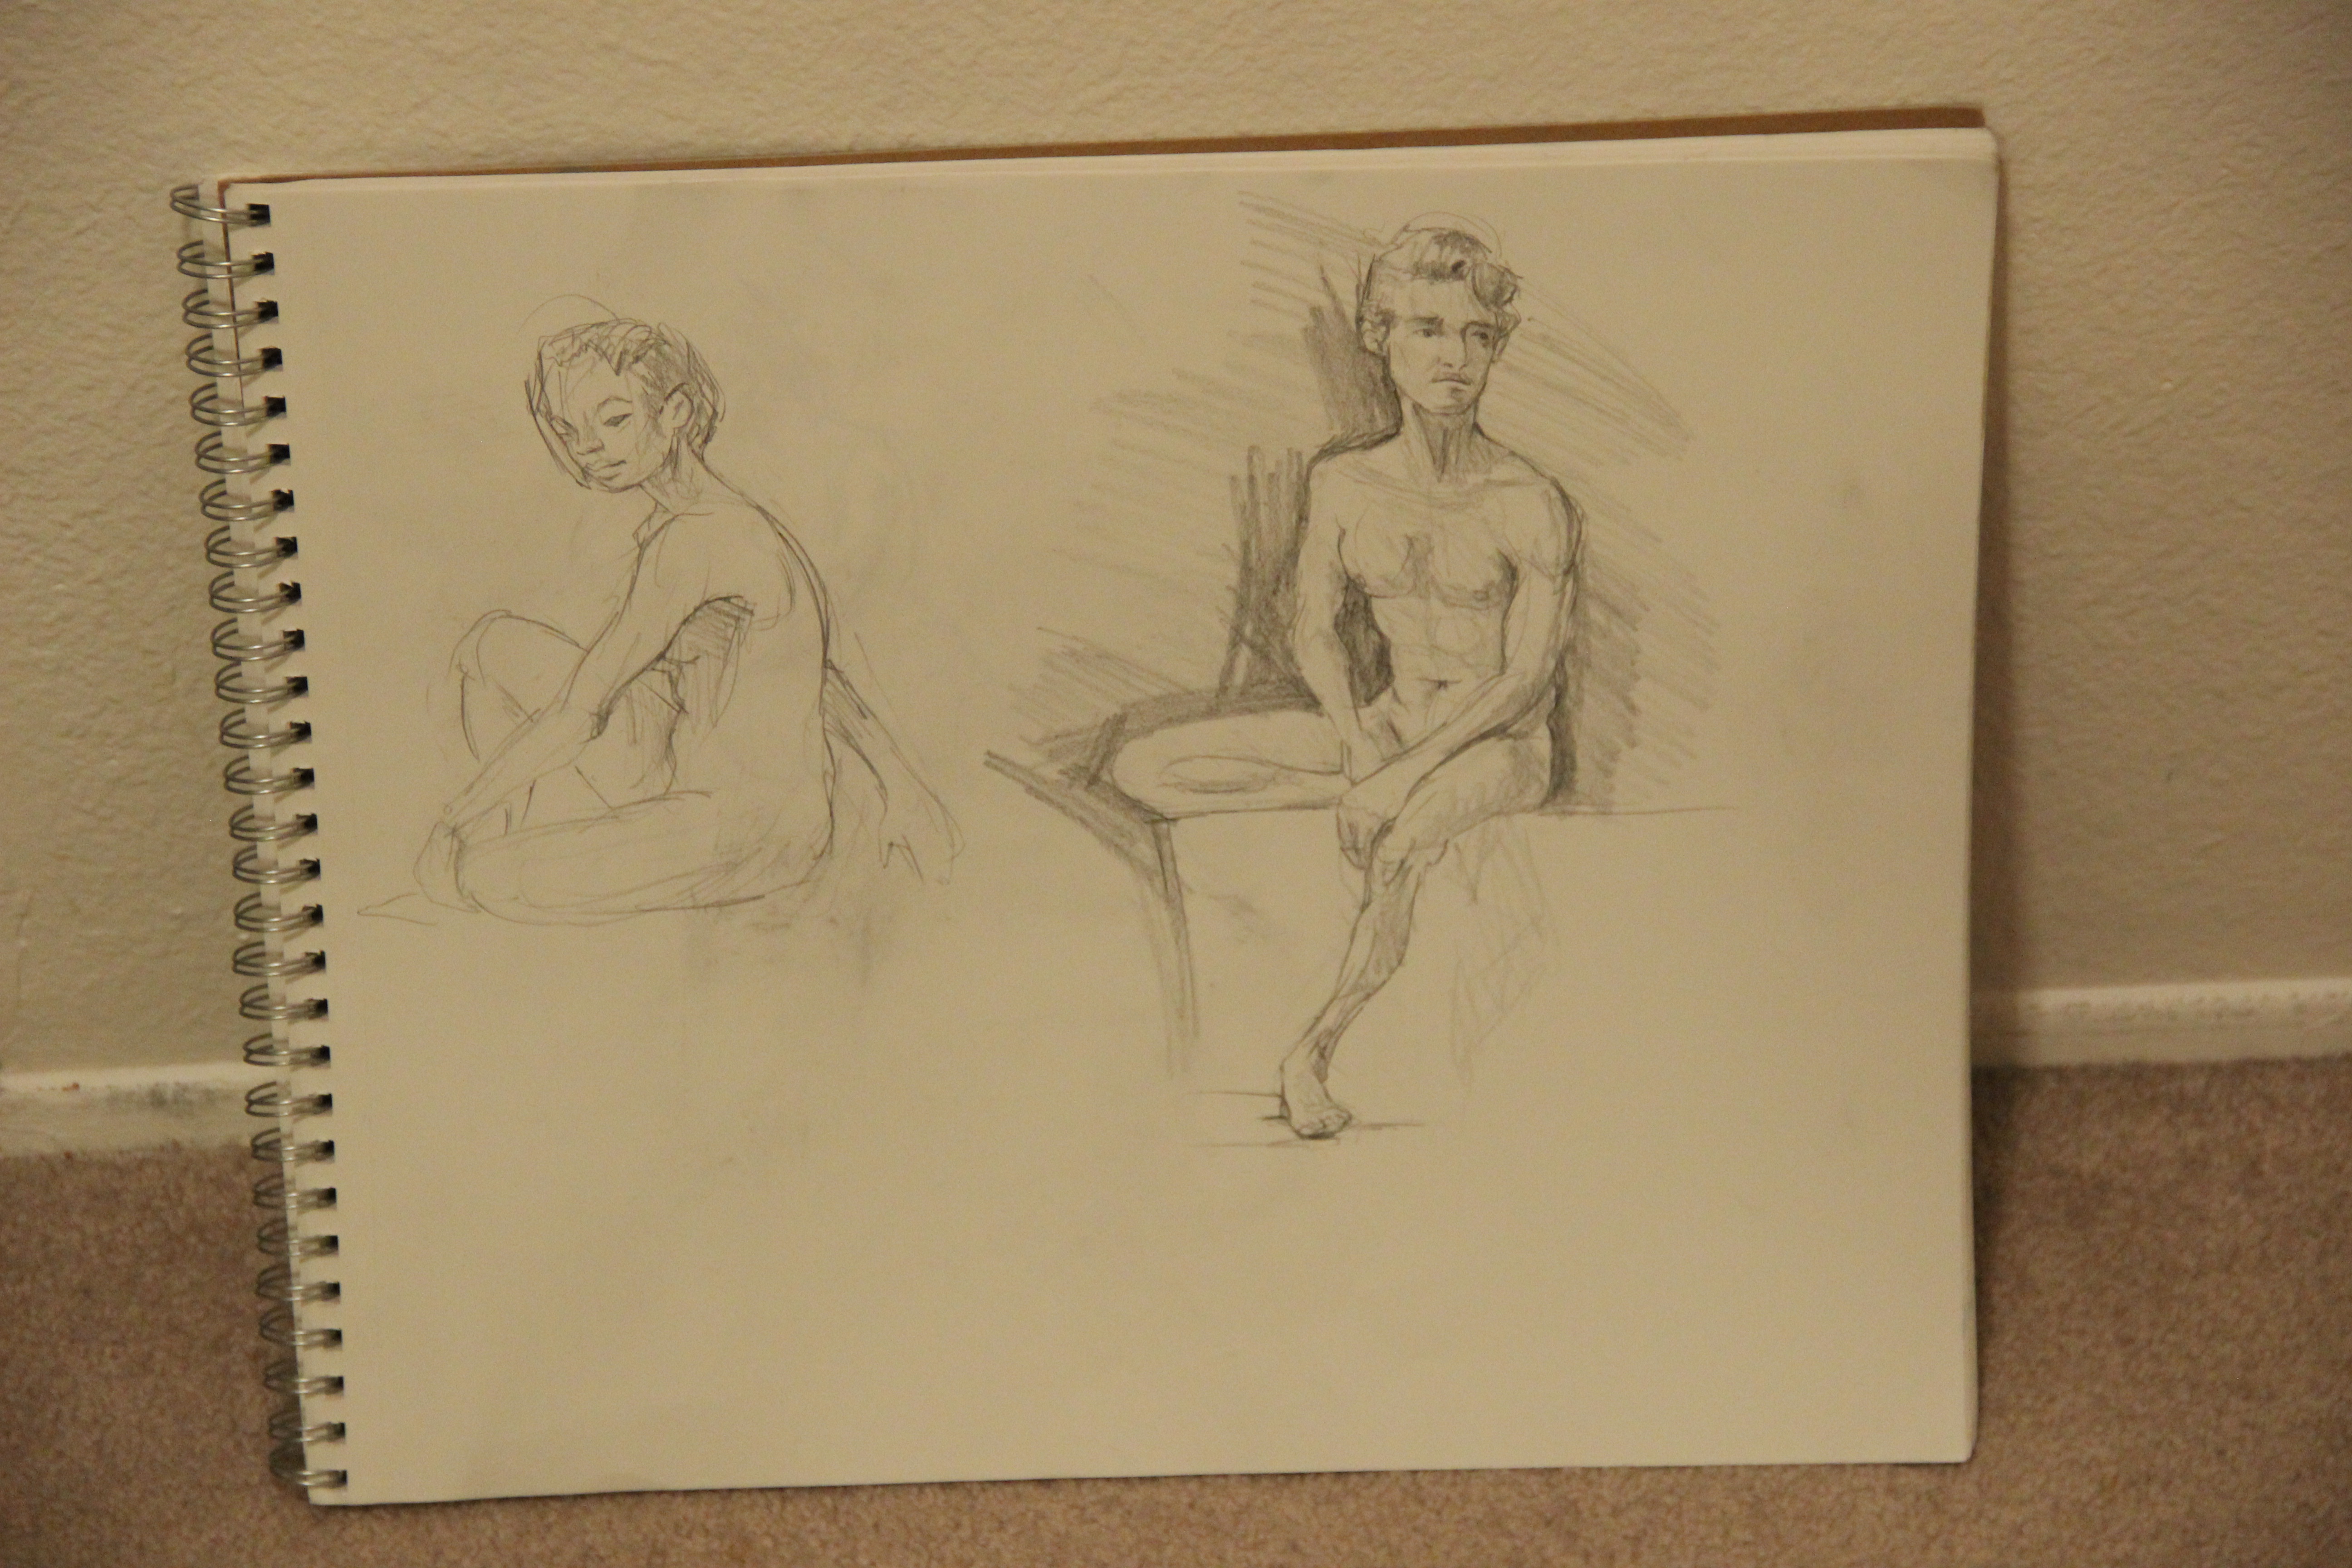
Also, I started a life drawing group. Seattle’s only FREE life drawing group! Learn more at http://bit.do/bldc . I’m due for a huge sketchbook scanning weekend, so I’ll post more life drawing shortly.
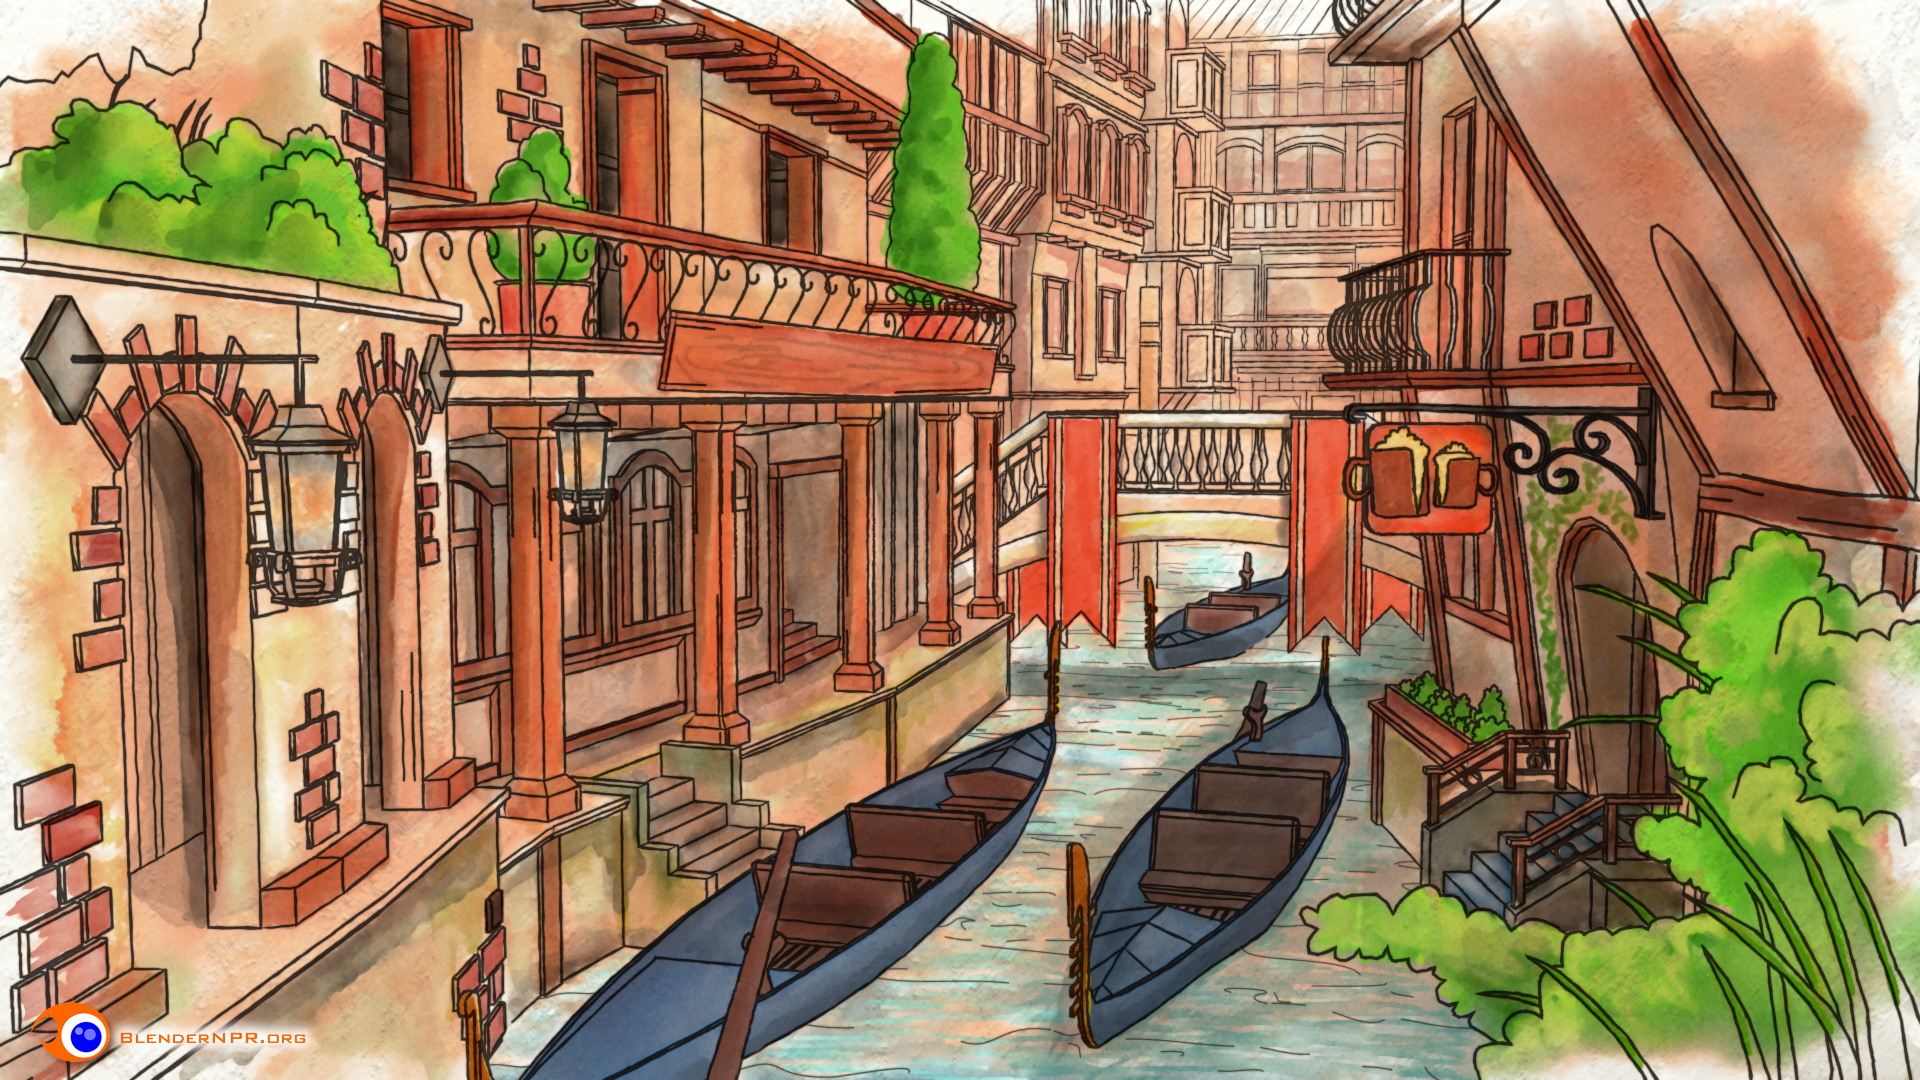
I’ve been seeing tidbits of Freestyle Level Up at Seabug over the last year, and seeing the finished product is a massive enlightenment. Lee Posey and Sage Light Bwk have done an amazing job, and their BNPR homepage should be a routine destination for all Blender users. Freestyle’s development has skyrocketed in recent years, and truly took off when #1. Blender’s render layers reorganized and #2. Freestyle was included by default in Blender. Freestyle’s capability is ready for action, but the Blender community still has a drought of great Freestyle tutorials. Until now. Here’s my review!
Starting off…
If this is totally new to you, a bit of clarification:
Right off the bat, the production value of this series is terrific. Great editing, Clear voice-over, and constant set decoration to keep you engaged in the material. Before I even learned anything, I knew I’d be munching popcorn the whole time. Video game lingo and DBZ references keep you engaged during the most obtuse, difficult concepts.
The guts
Freestyle has often confounded newcomers (myself included), because unlike many intermediate blender tasks, it’s not WYSIWYG. Switch your render to Cycles? It automatically works! You turn on Freestyle, hit render, and…well, lines appear, but how do I change ’em?!
Freestyle Level Up hits this problem right on the head with two major approaches. First, it explains the concepts, so you’re not just randomly turning buttons on and off any more. Sage and Lee take your brain and wrap it around the core concepts, so you understand edge types, line styles, and how it plugs into Blender’s overall rendering paradigm.
Secondly, once you know just what you’re dealing with, you can see infinite Freestyle combinations…and that’s intimidating. No worries though! BNPR’s team have come up with a formidable library of Freestyle recipes. Following along with their various recipes will leave you ready to start with the right style (or really close) right away, rather than fiddling for hours to get it right.
Conclusion
BNPR’s Freestyle Level Up video series fills a massive void in the Blender tutorial universe by covering Freestyle both aesthetically and under the hood. But not only is it the first major offering on the subject of Freestyle, it’s also a highly polished, easy-to-swallow romp that keeps you entertained while you learn. I’ve been excited to see Freestyle’s development over the years, but it’s even more exciting to know what the heck I’m doing in Freestyle! If you’re new to Blender, you might want to start somewhere else; Freestyle (like so much of Blender) is practically a program within a program. But if you’re comfy with your F12 key in Blender, Freestyle Level Up is a great way to add a great new tool to your toolbox.

A quick sketch in Krita of Mr. President.
