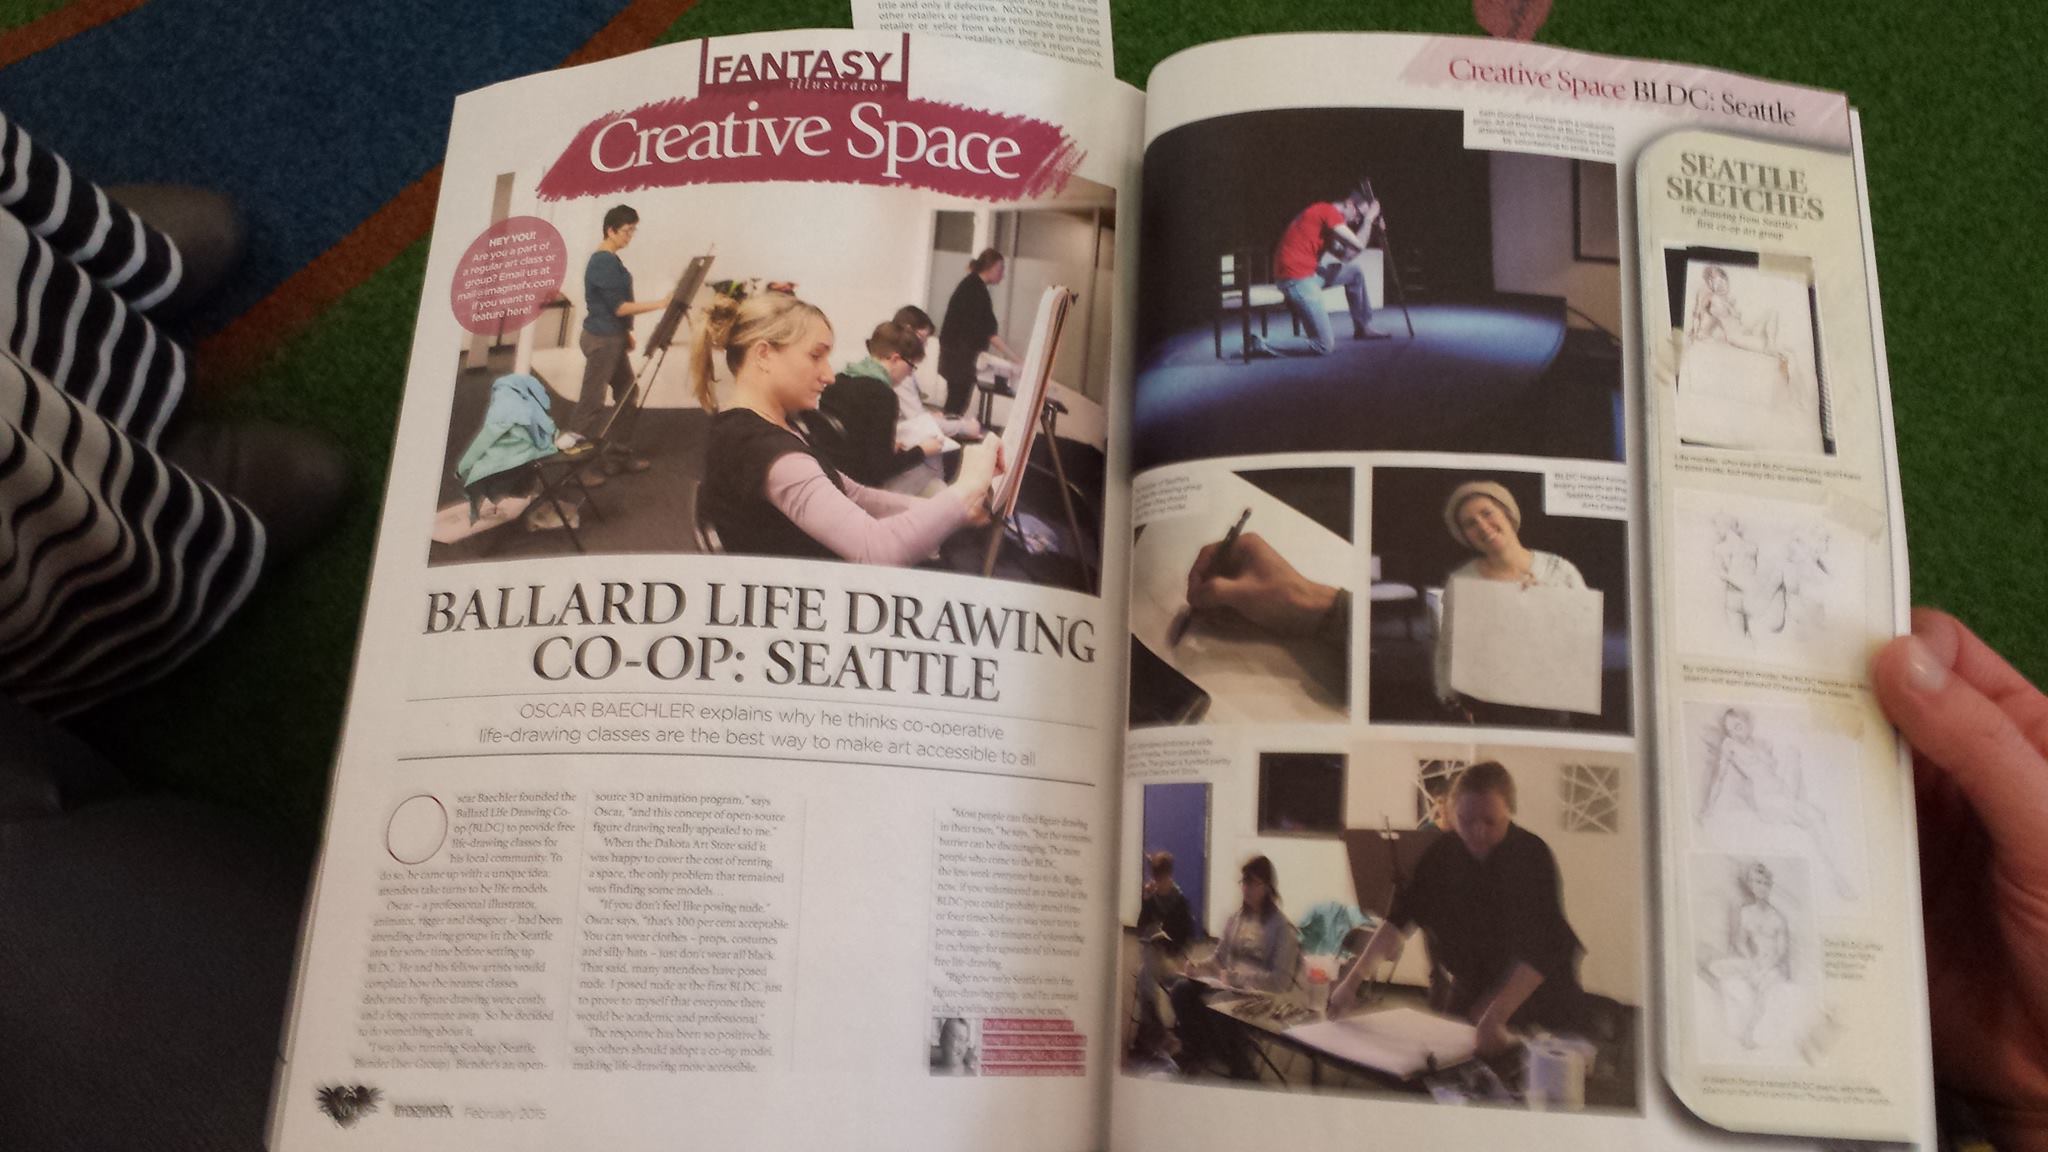
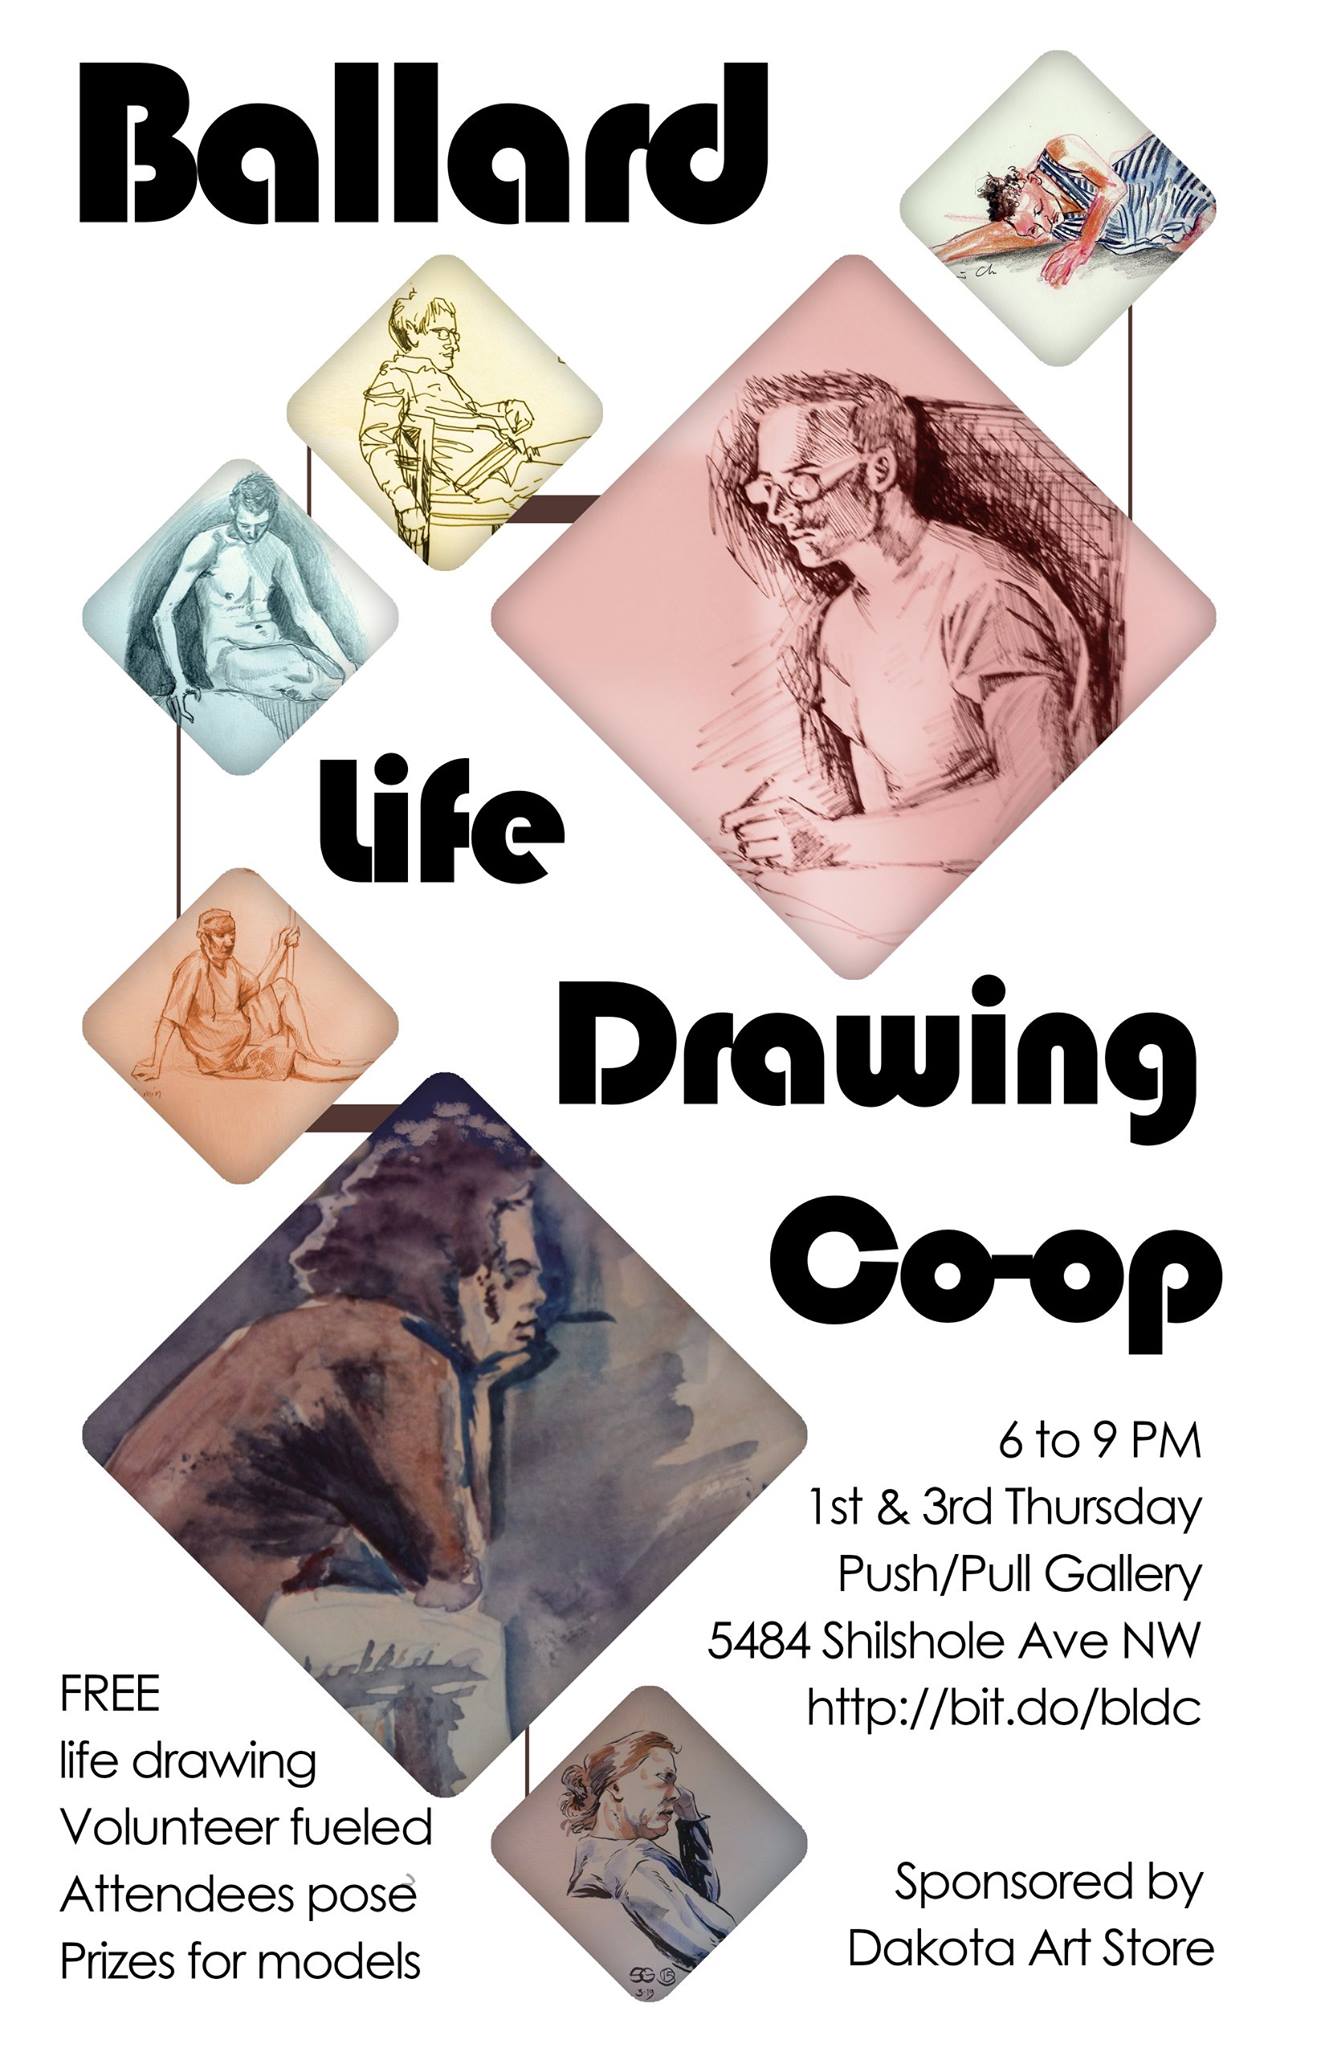
I spent 7 years running the Ballard Life Drawing Co-op from around 2014 to 2020. Then the pandemic happened! When the pandemic finally cooled off and we could meet up again, our venue (Push/Pull) had moved to a new location and we couldn’t pull it off any more.
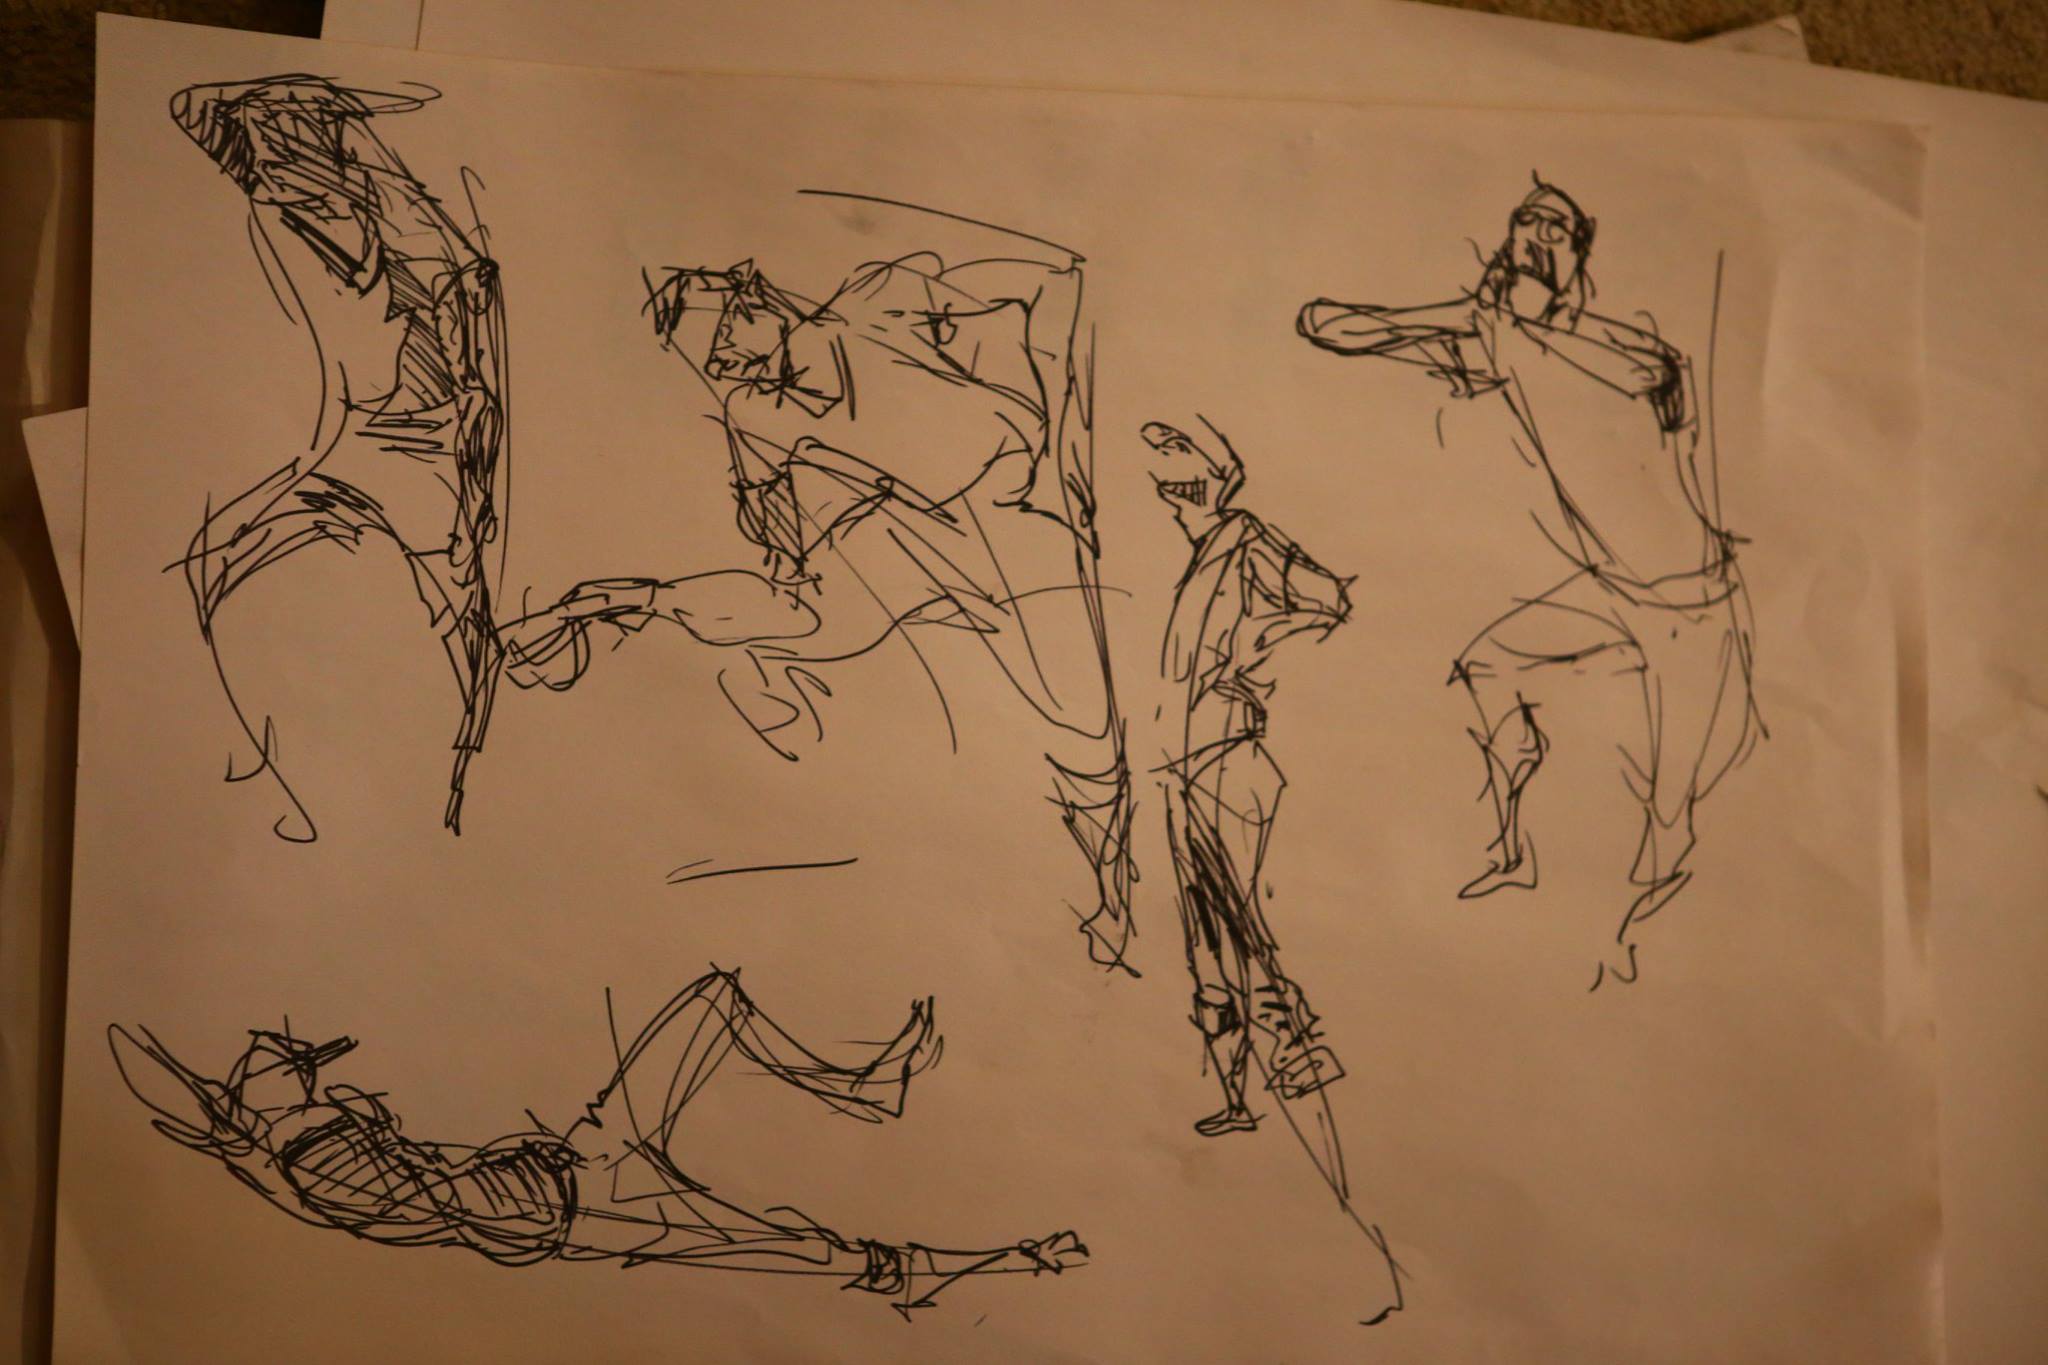
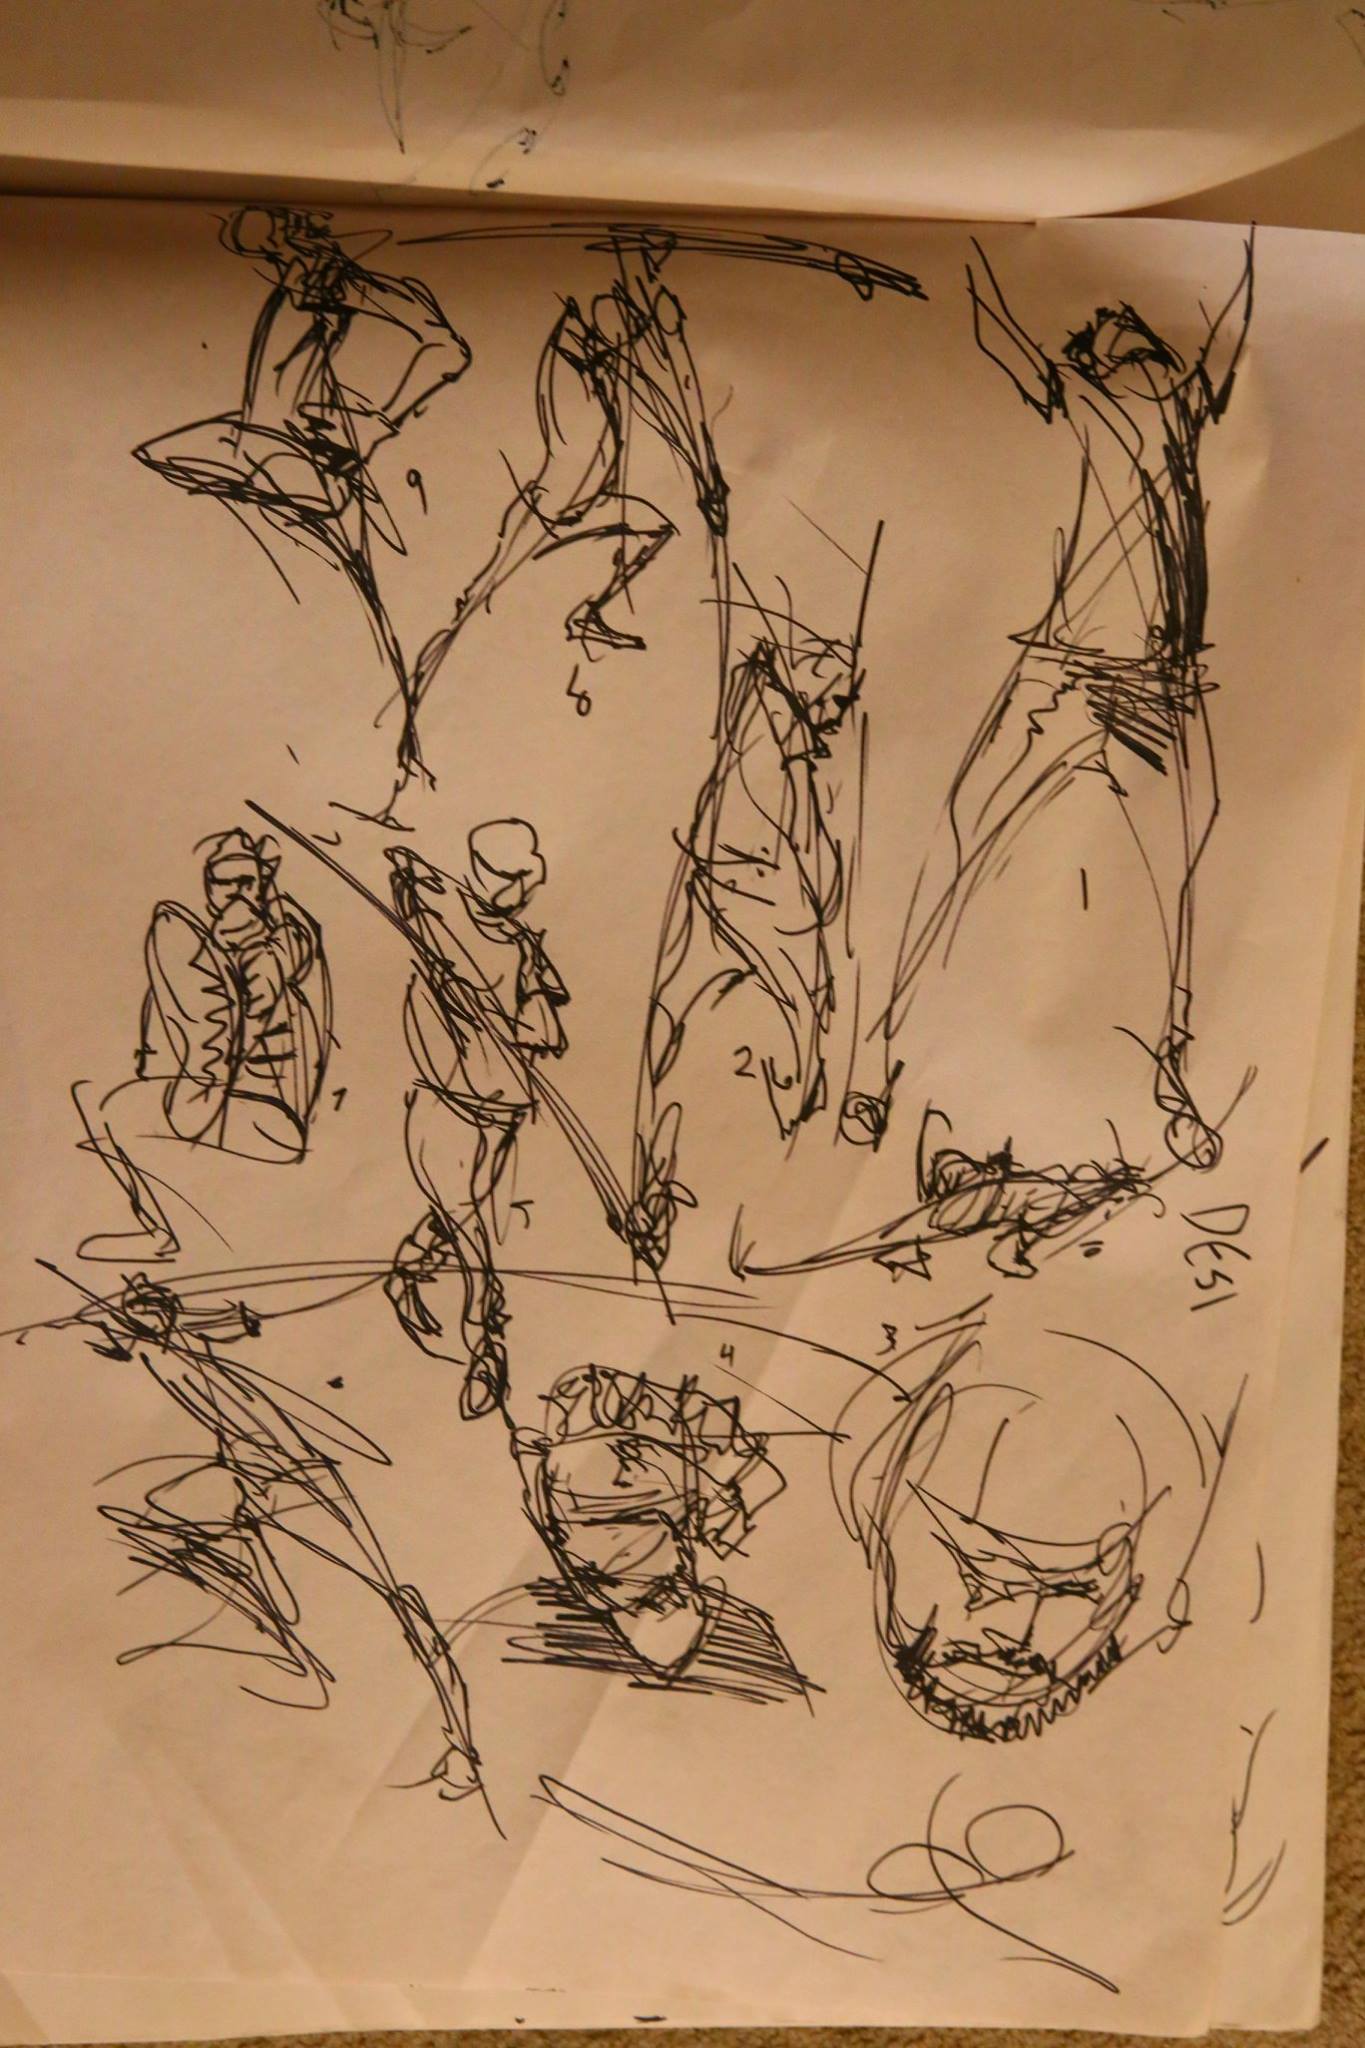
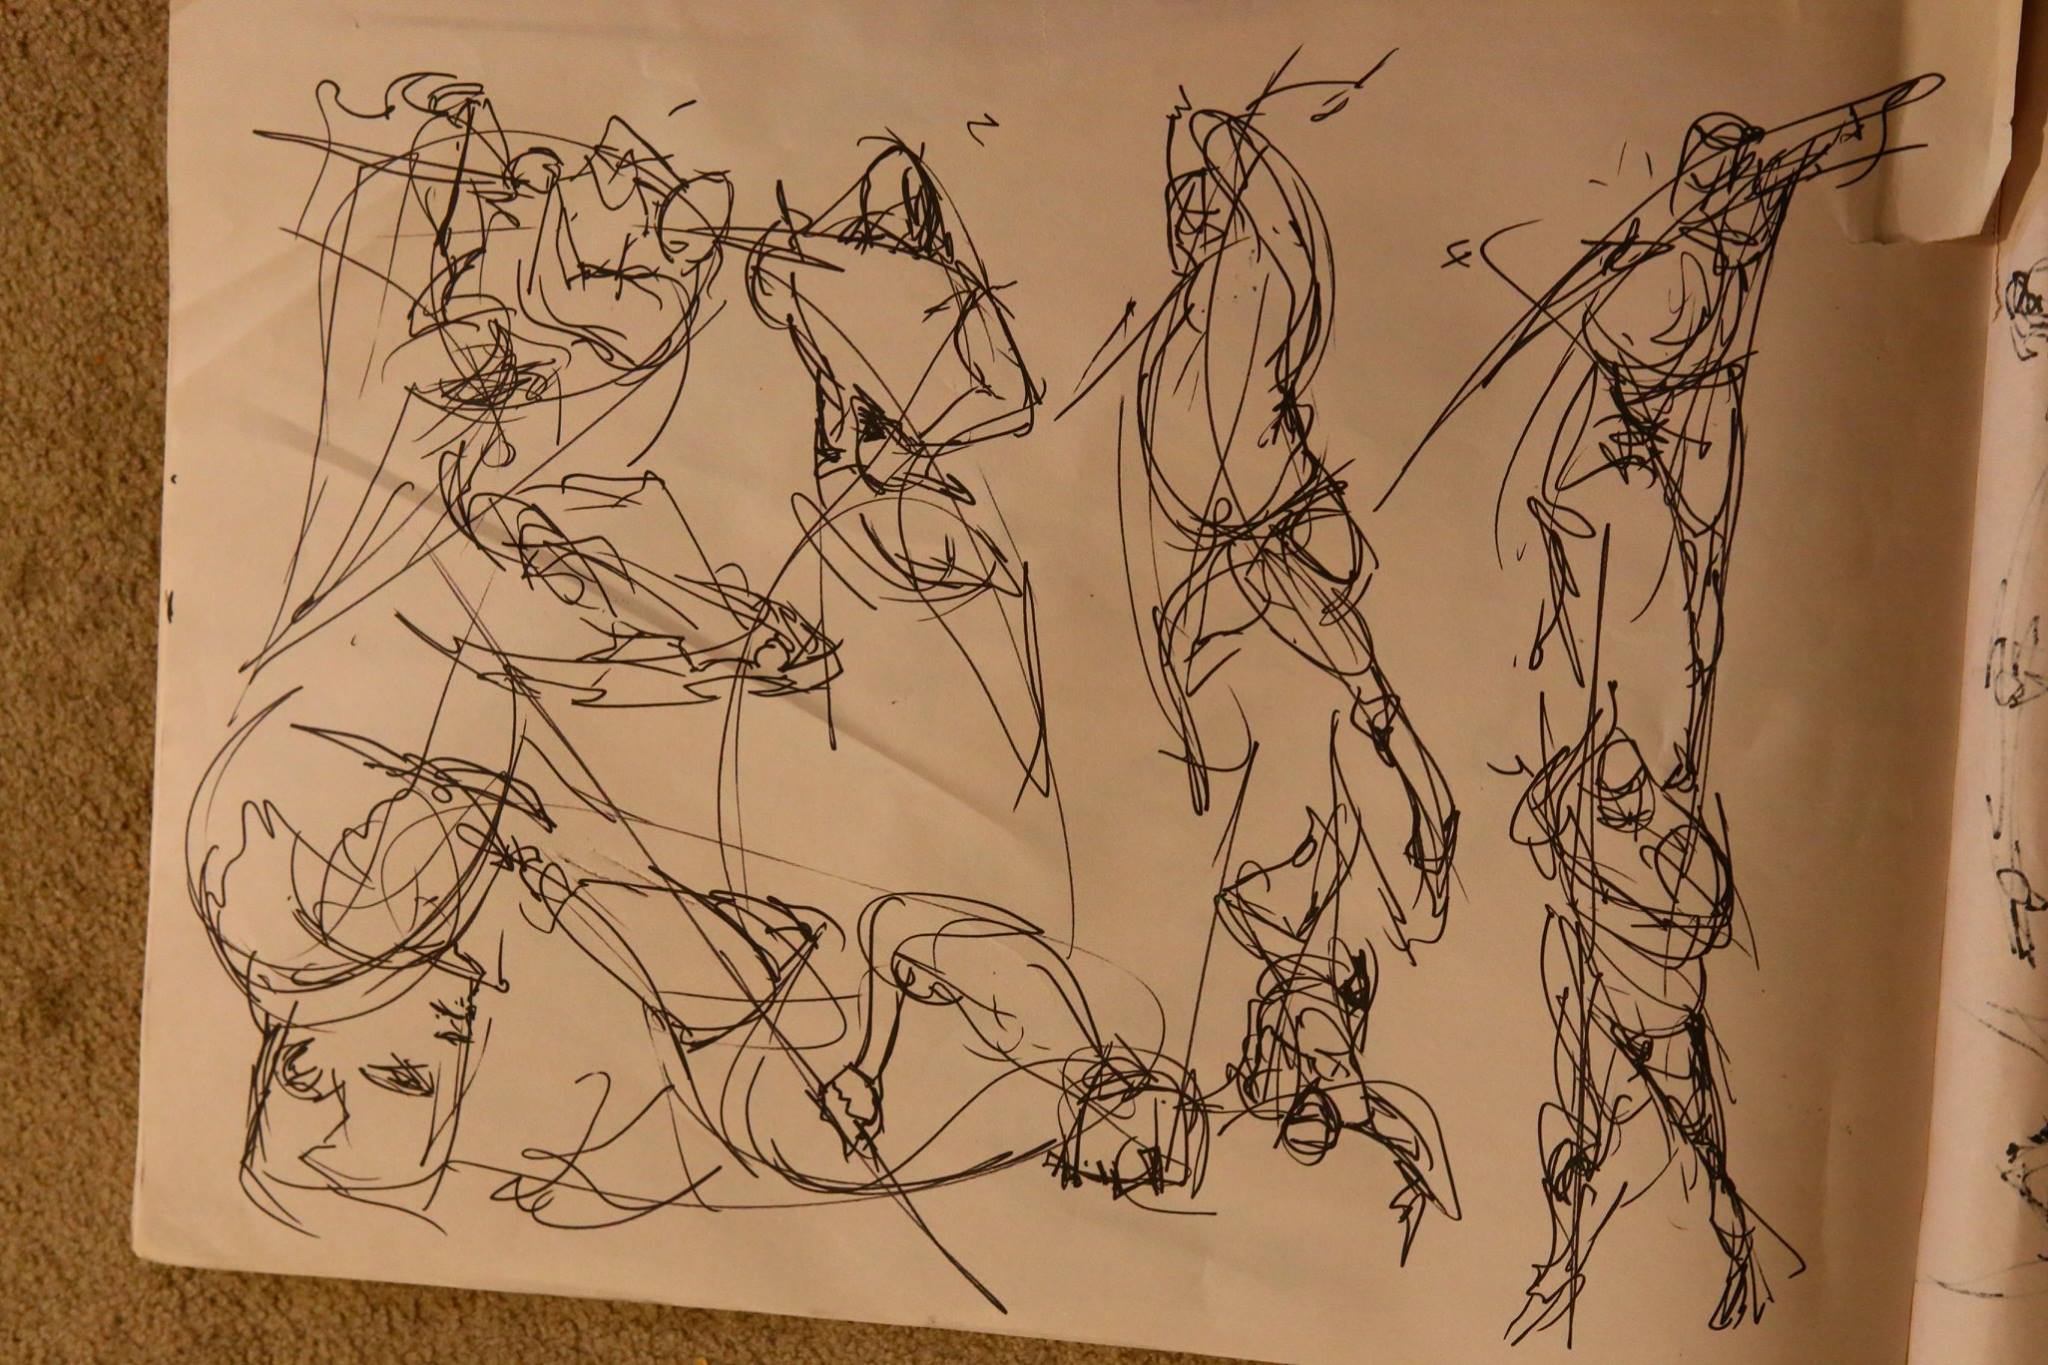
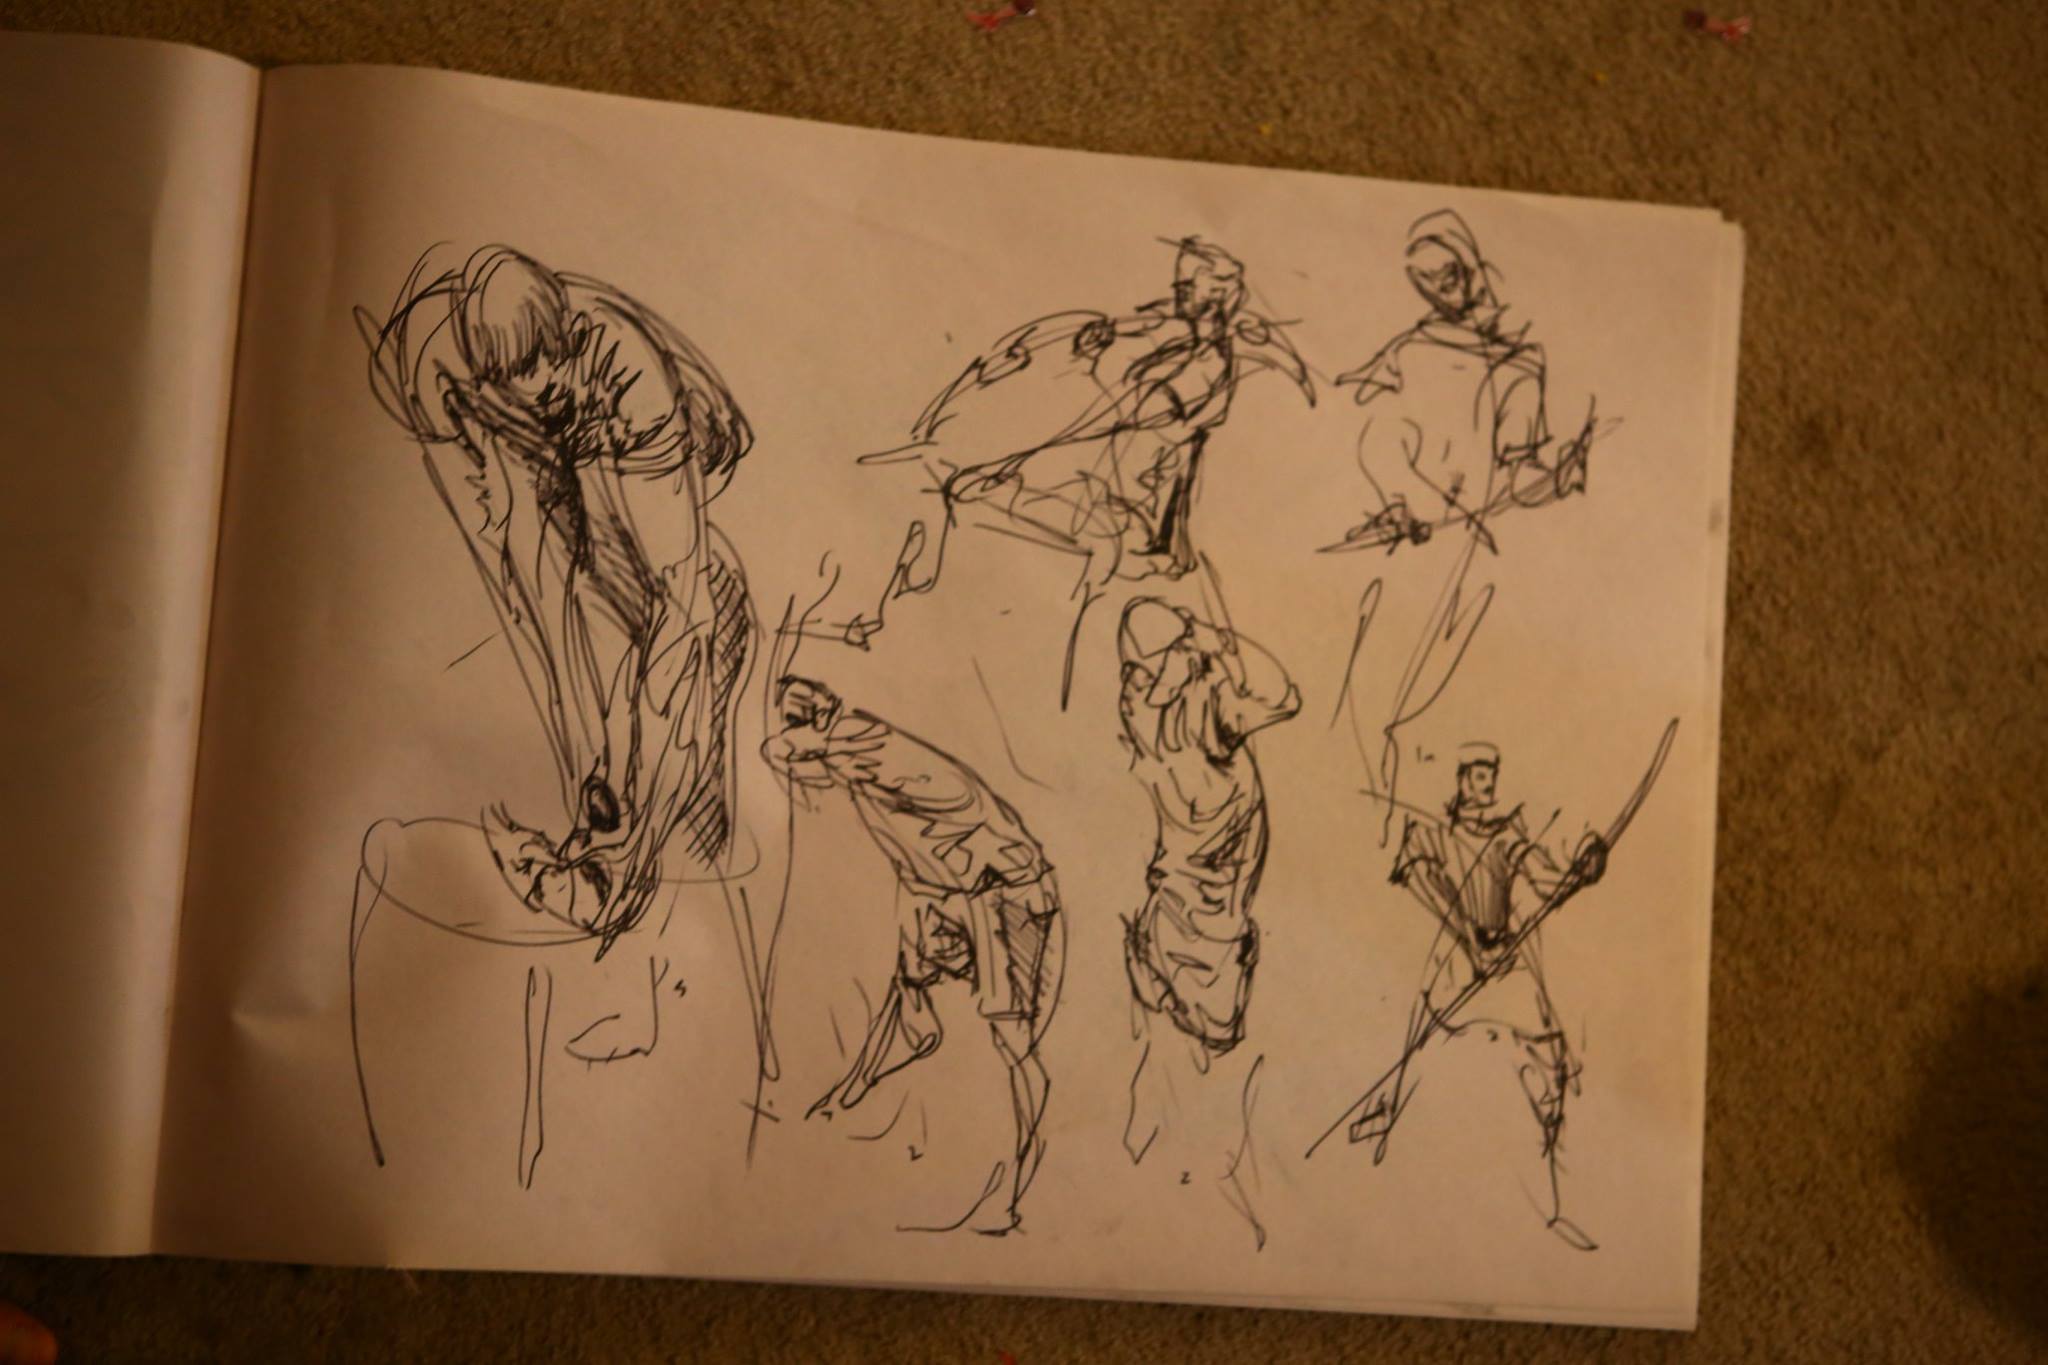
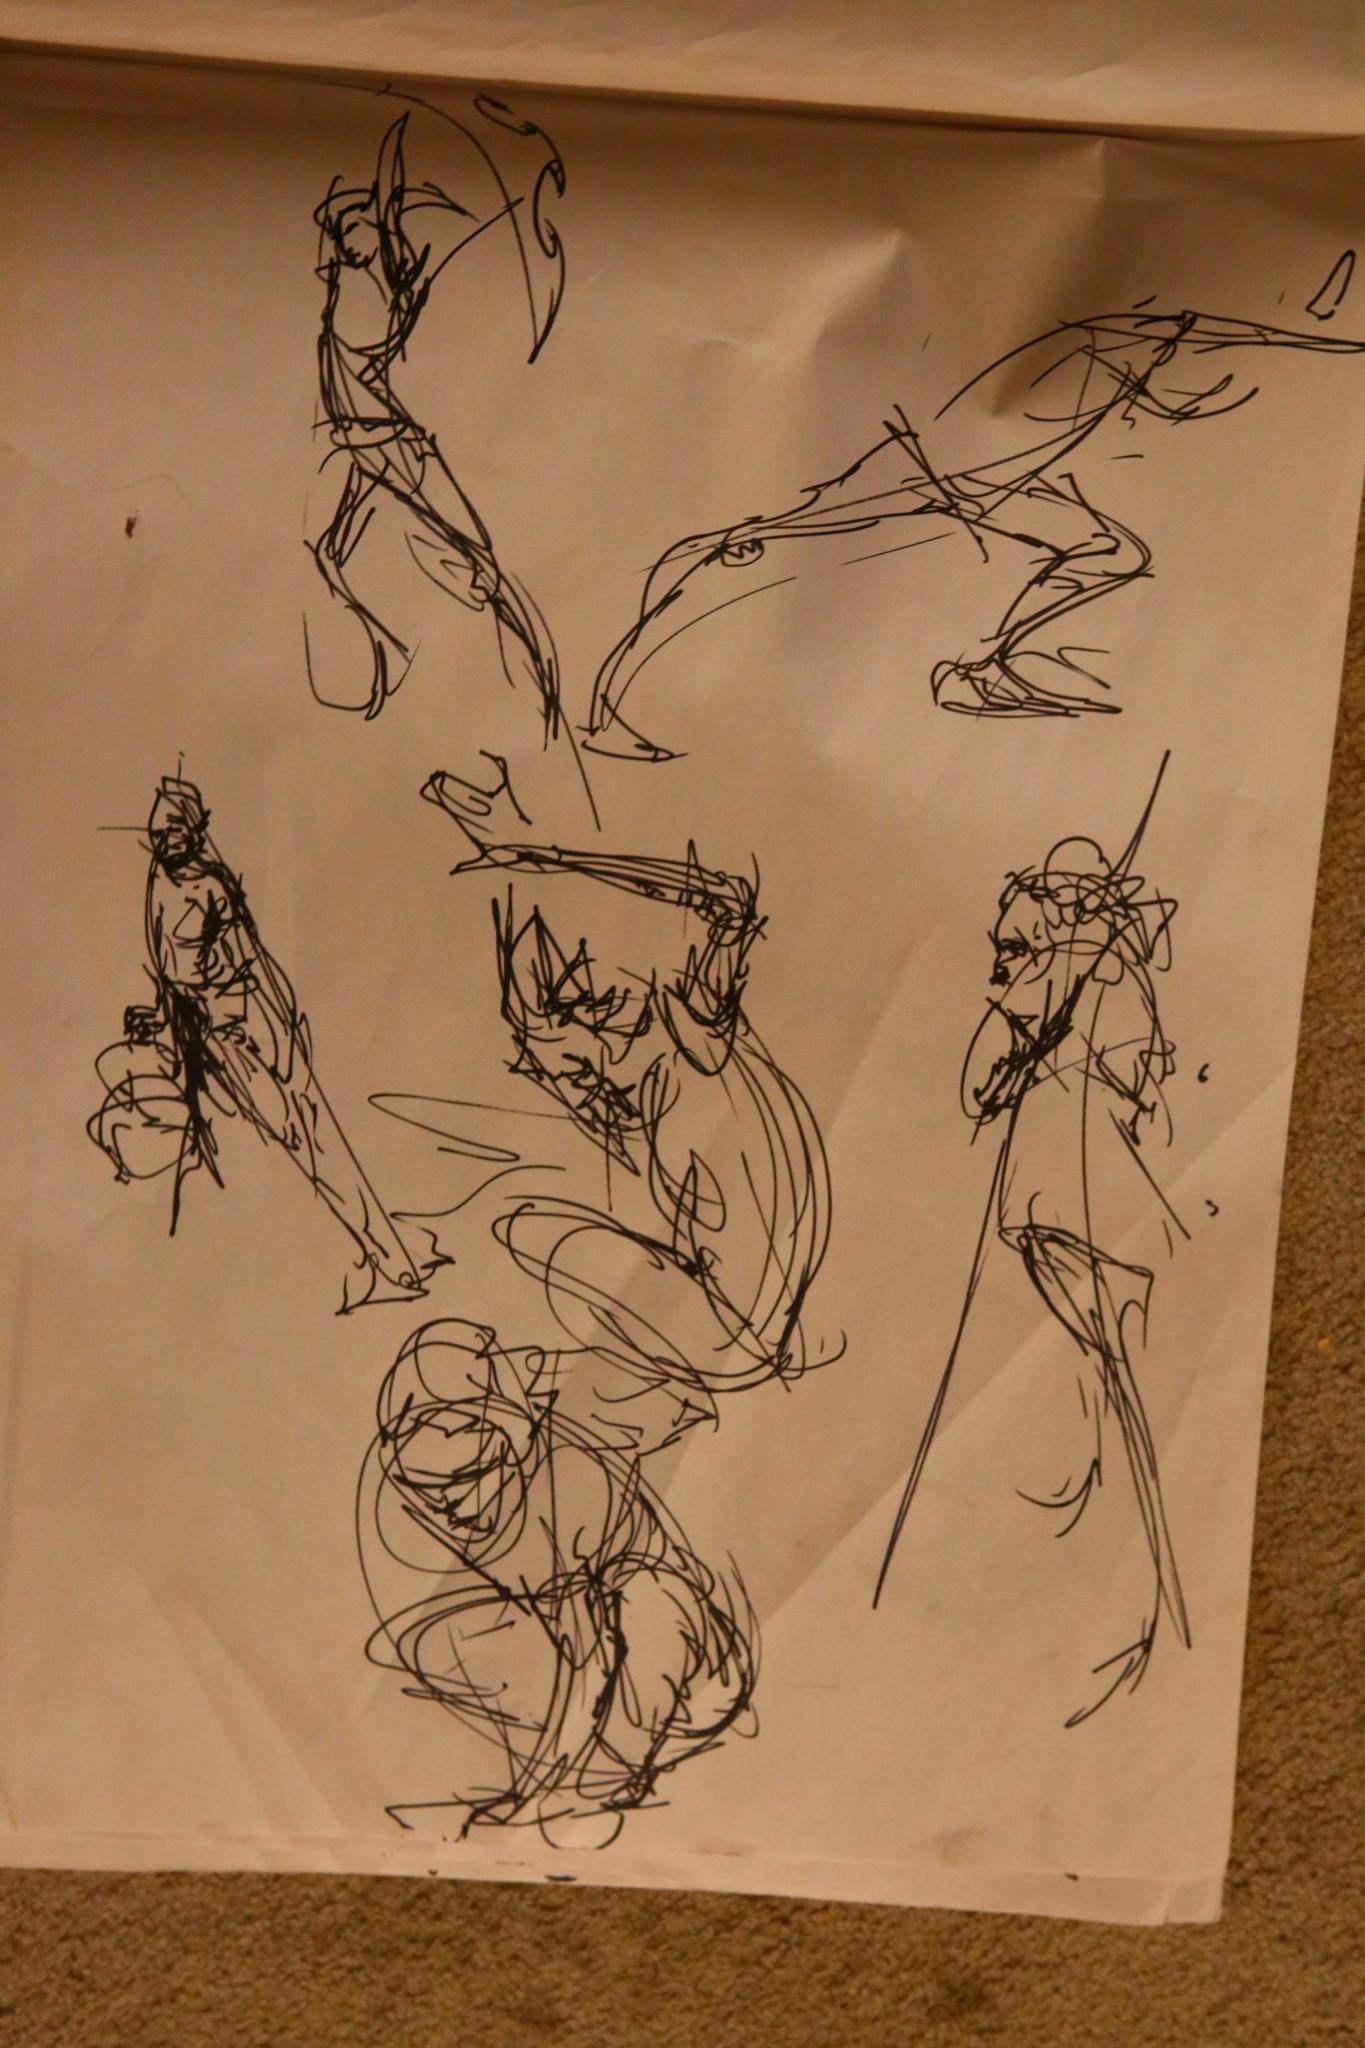
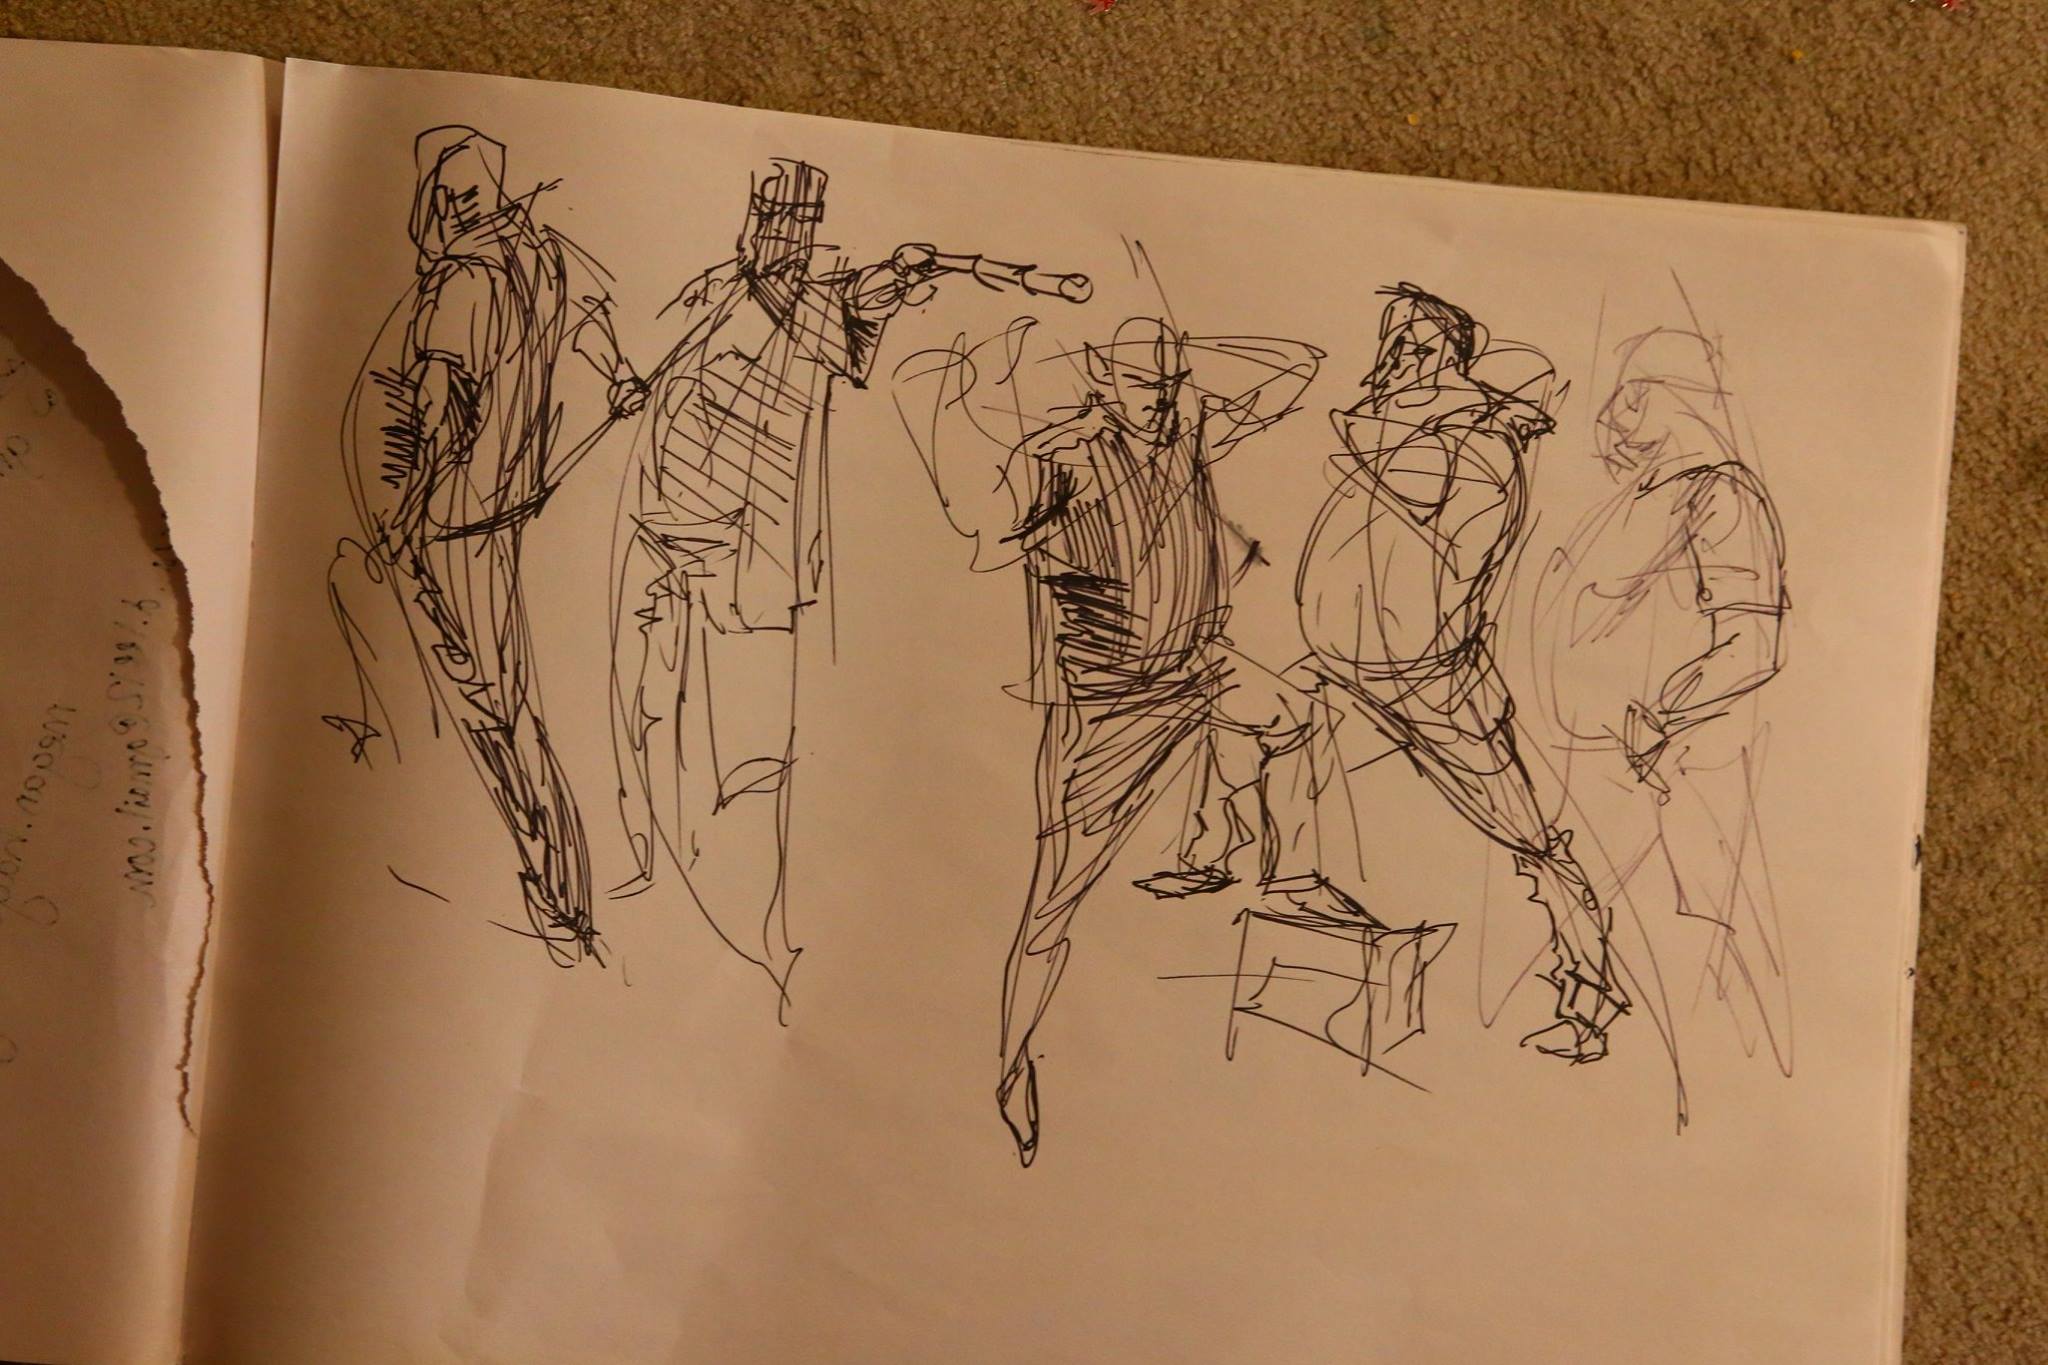
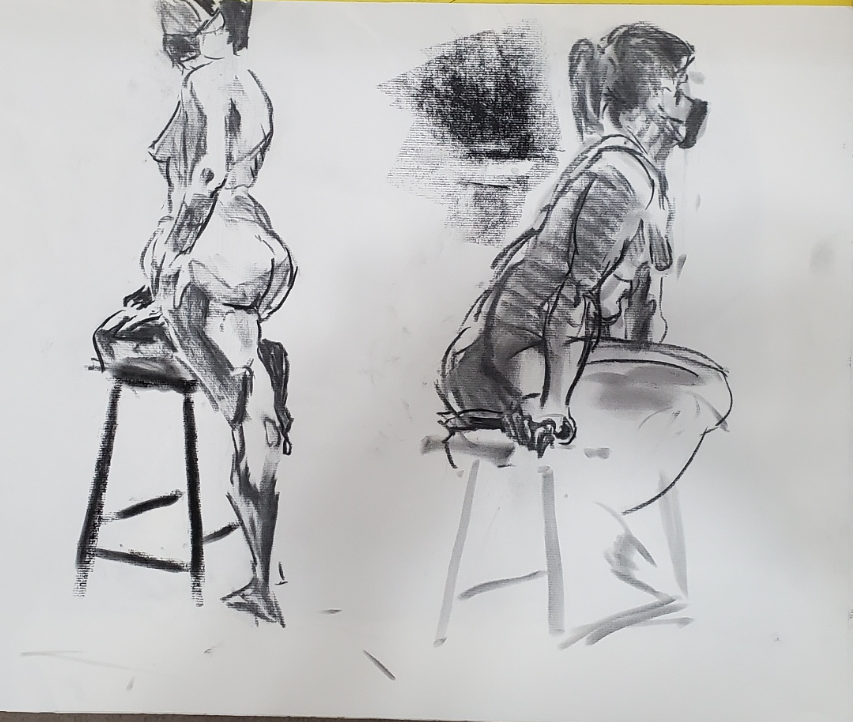
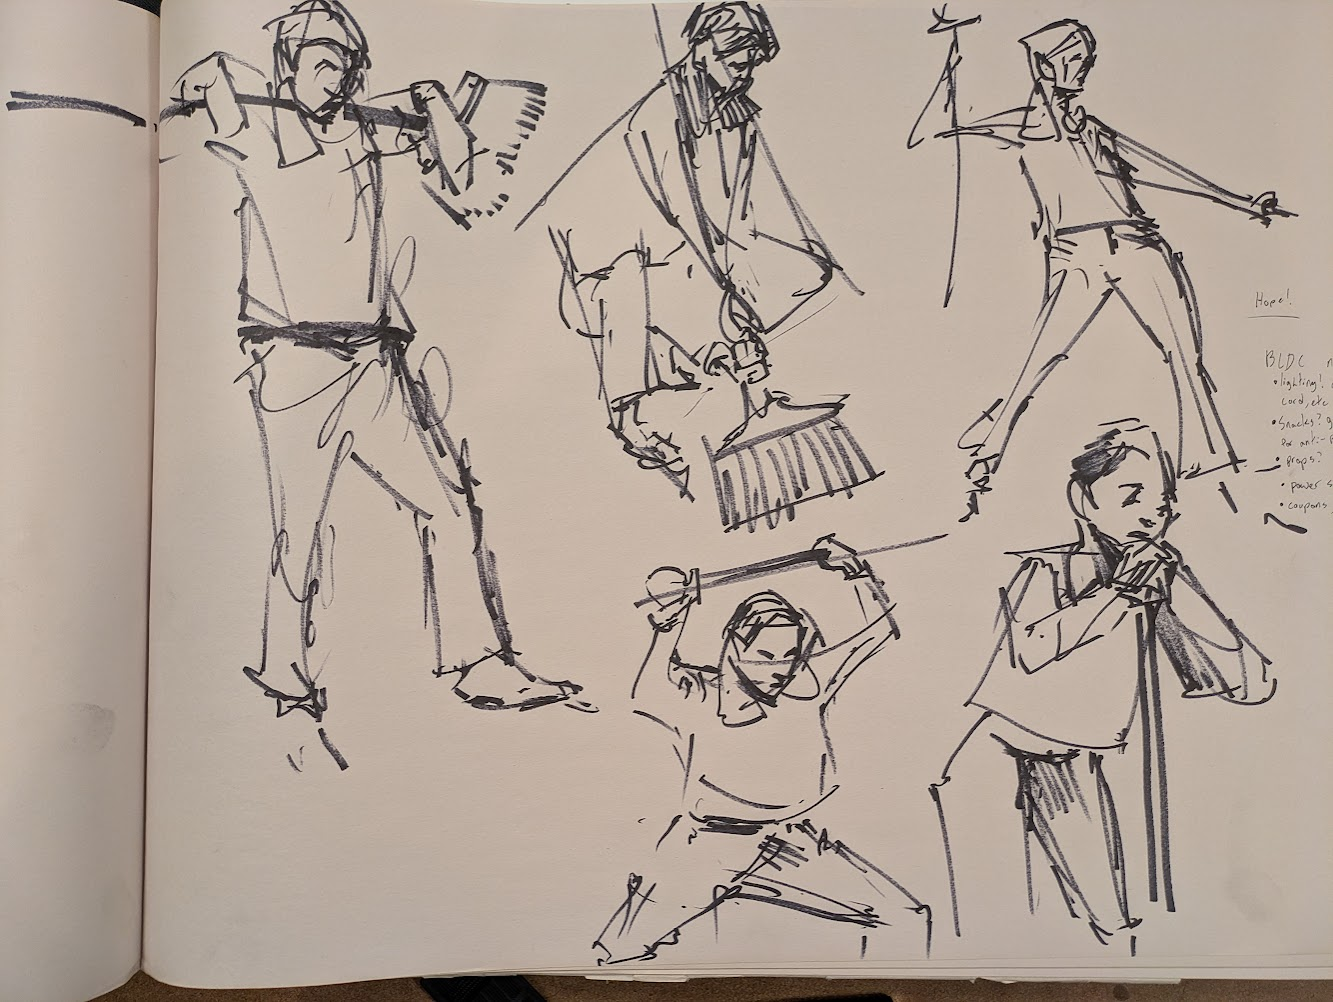
But now we’re at our new location, Oddfellows in Ballard in the spacious lower hall. Last night we had our first return to form, and it was glorious to be back at it! Here are some 2 minute gestures of a new attendee, Hope, and I do think “hope” is the word to describe this promise of a new era for figure drawing in Ballard.
We haven’t had a proper Linuxfest in a long while due to the pandemic and venue setbacks, but I finally reunited with my Open Source brethren in Bellingham for Linuxfest 2025. So many old friends and new friends, it was beautiful and heartwarming to be back. I made the questionable decision to give not one, not two, but THREE talks on open source graphics software: Blender, Krita, and Godot. I’ll post the other vids as they get released!
Never model a barrel again thanks to the Ogbog’s Grog Barrel Generator! It’s all generated off a curve, so hop into Edit mode and use Beziers, twist, and radius scale for the exact barrel profile you need.
SO MANY PARAMETERS ON TAP
Hop into the geometry nodes parameters and customize your barrel’s staves, hoops, head, rivets, and bung. The possibilities are endless!
OTHER USES AS WELL
Need a low poly version? Sure, just click the box and it’ll be included for output! (You’d have to apply/separate/bake it yourself, dear.) Wanna make something more abstract, like Colossus arm rings or a weird cage thing? Yeah! It can do that, kind of!
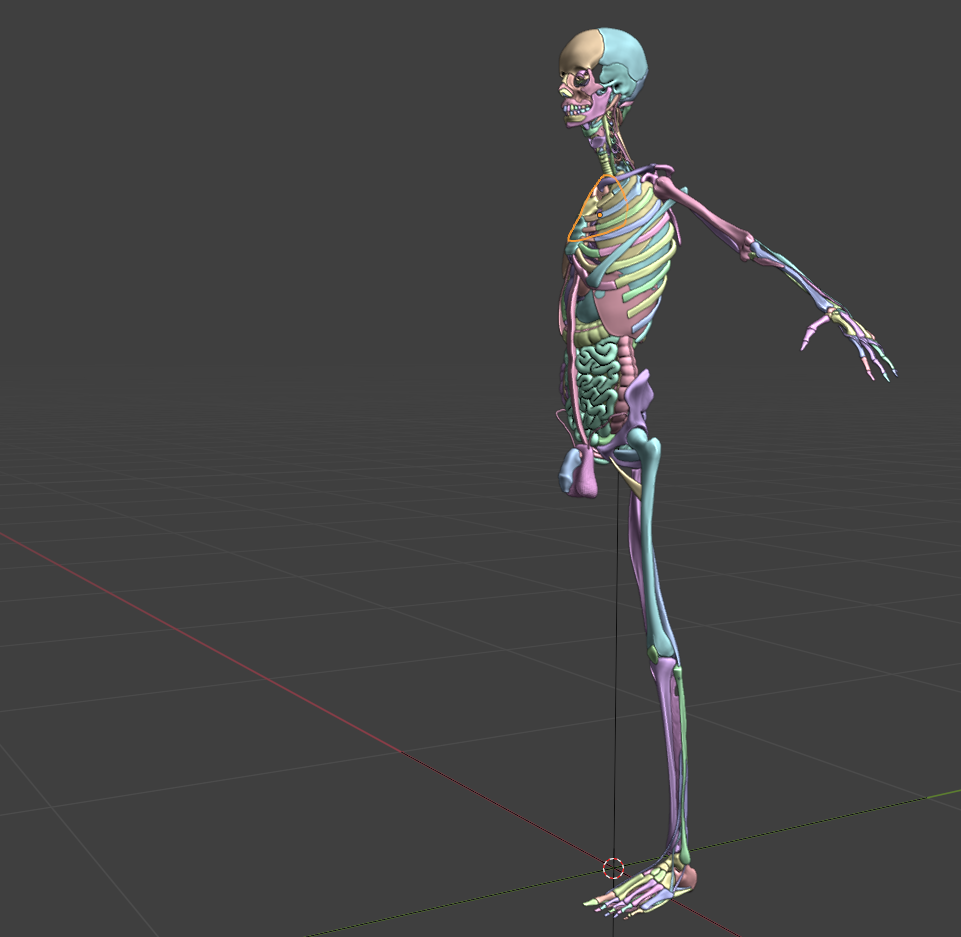
I’m revisiting my old huge anatomy atlas and hope to release the new version soon. Remember this bad boy?
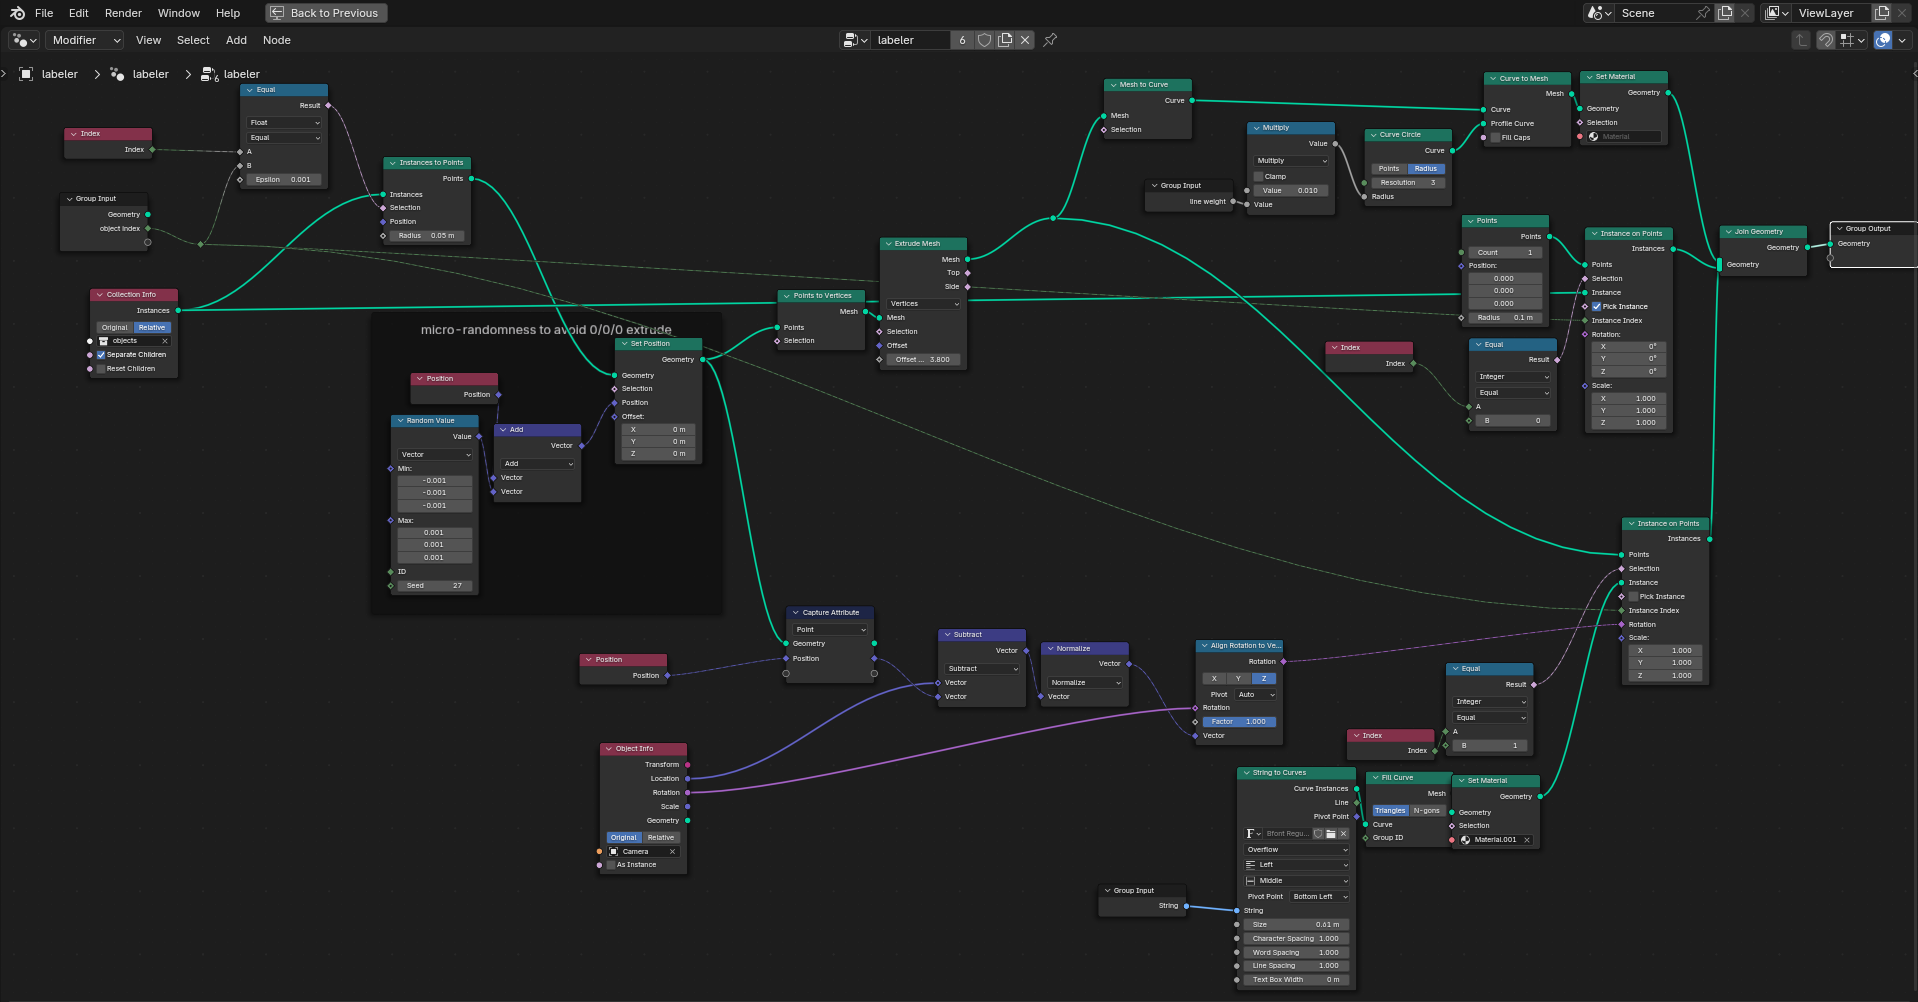
It’s a good use case for Python when geometry nodes only takes you so far. I’m giving everything proper anatomical names, so what about displaying the names? The problem is geometry nodes can’t access an object’s name as an attribute to pass as a string So enter python. First, here’s a geometry nodes setup that makes a label line from instance origin outward for an object at the input index, then makes an input string curve that orients to the camera
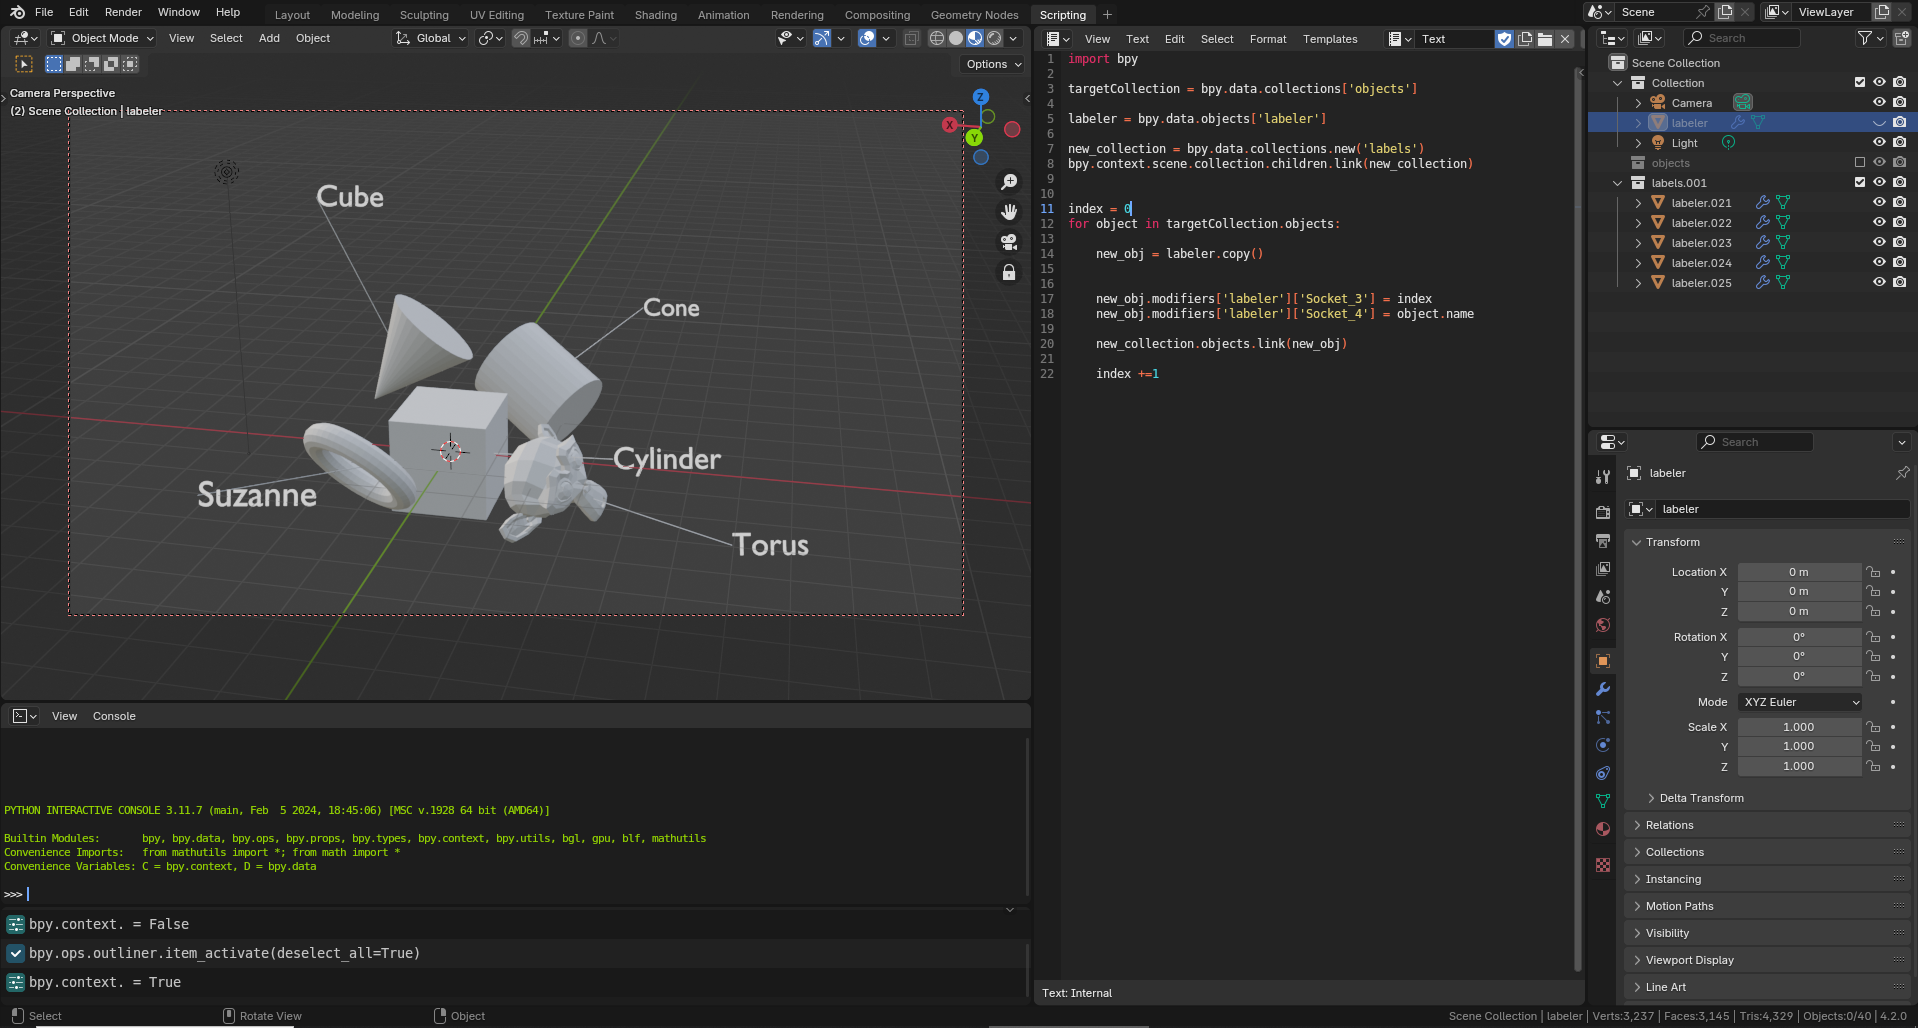
Next, Python makes a version of this object for each object you’d want to label (AKA everything in a target collection) and changes the GN string to the name of objects at the given index. Instant labels!
The official first release of Meat Machine is here! This project is many months in the making as part of a quest to develop a more clay-like écorché sculpting environment that truly feels like it was designed for artists. Buy it here! https://ogbog.gumroad.com/l/meatmachine
SCULPT LIKE YOU’RE DRAWING
Meat Machine utilizes Blender’s Geometry Nodes for a revolutionary new workflow that mimics real world Écorché sculpting as a methodology for sculpting block-ins, medical visualization, and gore! Er, I mean, more. Utilize Blender’s curves drawing interface to create volumes quickly and unleash more artistic workflows with instant feedback. No more clunky sculpting and object positioning!
BONES
Create a wide variety of bones and bone profiles, including controls for epiphyses (that’s the bony chunk at the ends of bones) and spikes of differing amounts.
CHAIN BONES
For spines, tails, and fingers, blast all that in with like a single stroke, chef! Chain tools instantly subdivides and populates a spline with multiple bones. You can even reference in a collection of models if you’ve got some vertebrae or teeth you’d like to pop into place!
MUSCLES Unleash the awesome power of muscles, which include UVs, a muscle material, controls for shifting the UVs for extra tendon. Segment them for things like abdominals, or create sheets of muscle like some totally ripped pecs and traps.
BLOBS
Ever want to just bubble in a character? With Blobs, you can turn every stroke into an instantly filled hunk of meat. If you’ve ever studied drawing methods like FORCE drawing or How to Draw Comics the Marvel Way, this is the gestural sculpting tool you’ve dreamed of!
FAKE VDMs
Don’t you hate VDM textures in sculpting? Sure they’re cool, but you get stuck with resolution bottlenecks, no recourse after the stroke, and it’s all on one big stinky sculpt object. With fake VDMs, you can draw in a collection (such as one with a nose made of multiple objects!) and control it all after the stroke.
ARTIST FRIENDLY CONTROLS
Utilize Twist with Ctrl + T and scale with Alt S at every step of the way to customize every muscle and bone you lay down.
VERSION 1.0
This initial release is compatible with Blender 4.1 and cleans up bugs from earlier prerelease versions.
Several of the test sculpts have been removed, as cleaning up parameters damaged older implementations. Also, the name was changed from Boner to Meat Machine so that purchases will be less suspicious in your bank statement.
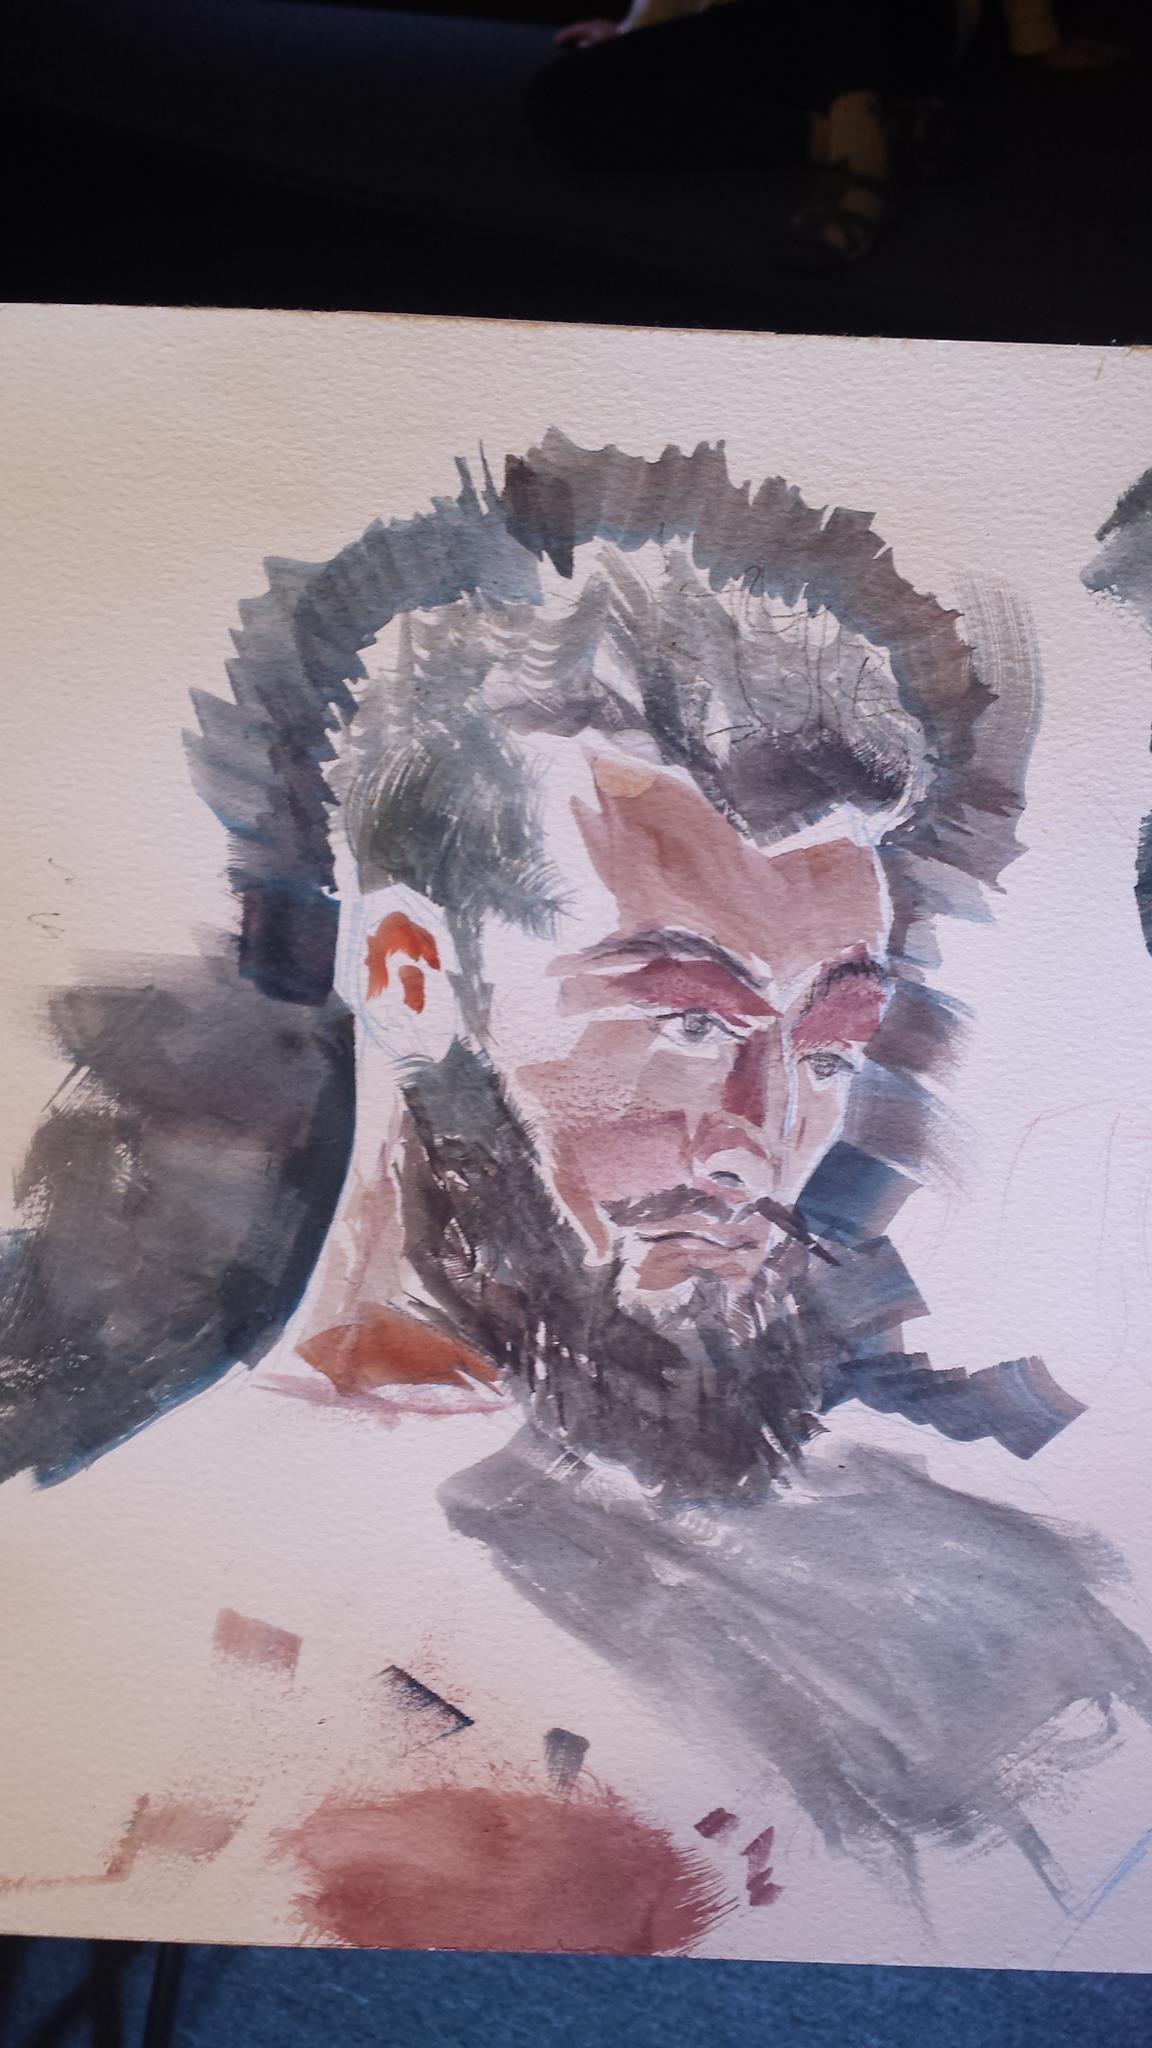
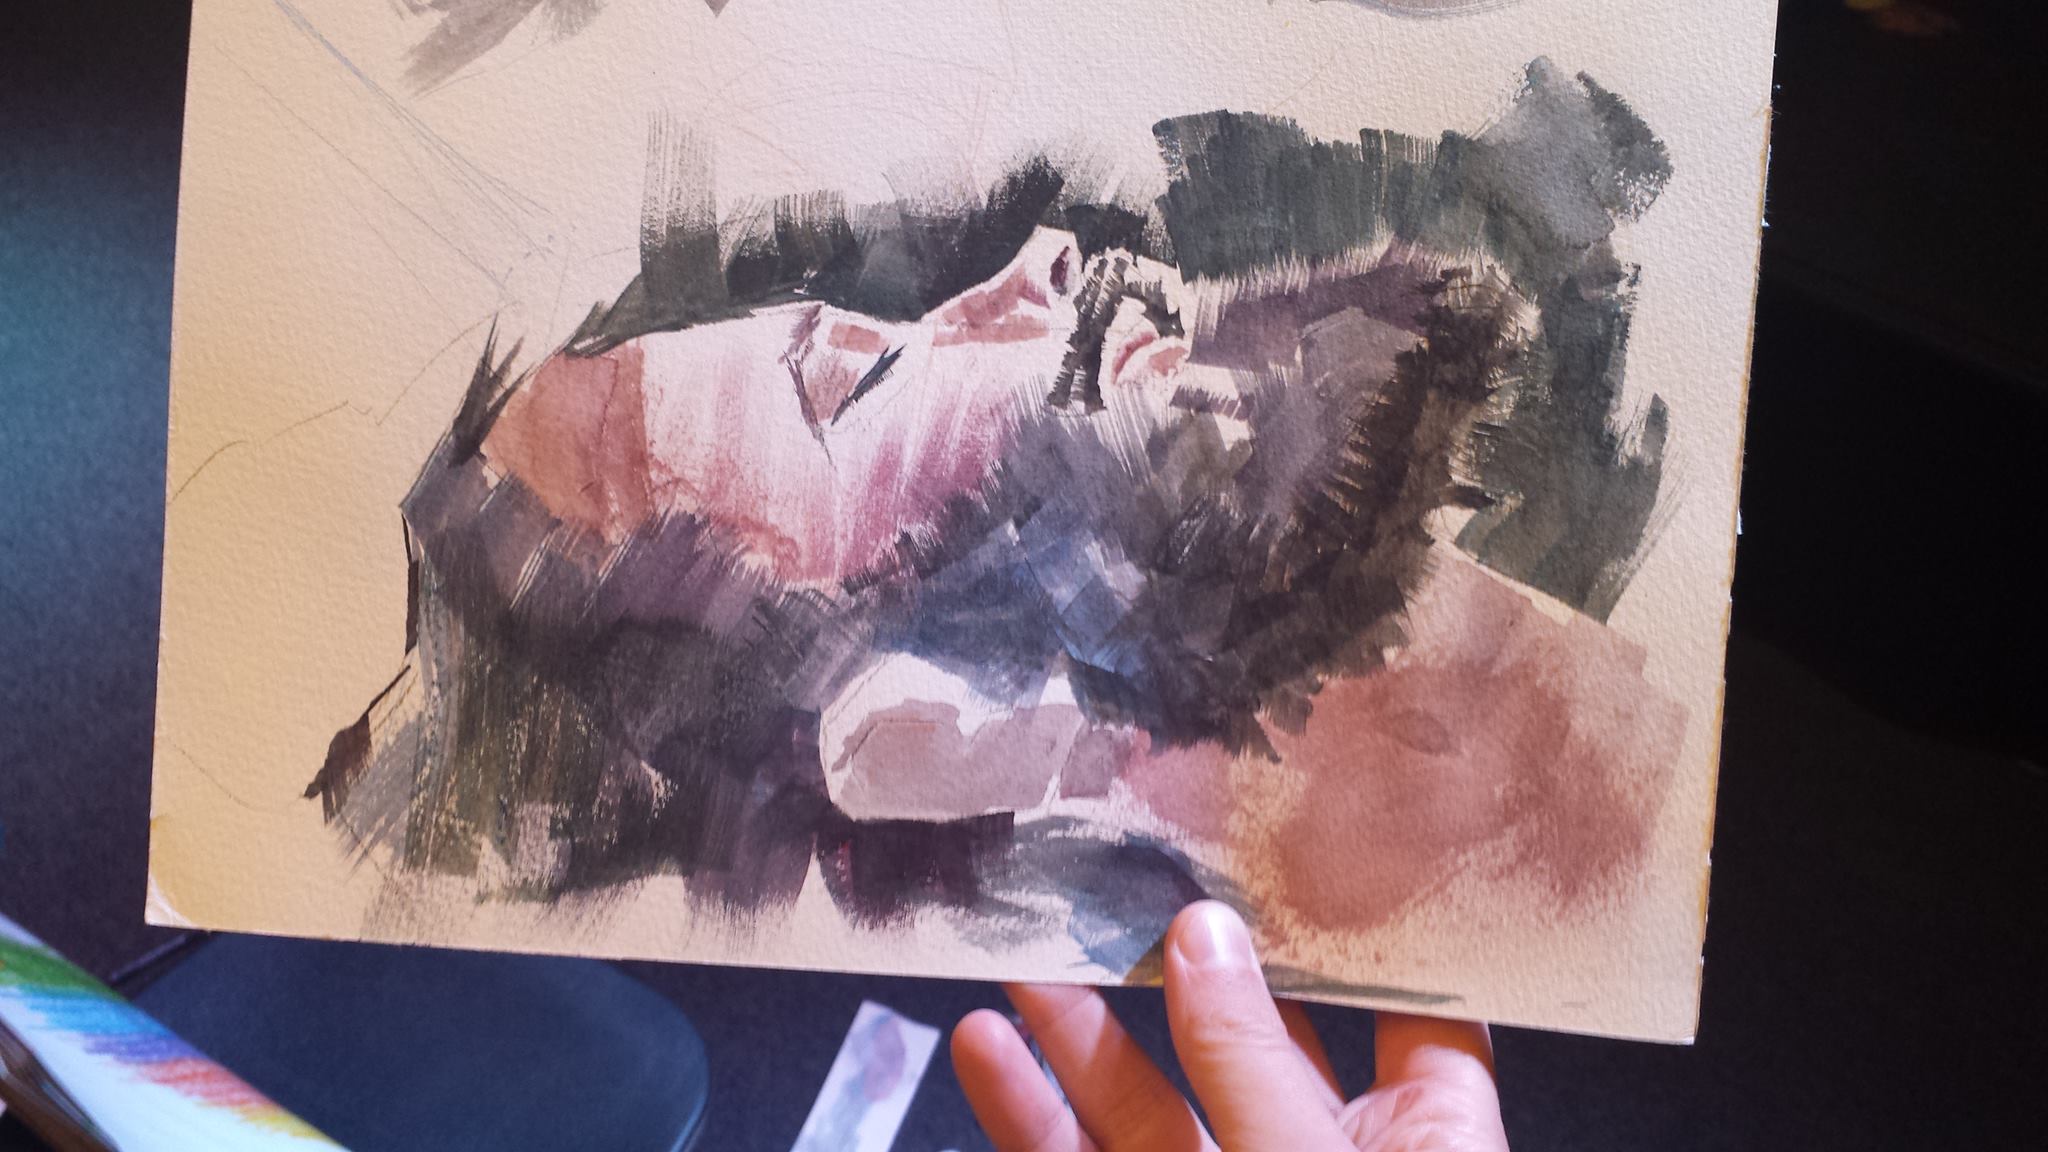
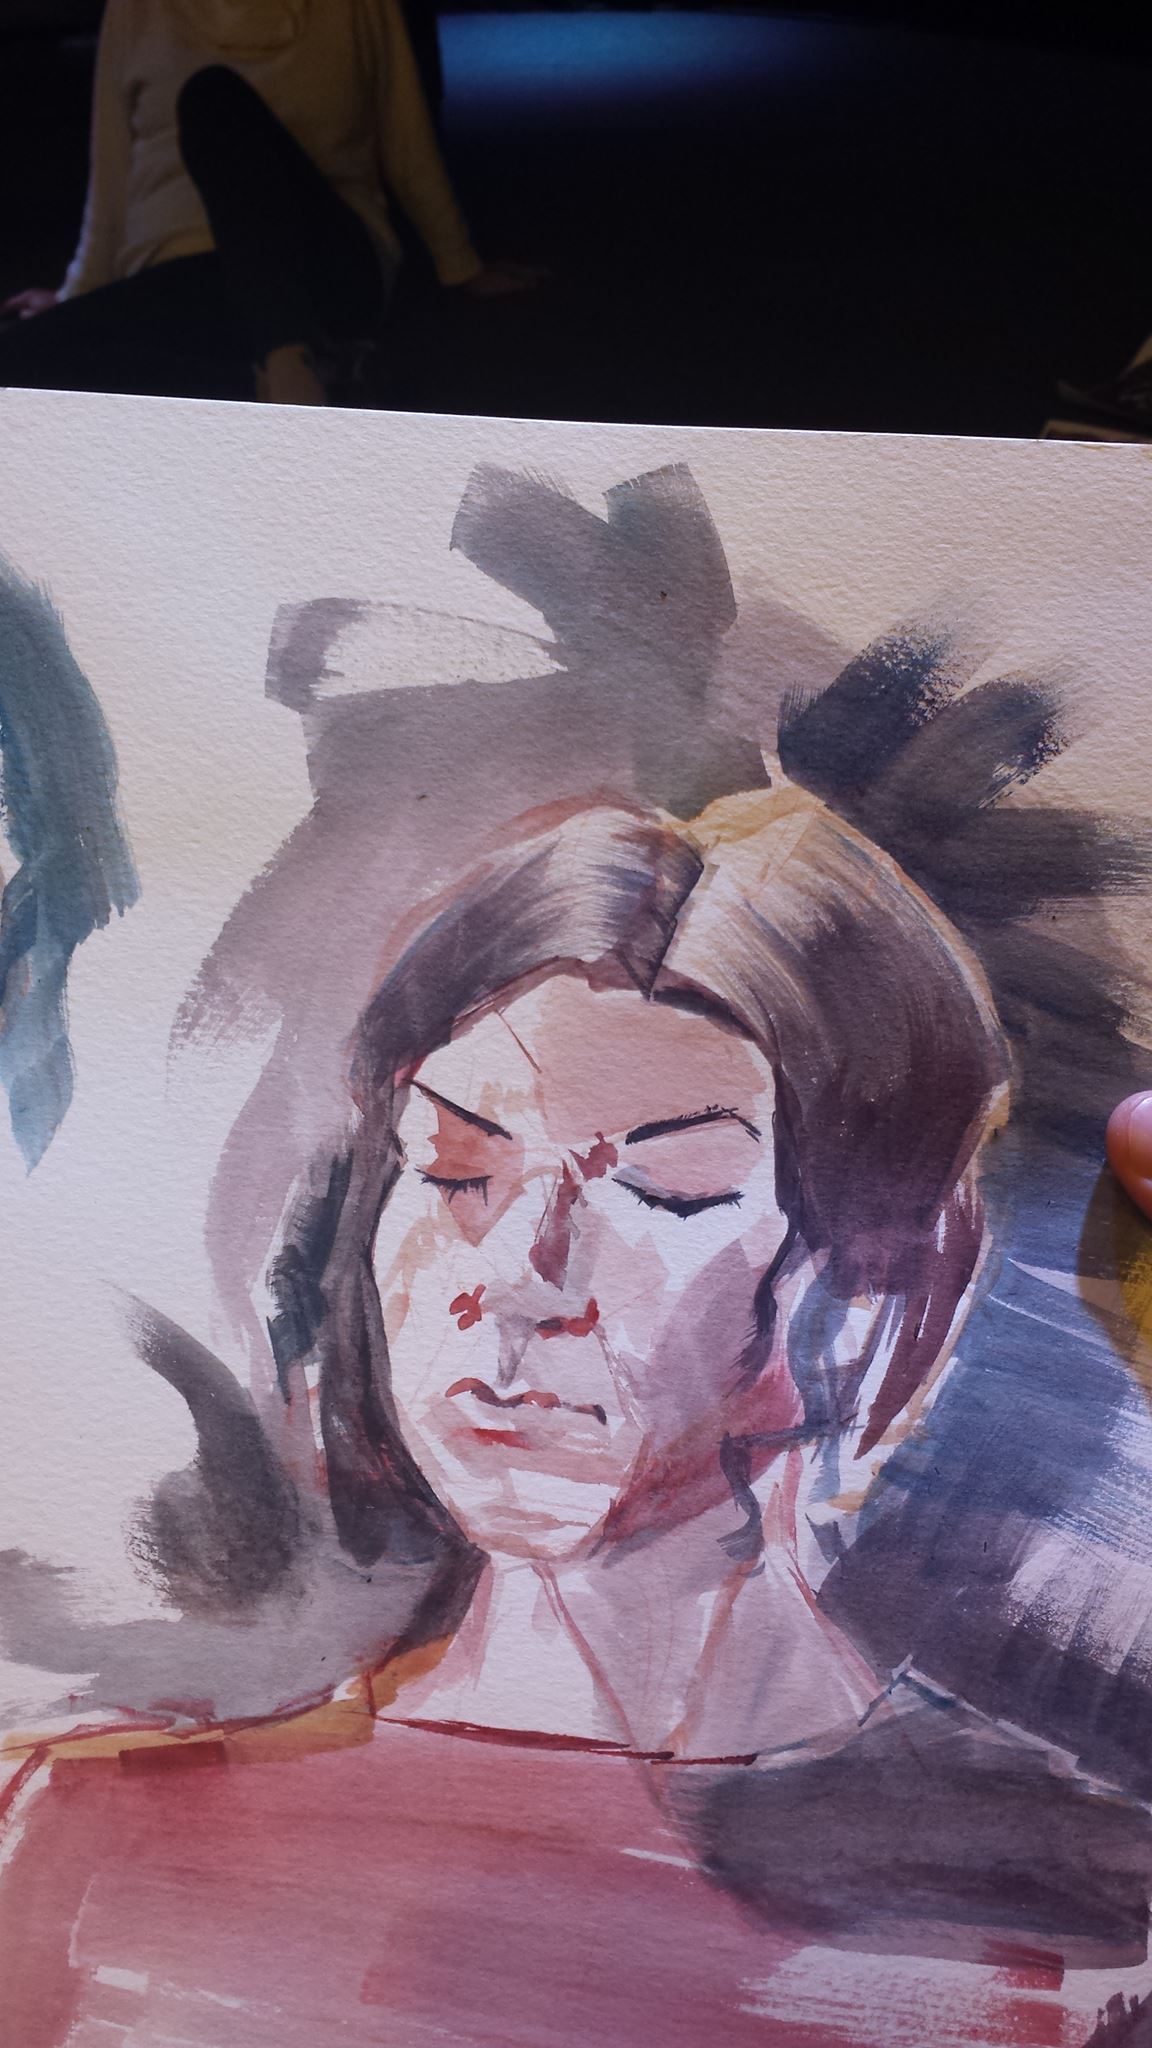
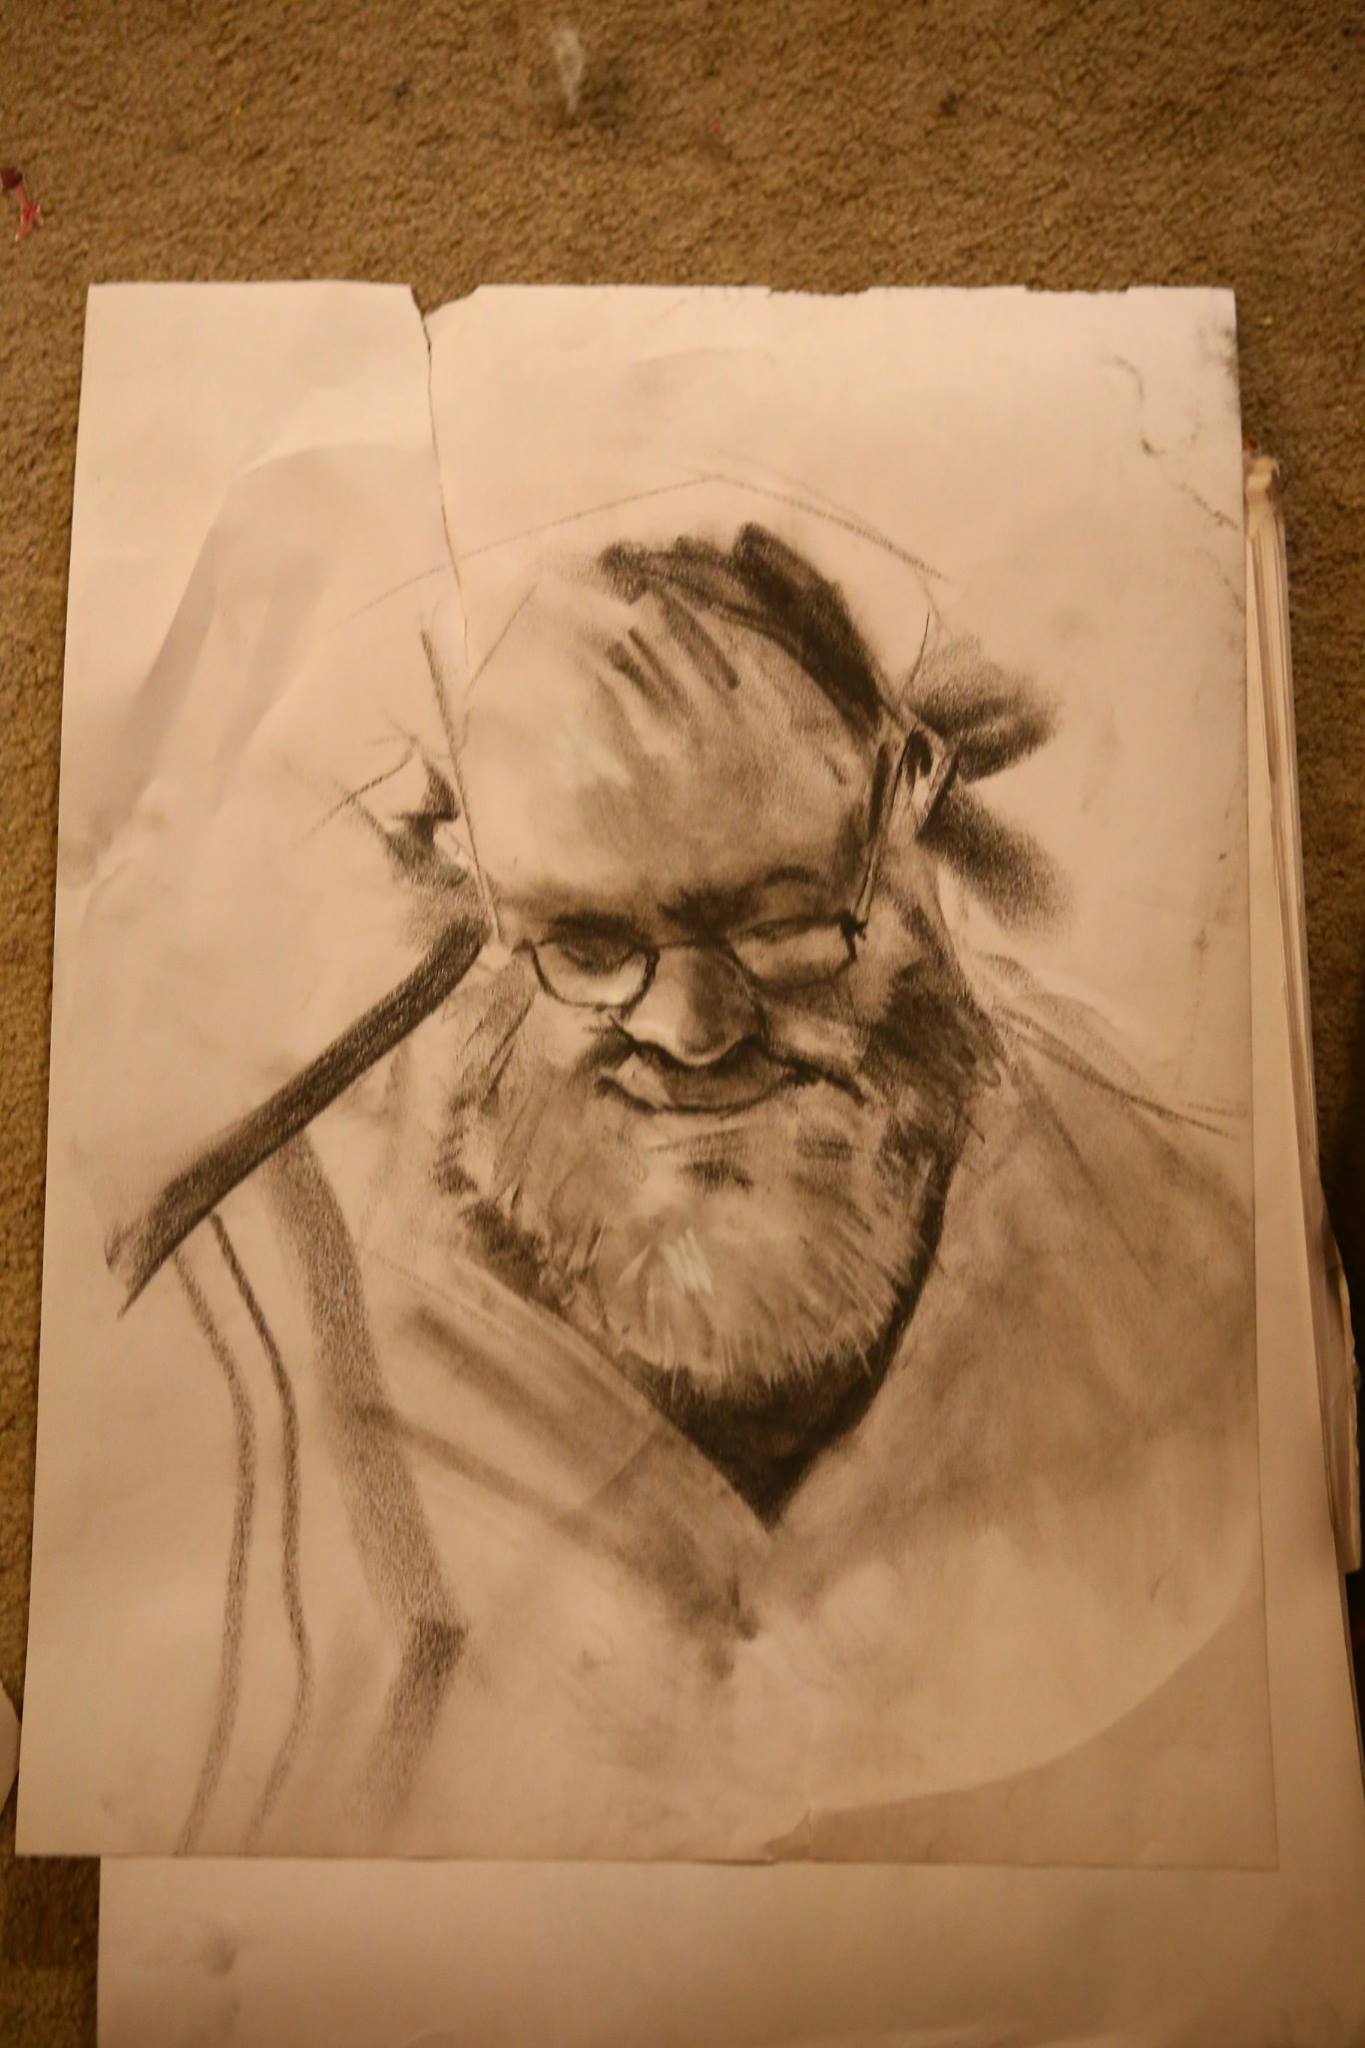
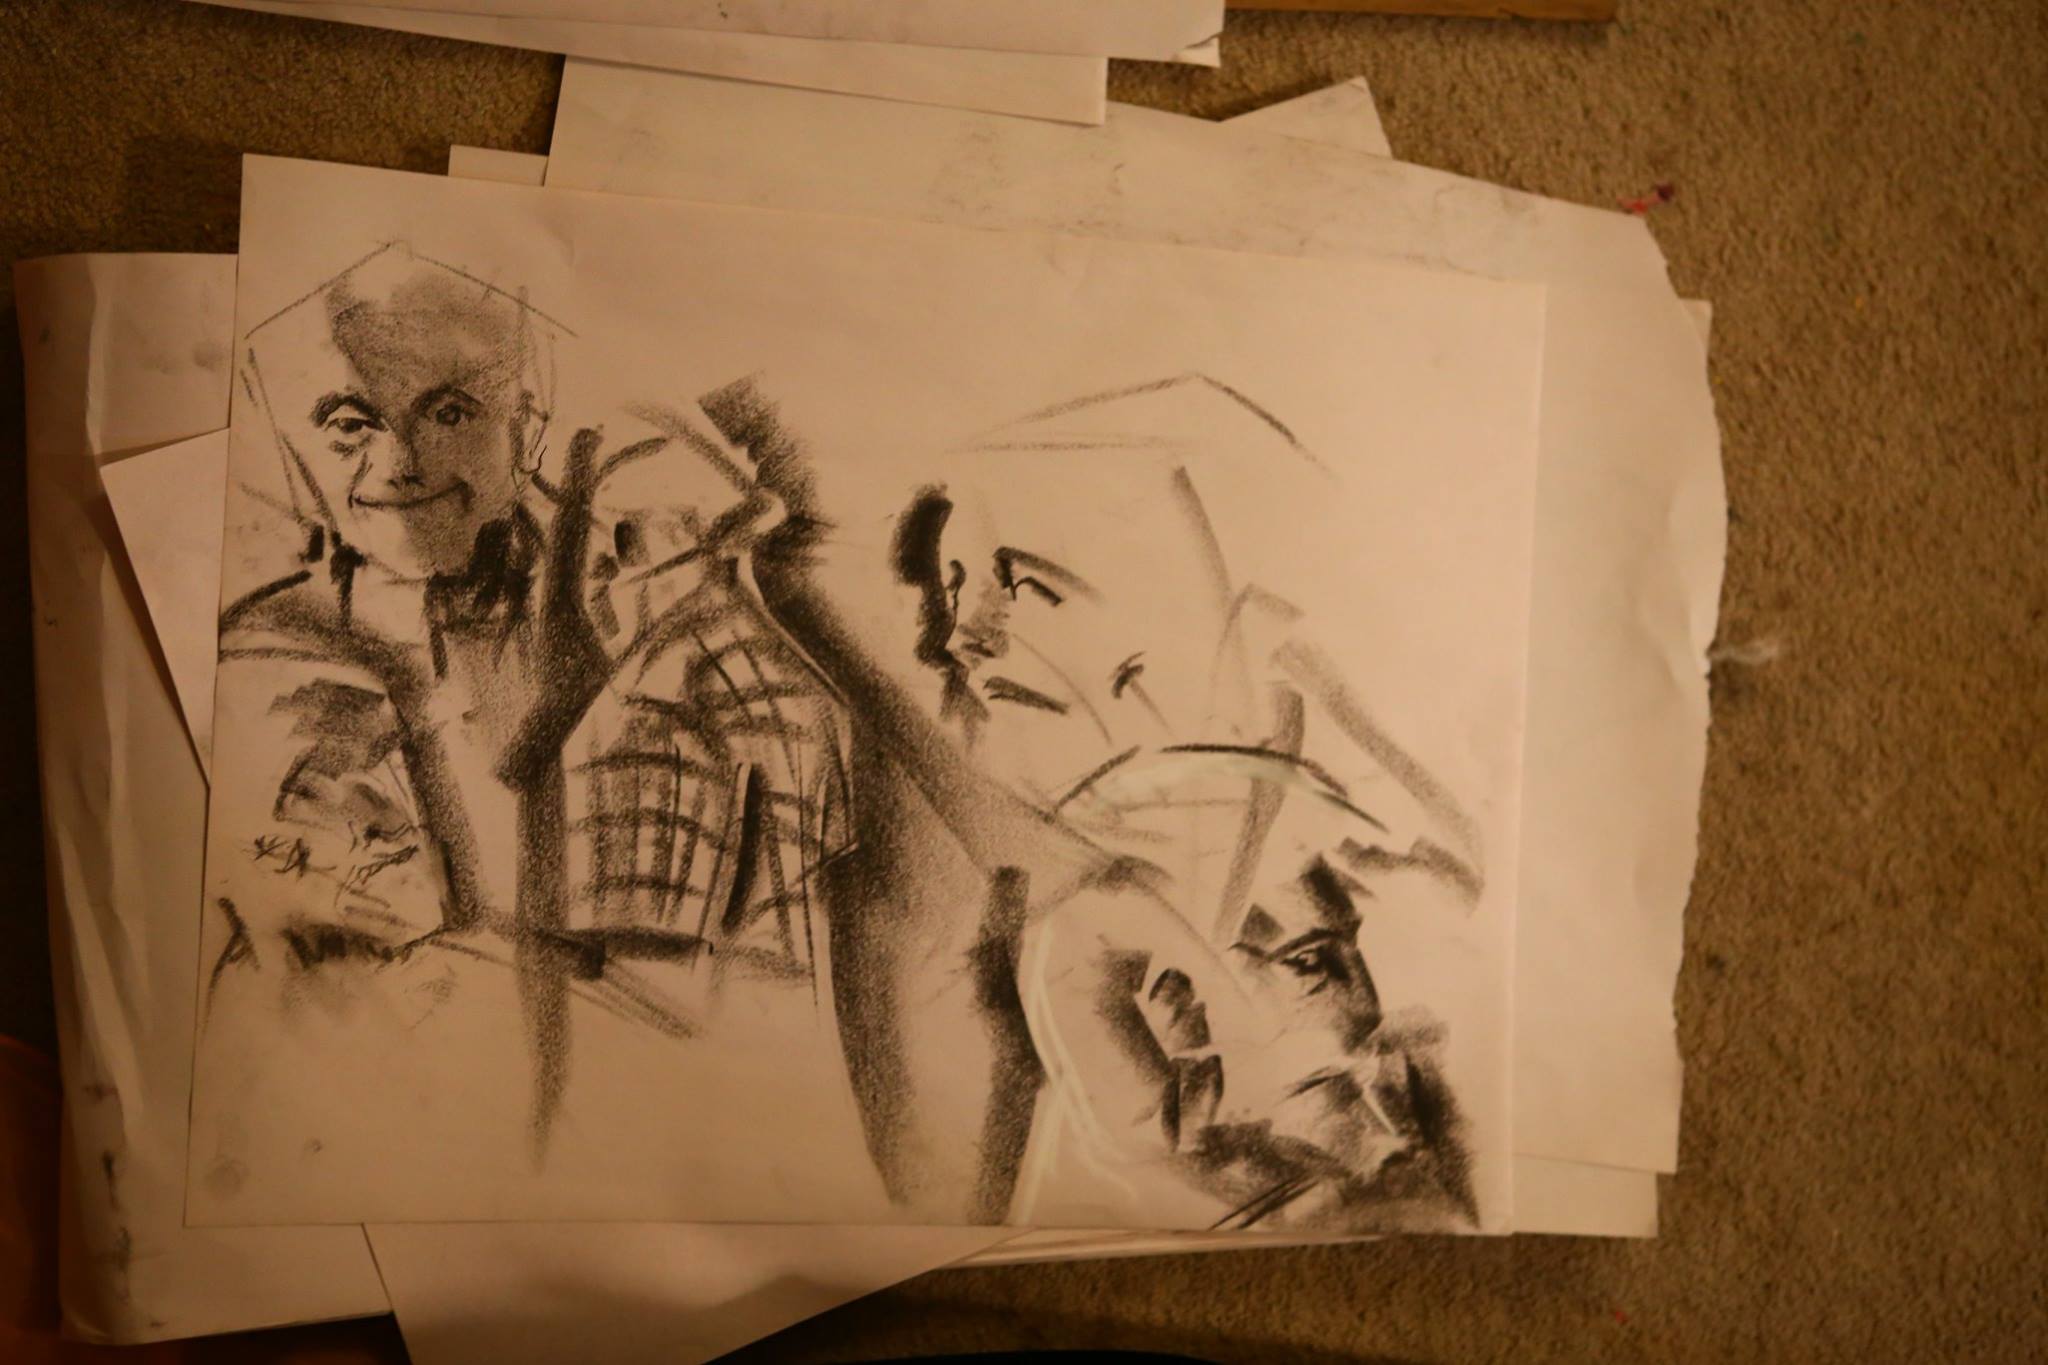
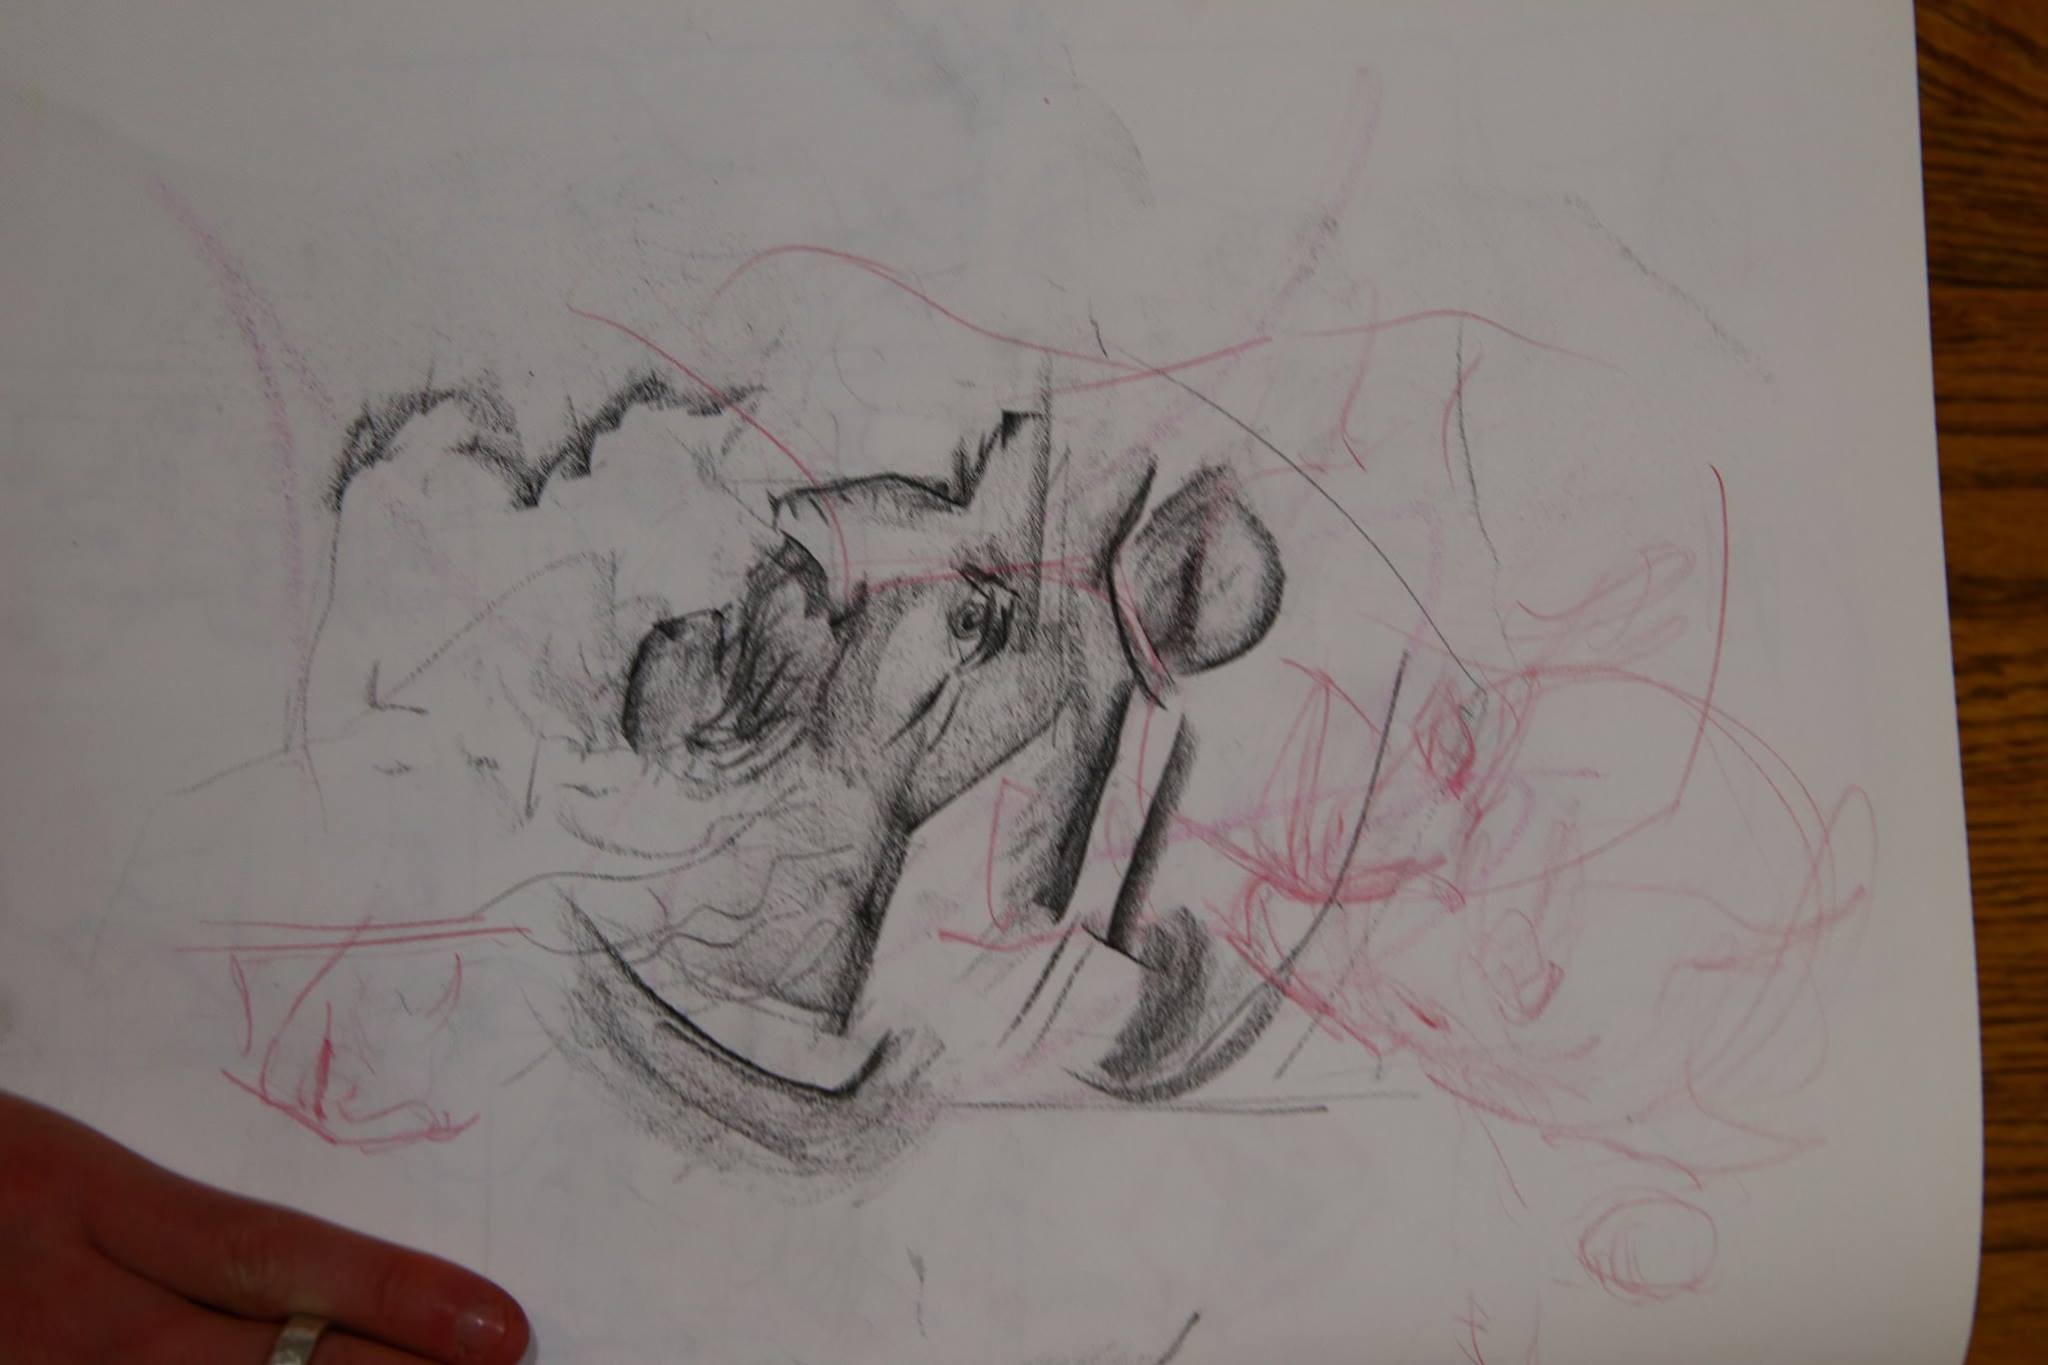
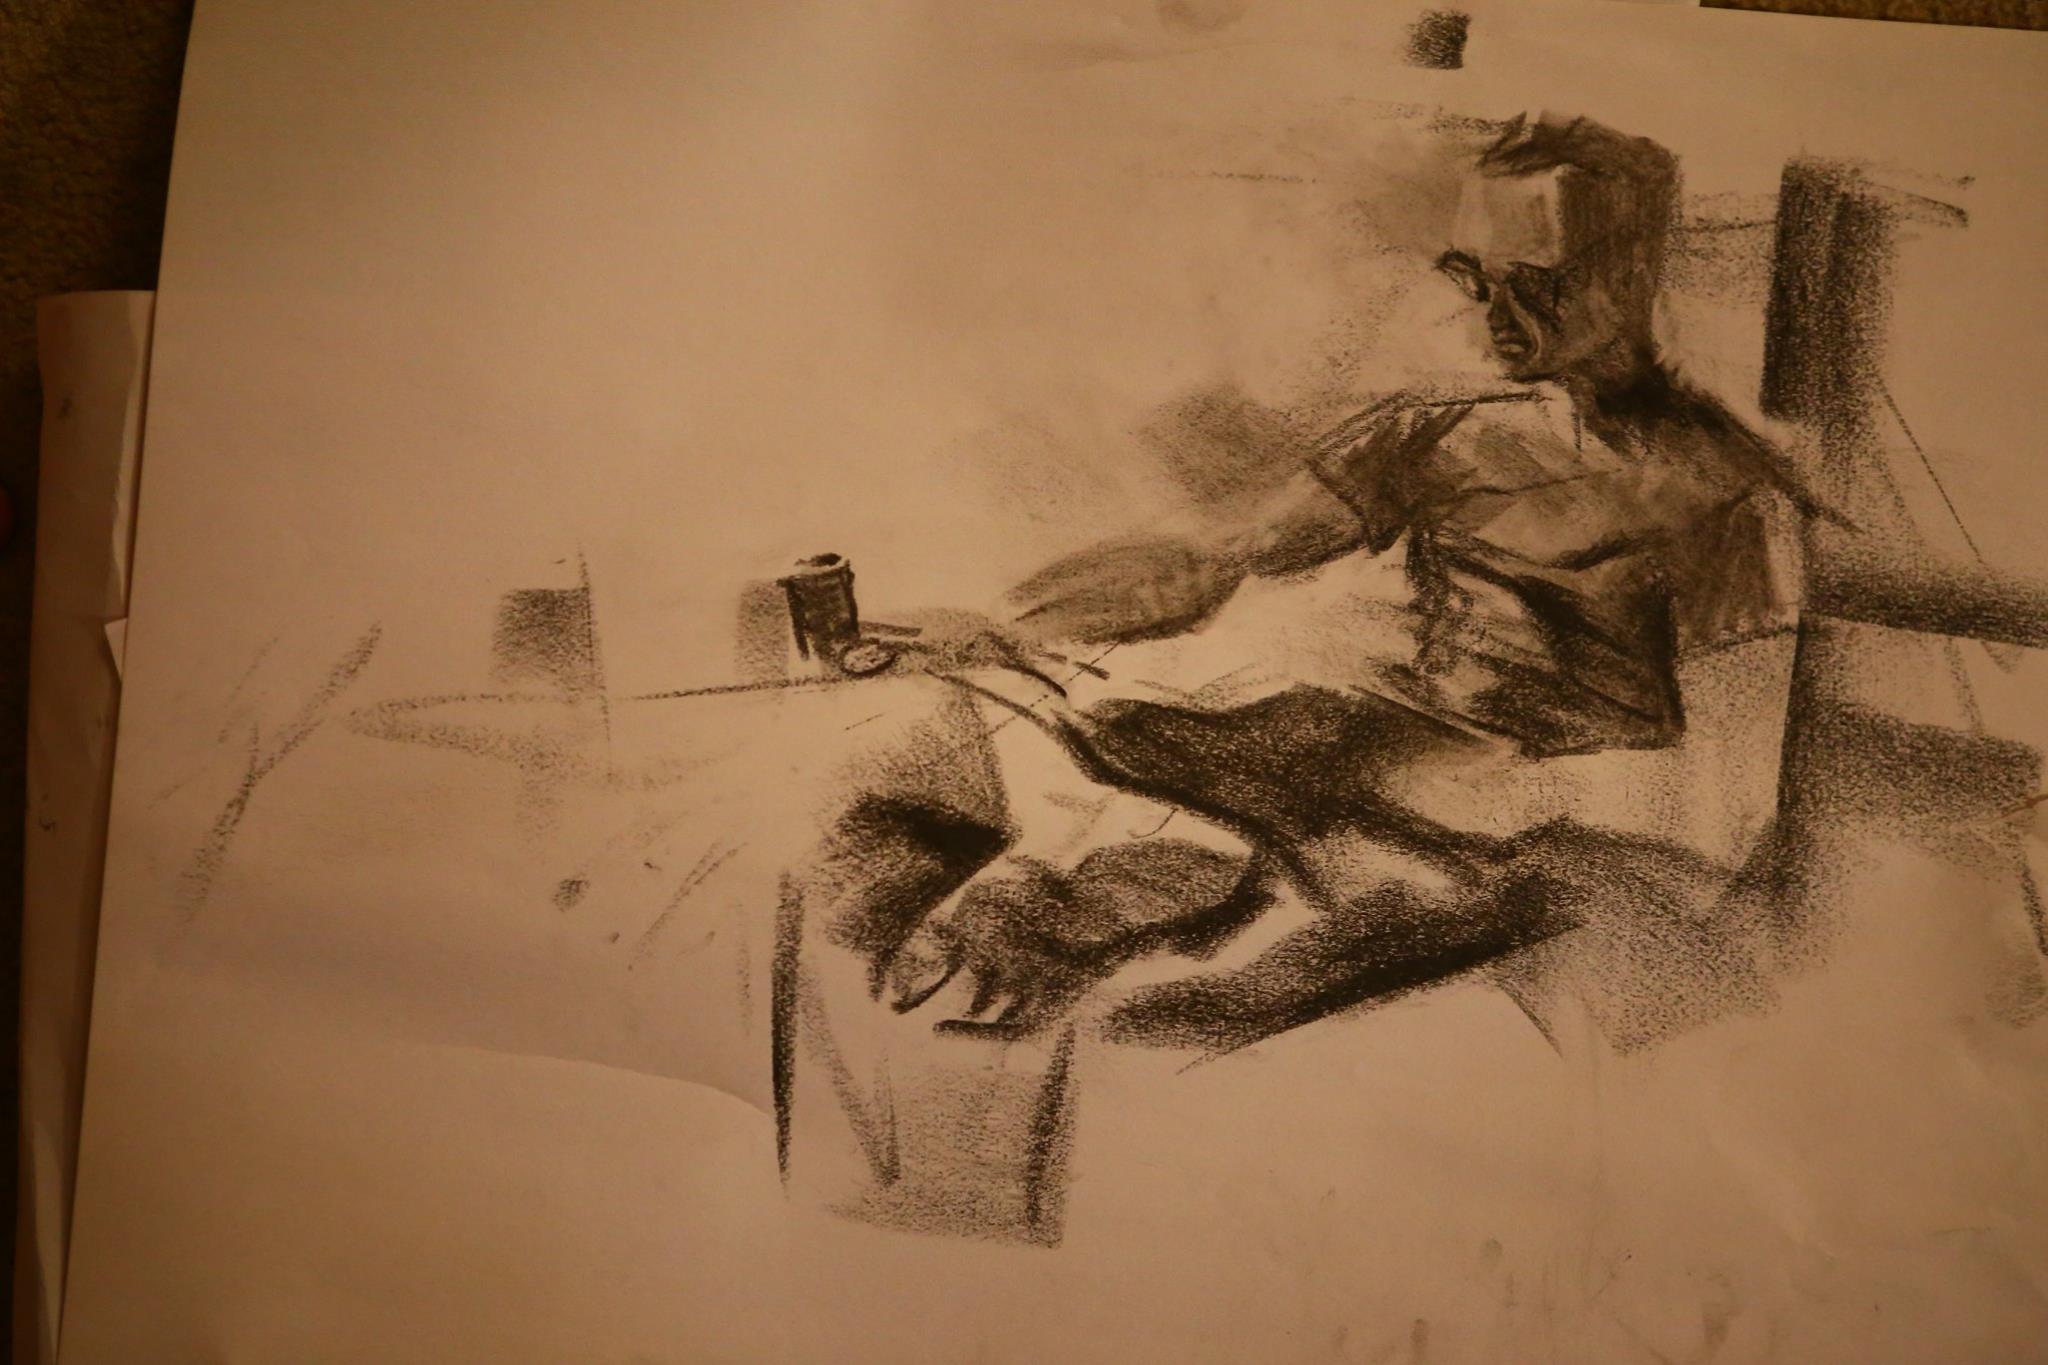
I’ve mostly been off Facebook for about 2 years now, except when I need to recover some esoteric mote from the old days of spending way too much time there. Here’s some old art of mine that used to be locked away on the Ballard Life Drawing Co-op’s facebook page.
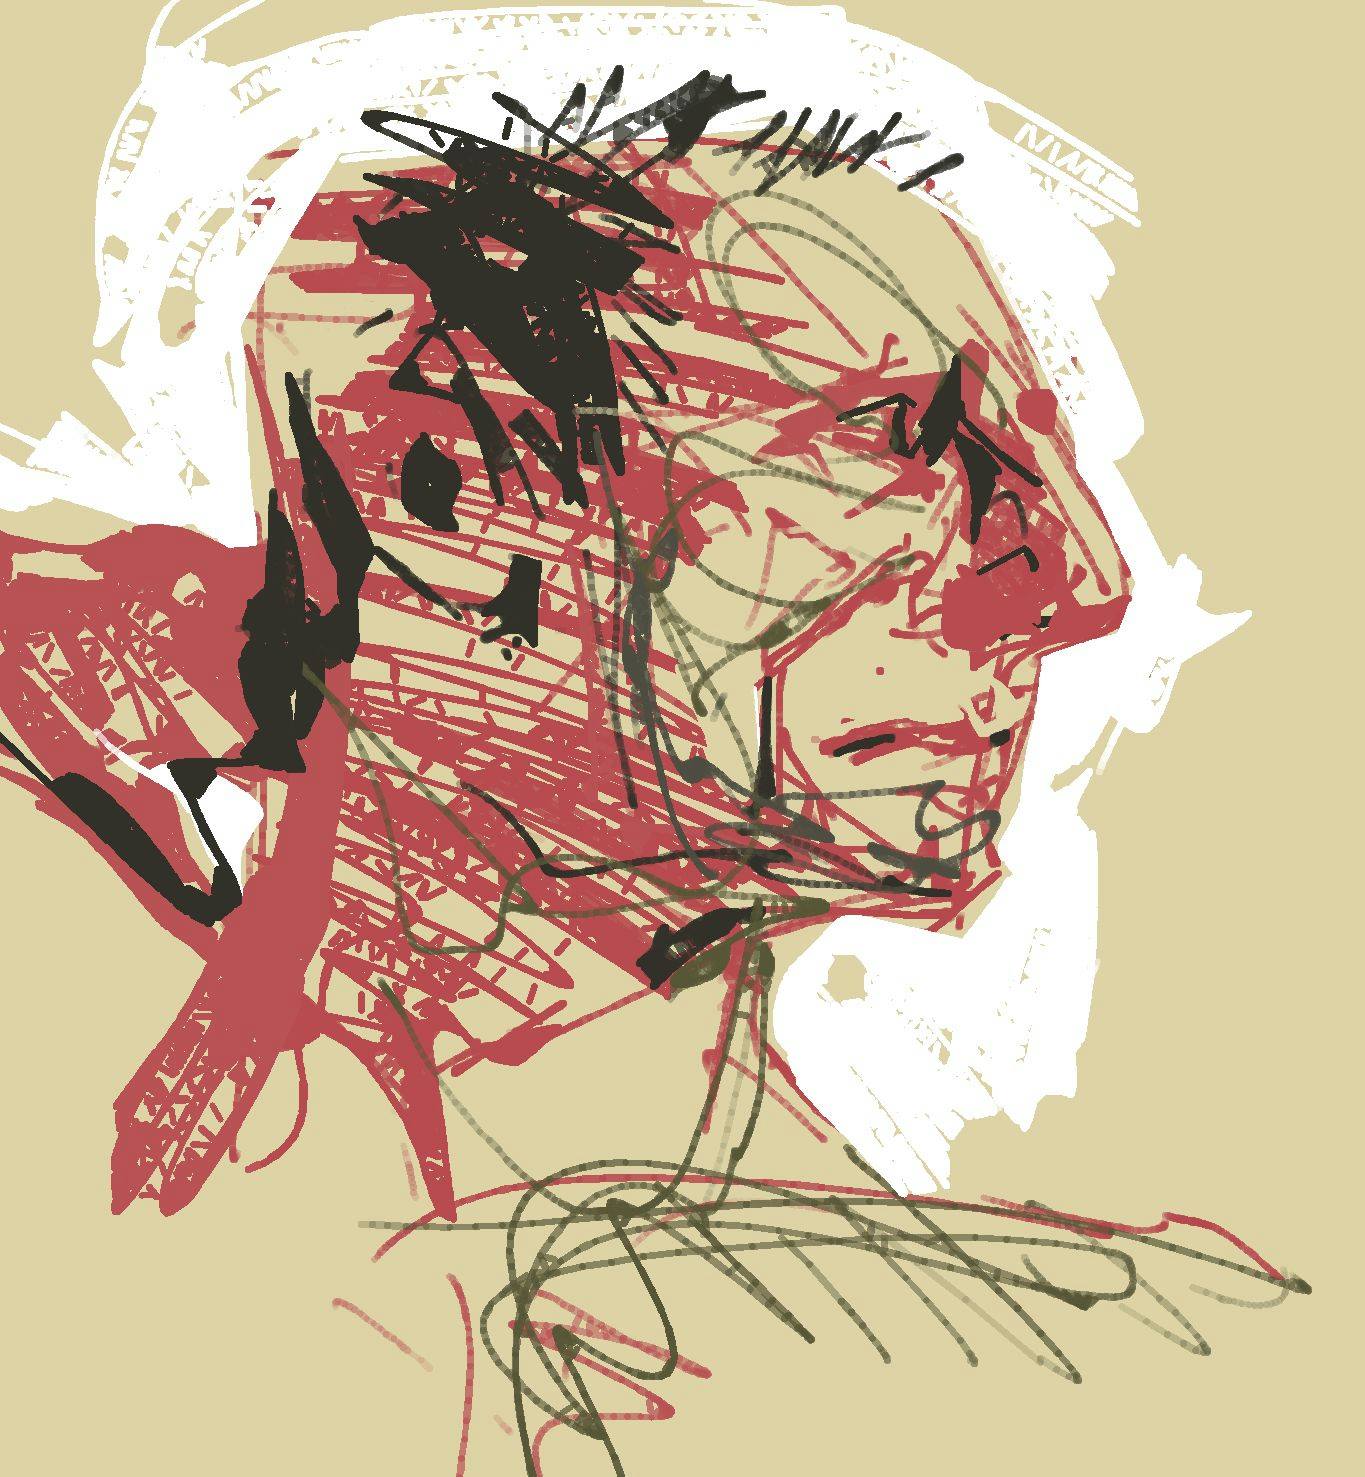
Grabbed a limited palette off of lospec.com and a reference face off of thispersondoesnotexist.com
Drew in Blender’s Grease Pencil with vertex colors and max jitter and randomness
Use smaller and smaller brushes with less and less randomness
Blur the colors in Vertex Paint, then keep painting
Throw a bunch of modifiers on it
Grease Pencil is not necessarily the best choice for impressionist painting. The swatch interface means you can’t color pick like other programs, and the vector nature of grease pencil doesn’t lend itself toward blended edges. But there’s a lot of upside for it! Sculpt mode moves stroke points, which means edits work a lot cleaner than something like Photoshop’s liquefy tool. Plus, the footprint left behind with strokes and points mean the painting is great fodder for animation and modifiers. On this here stack I played with the Build, Dot Dash, and Thickness modifiers.
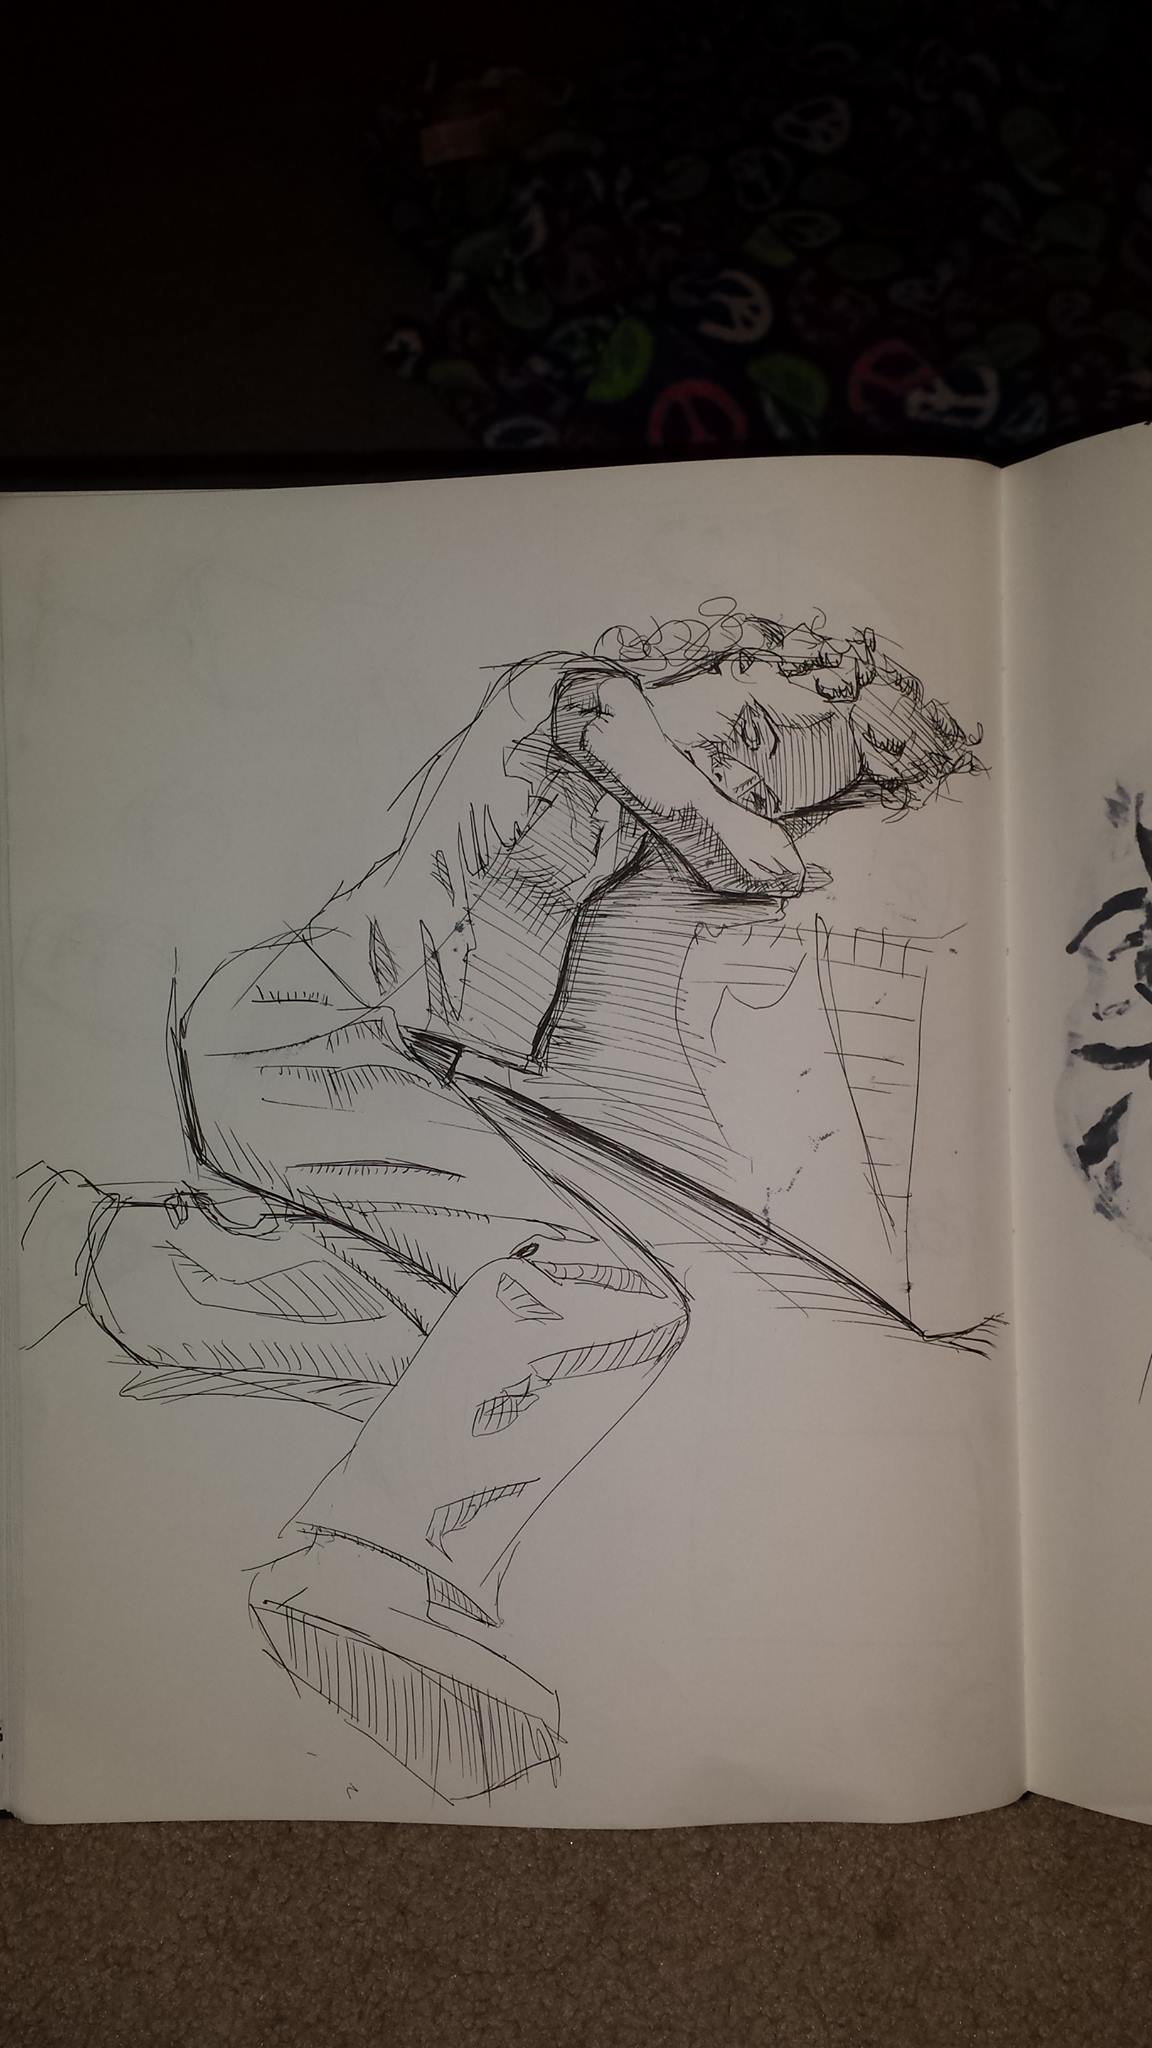
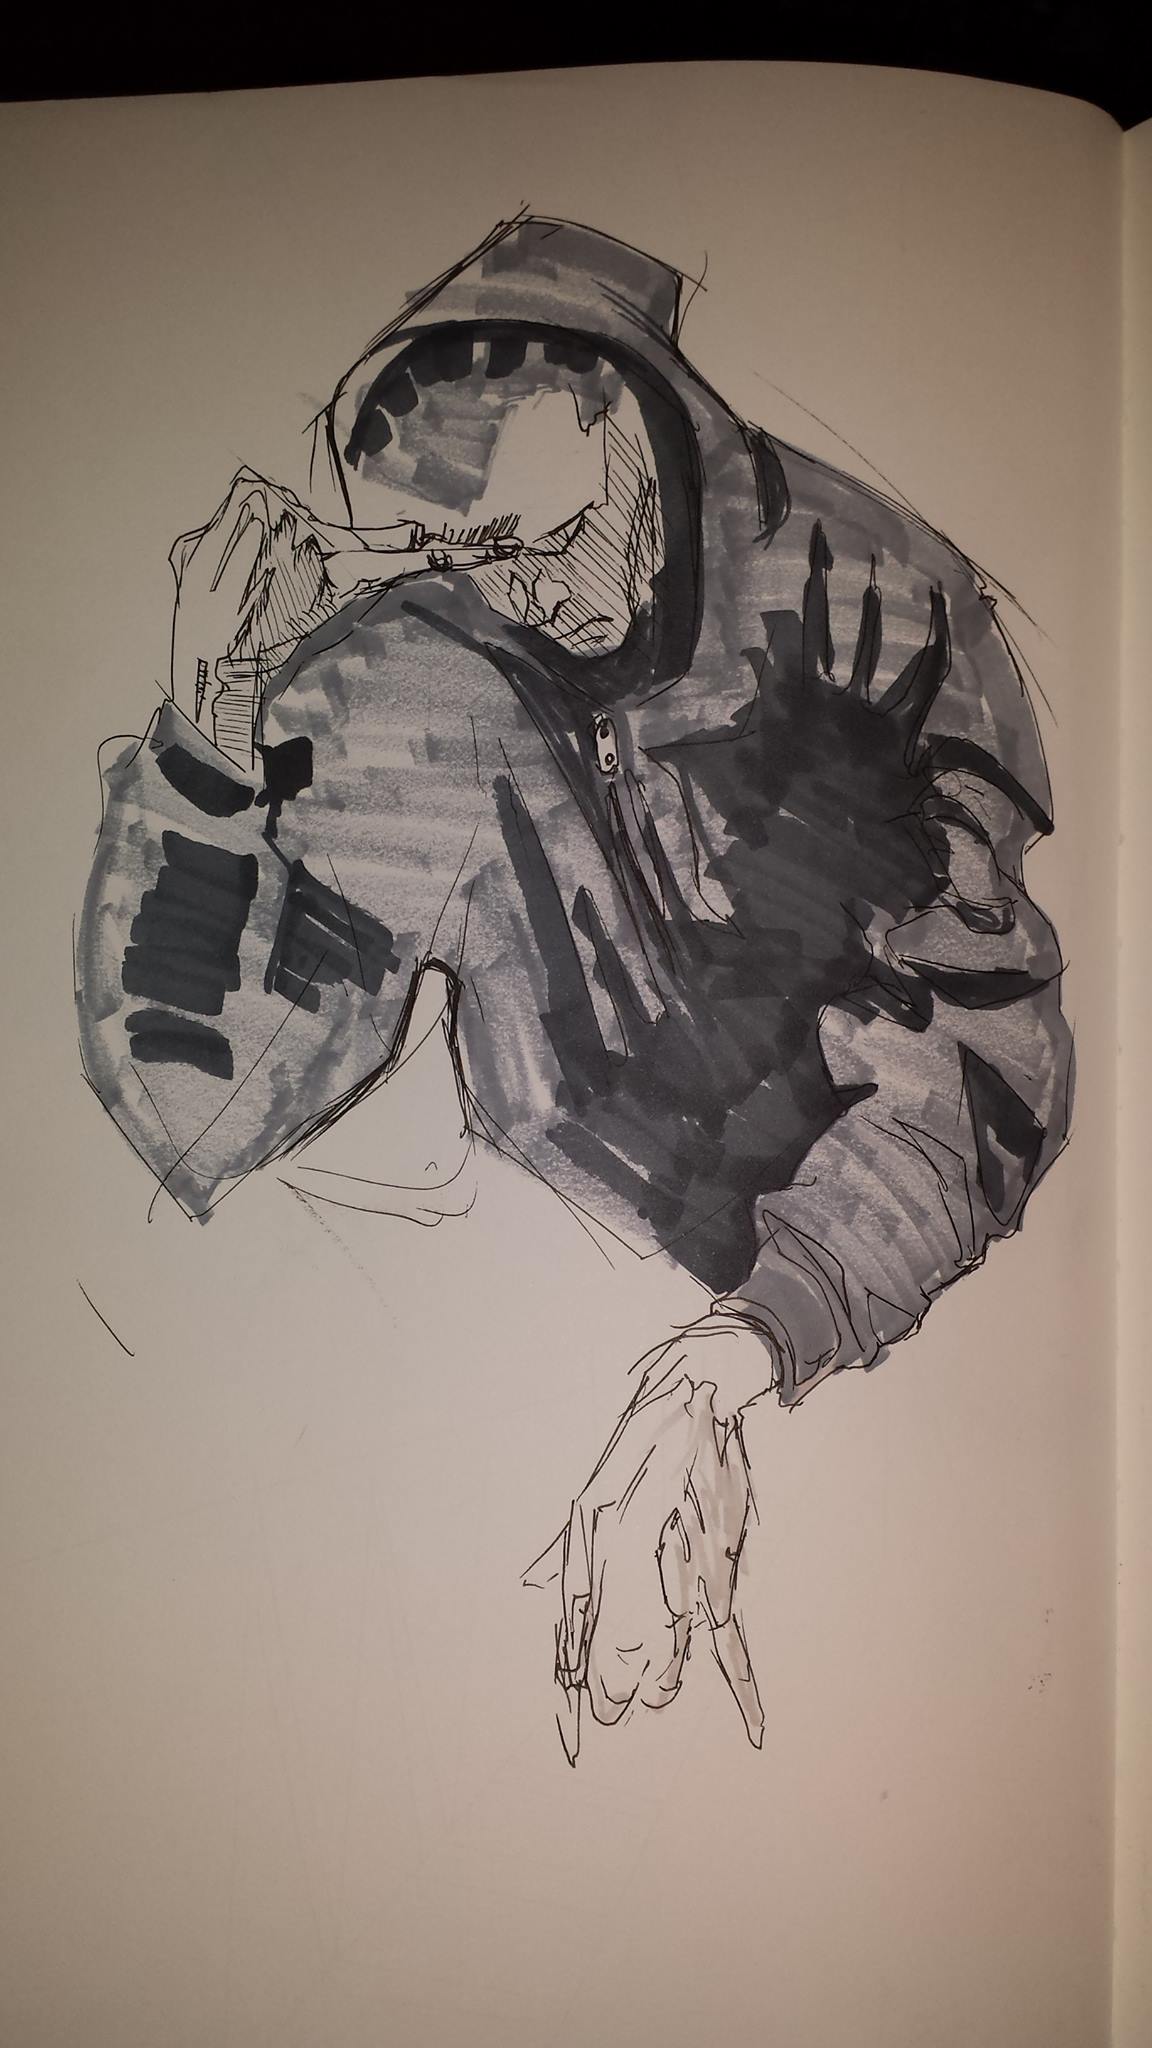
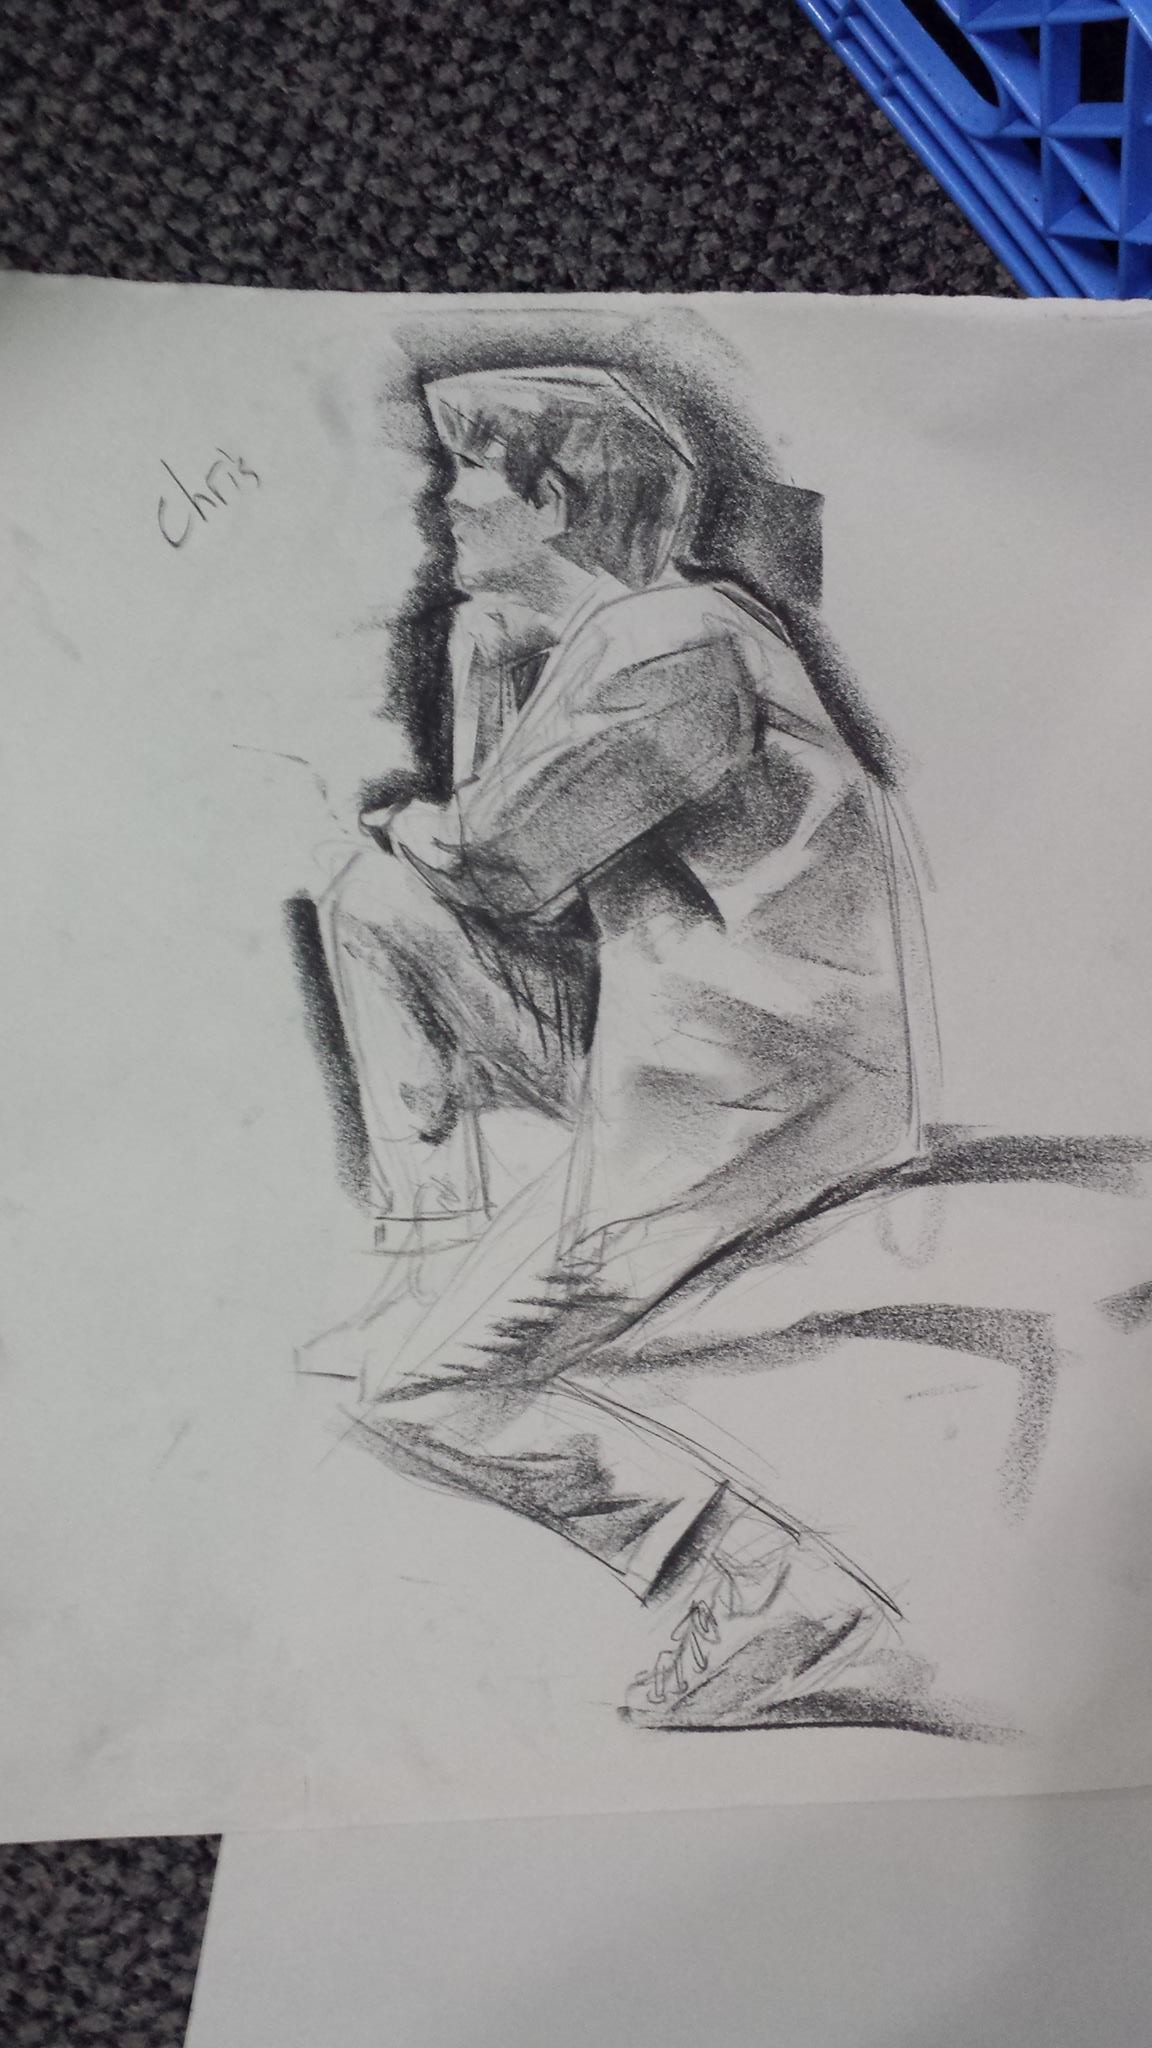
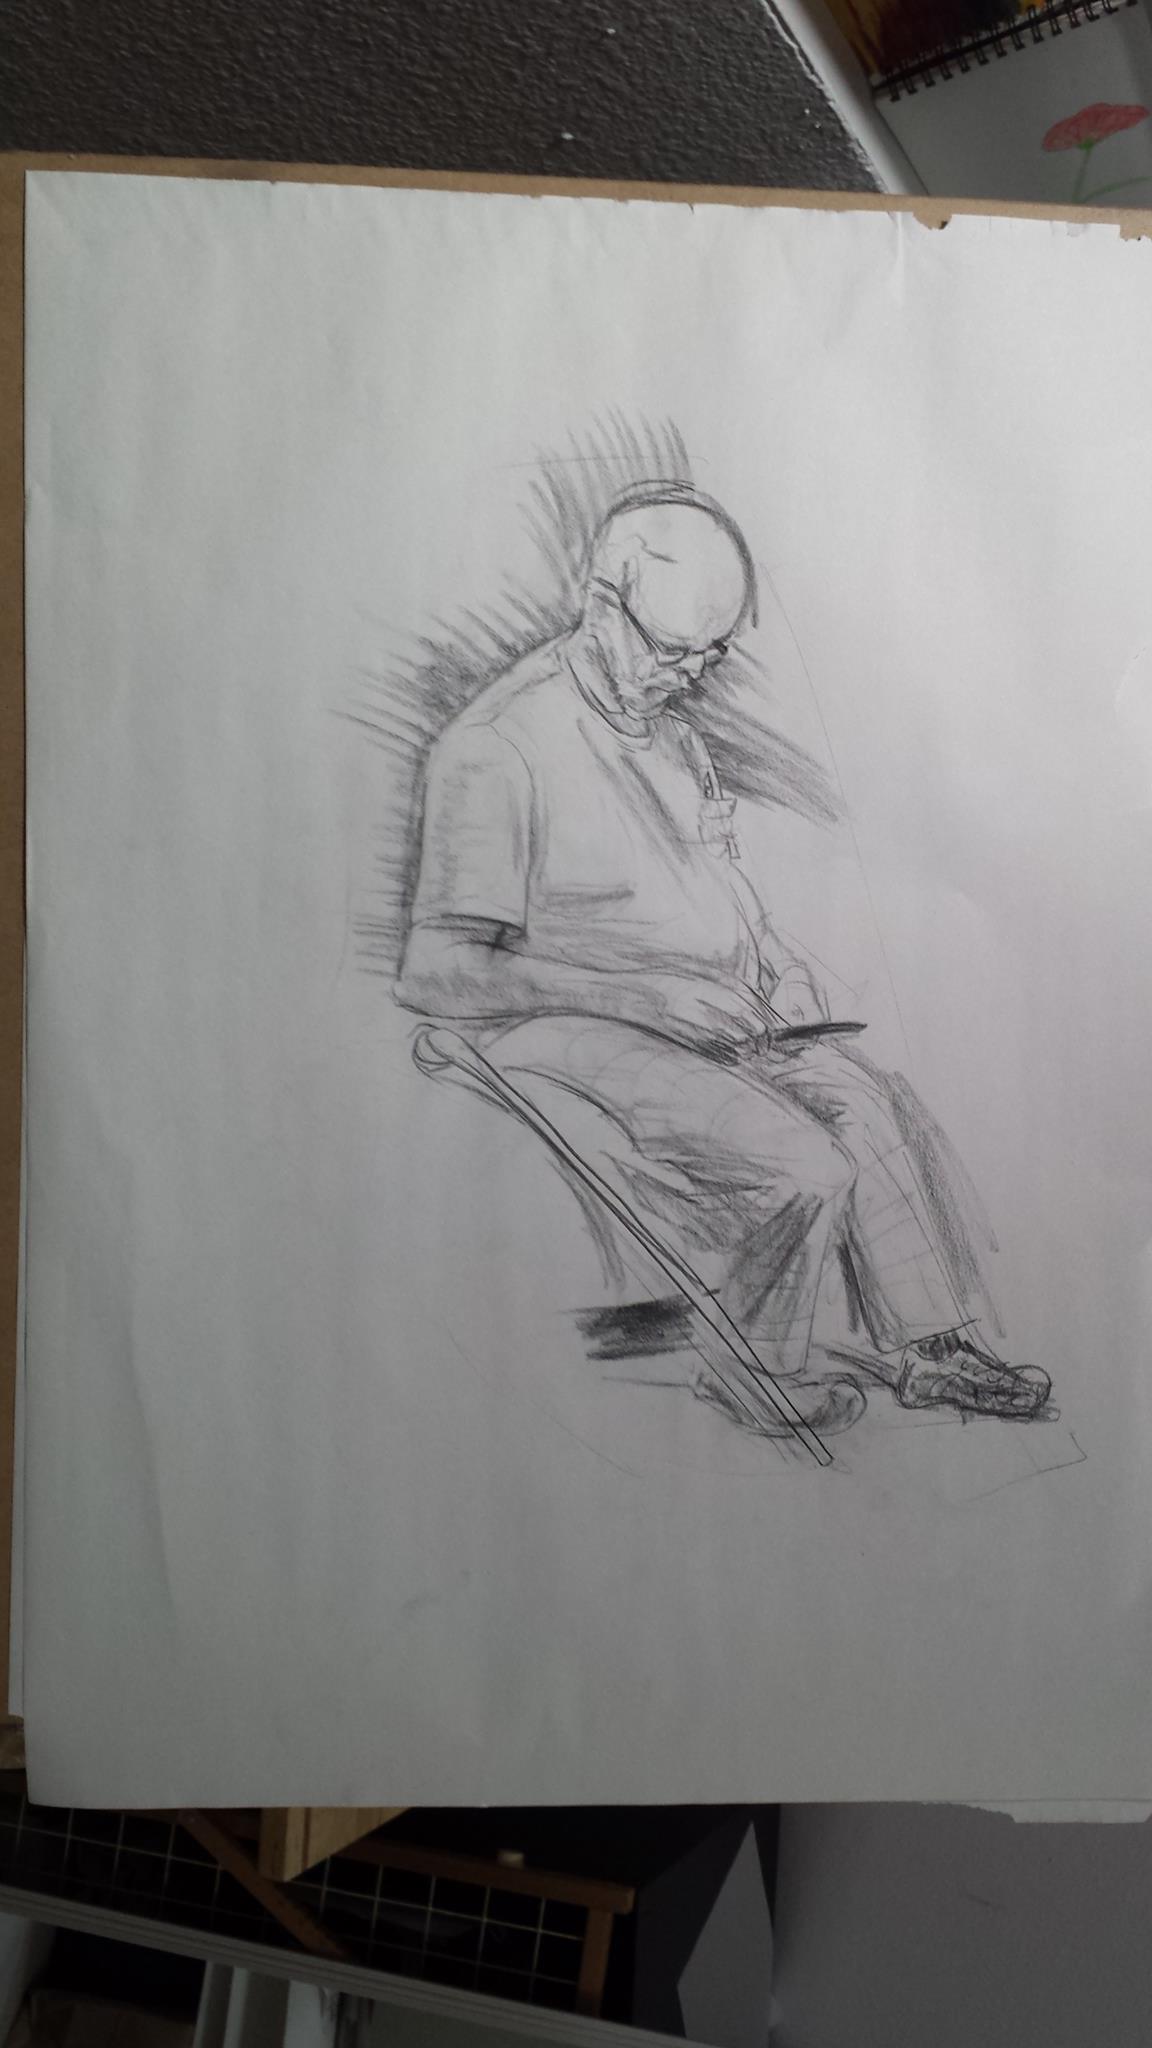
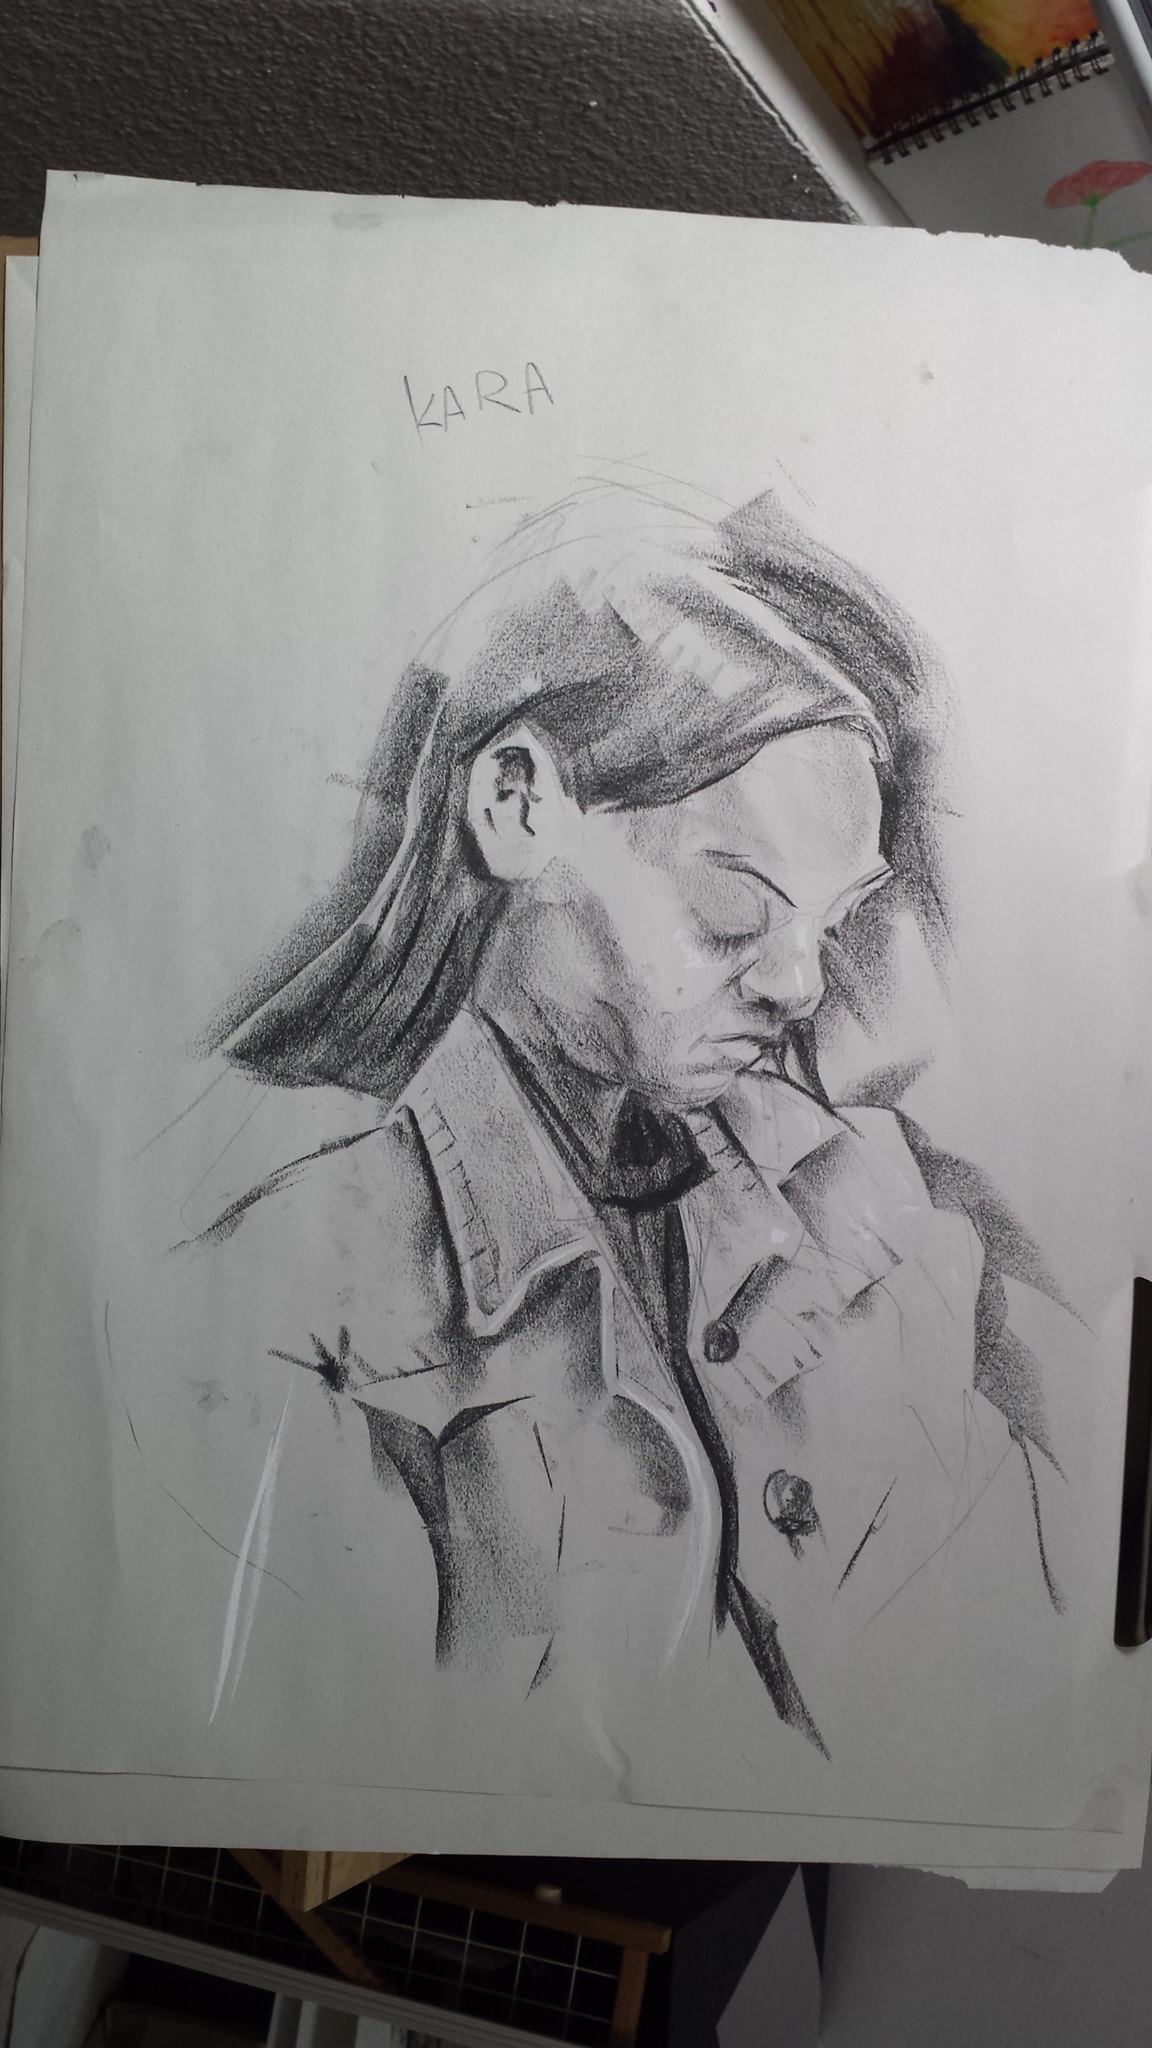
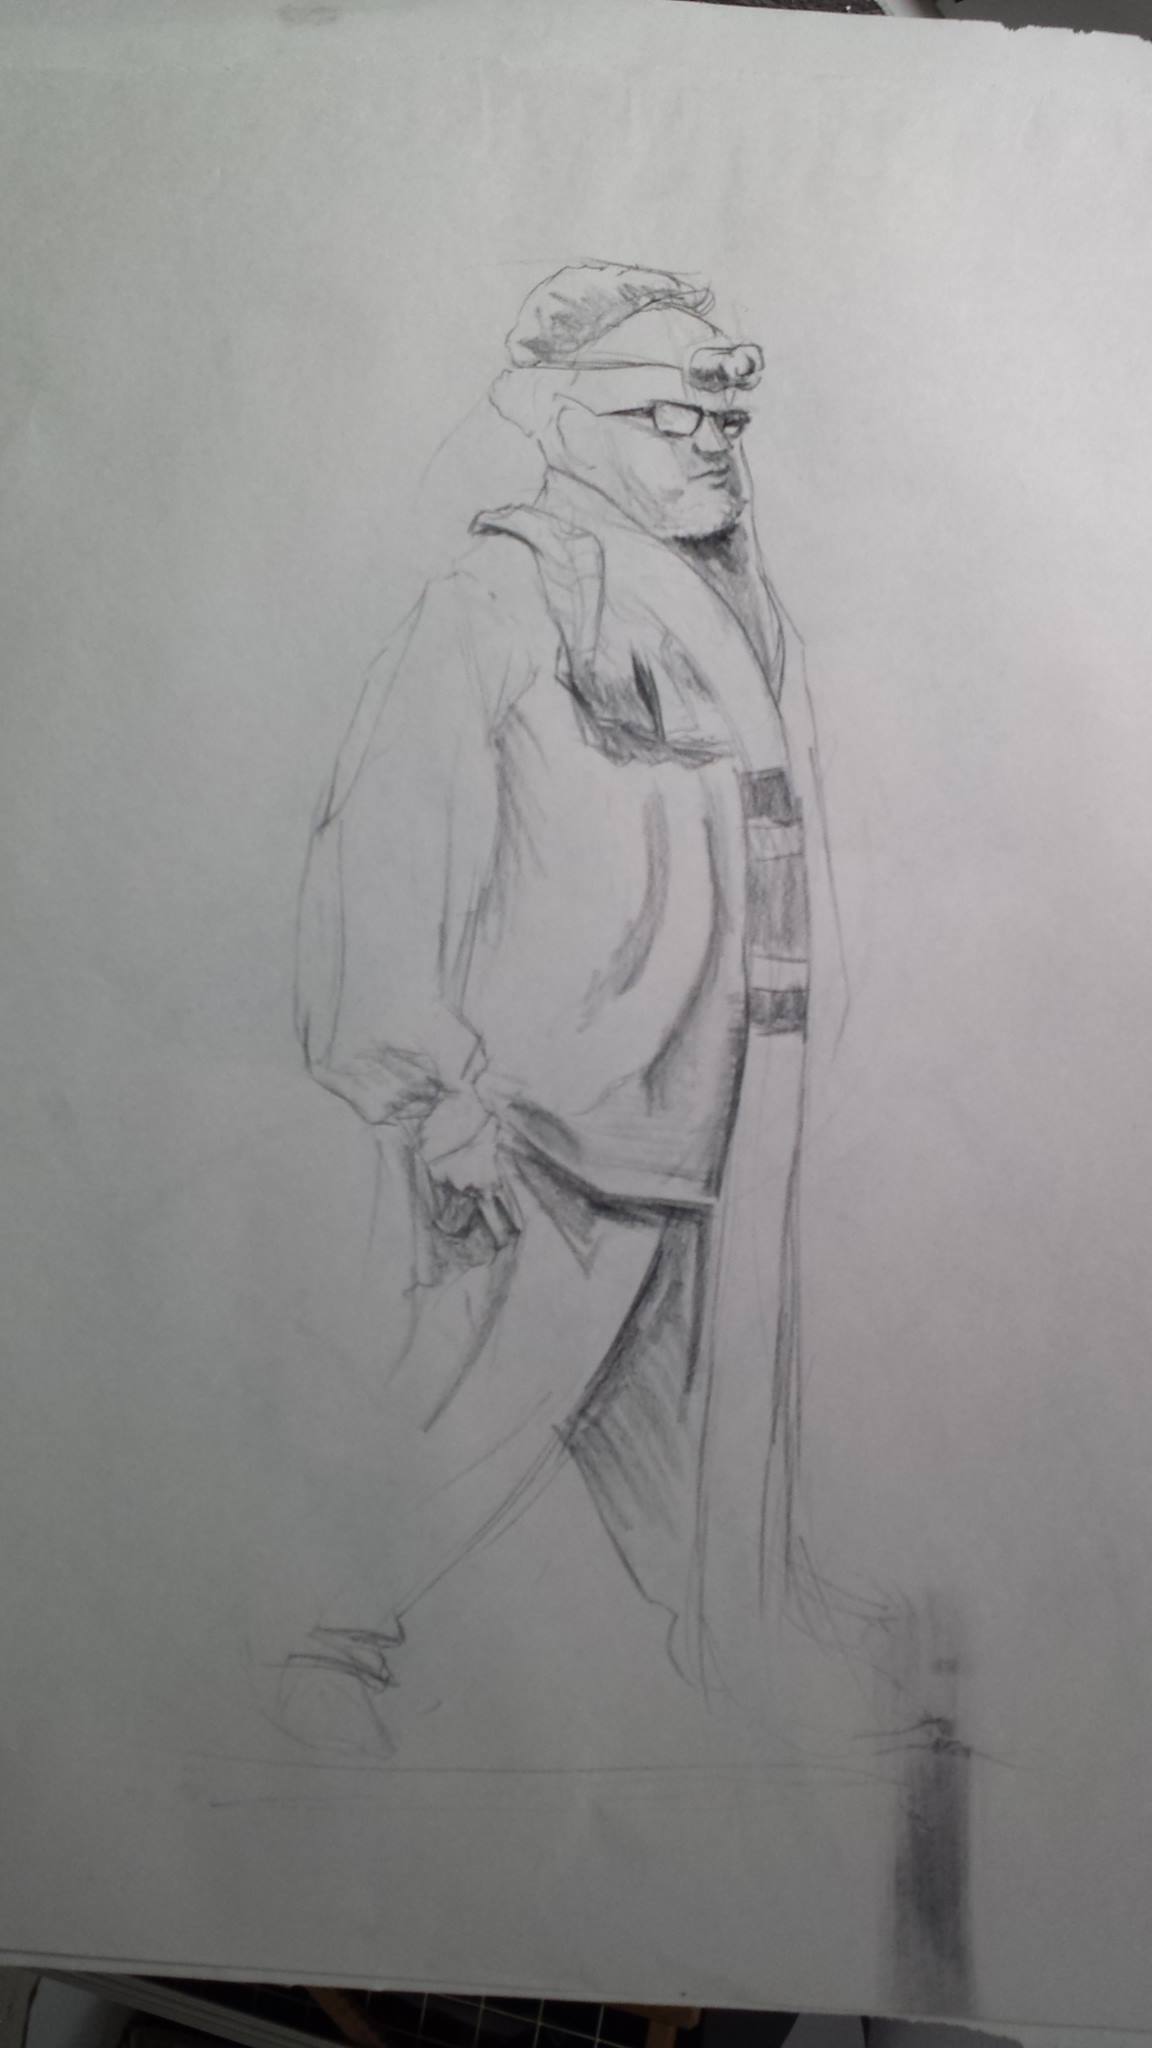
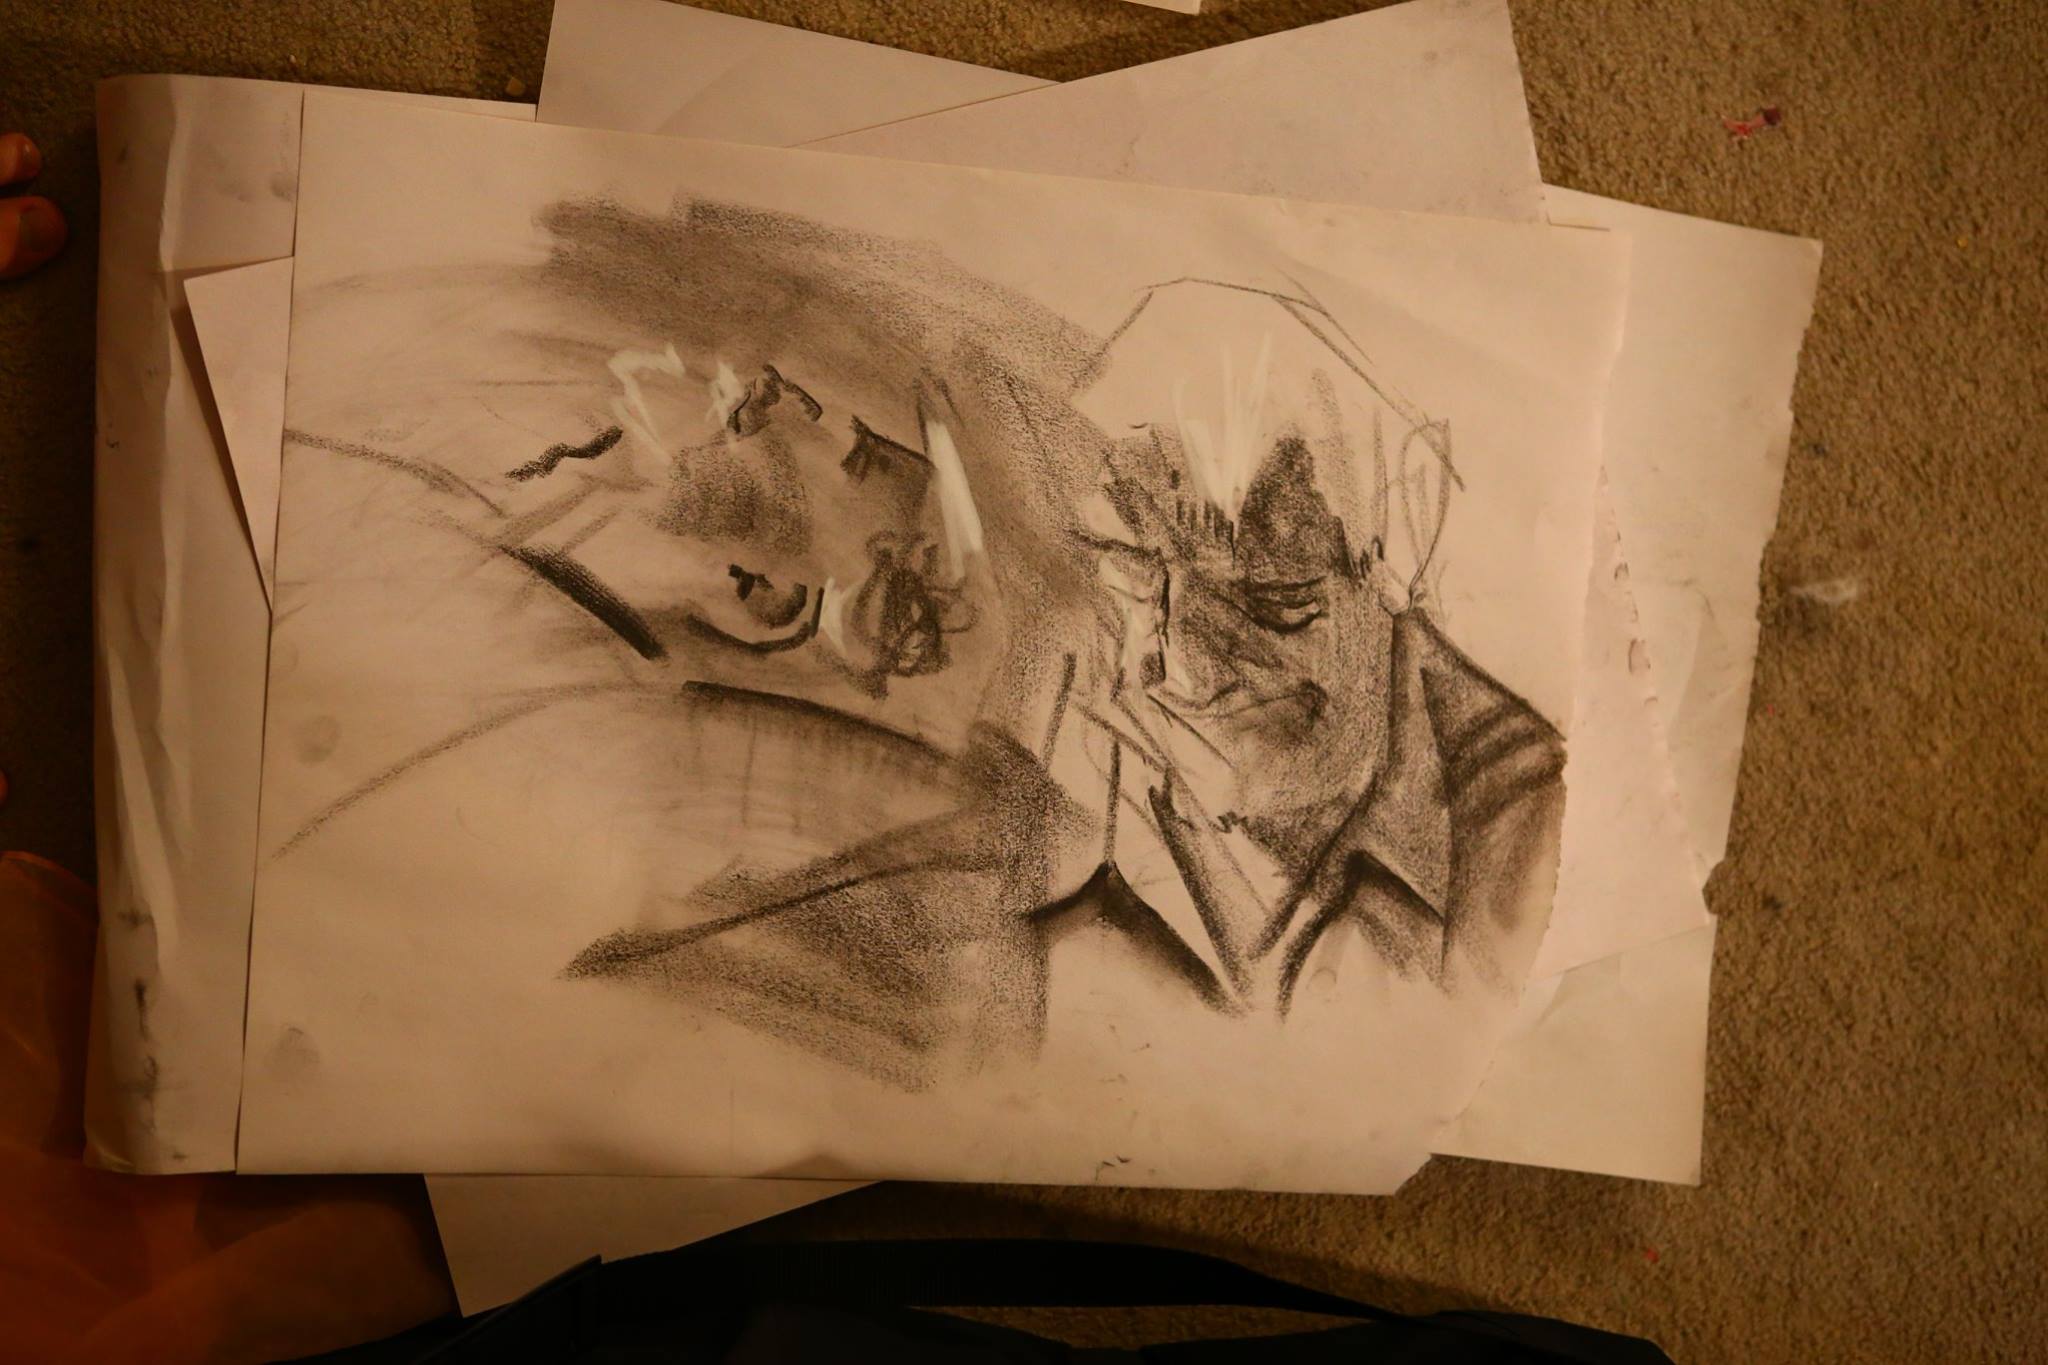
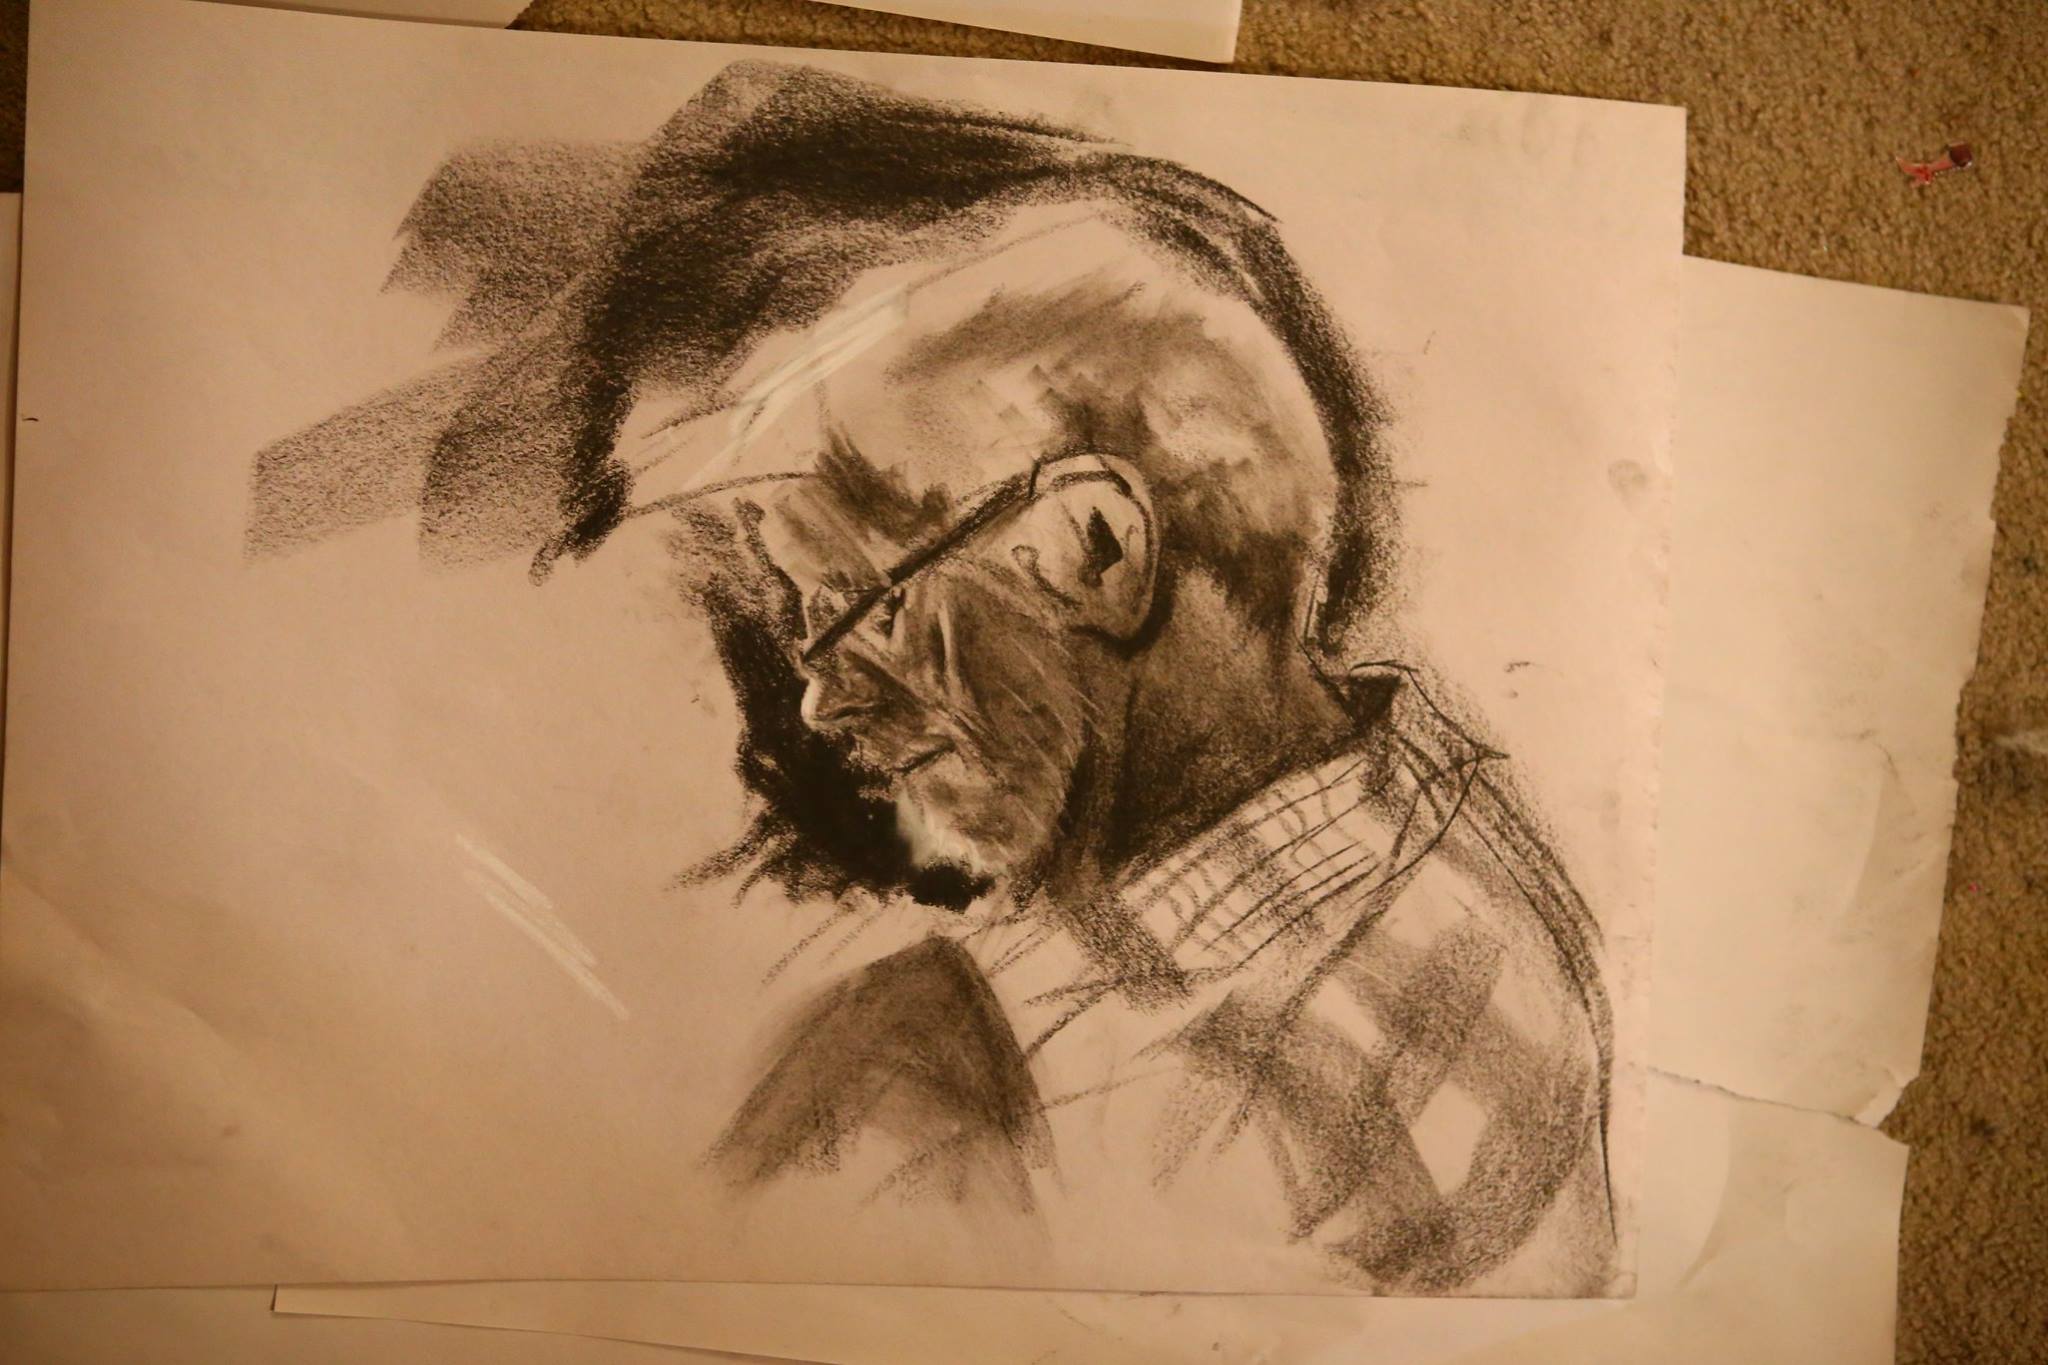
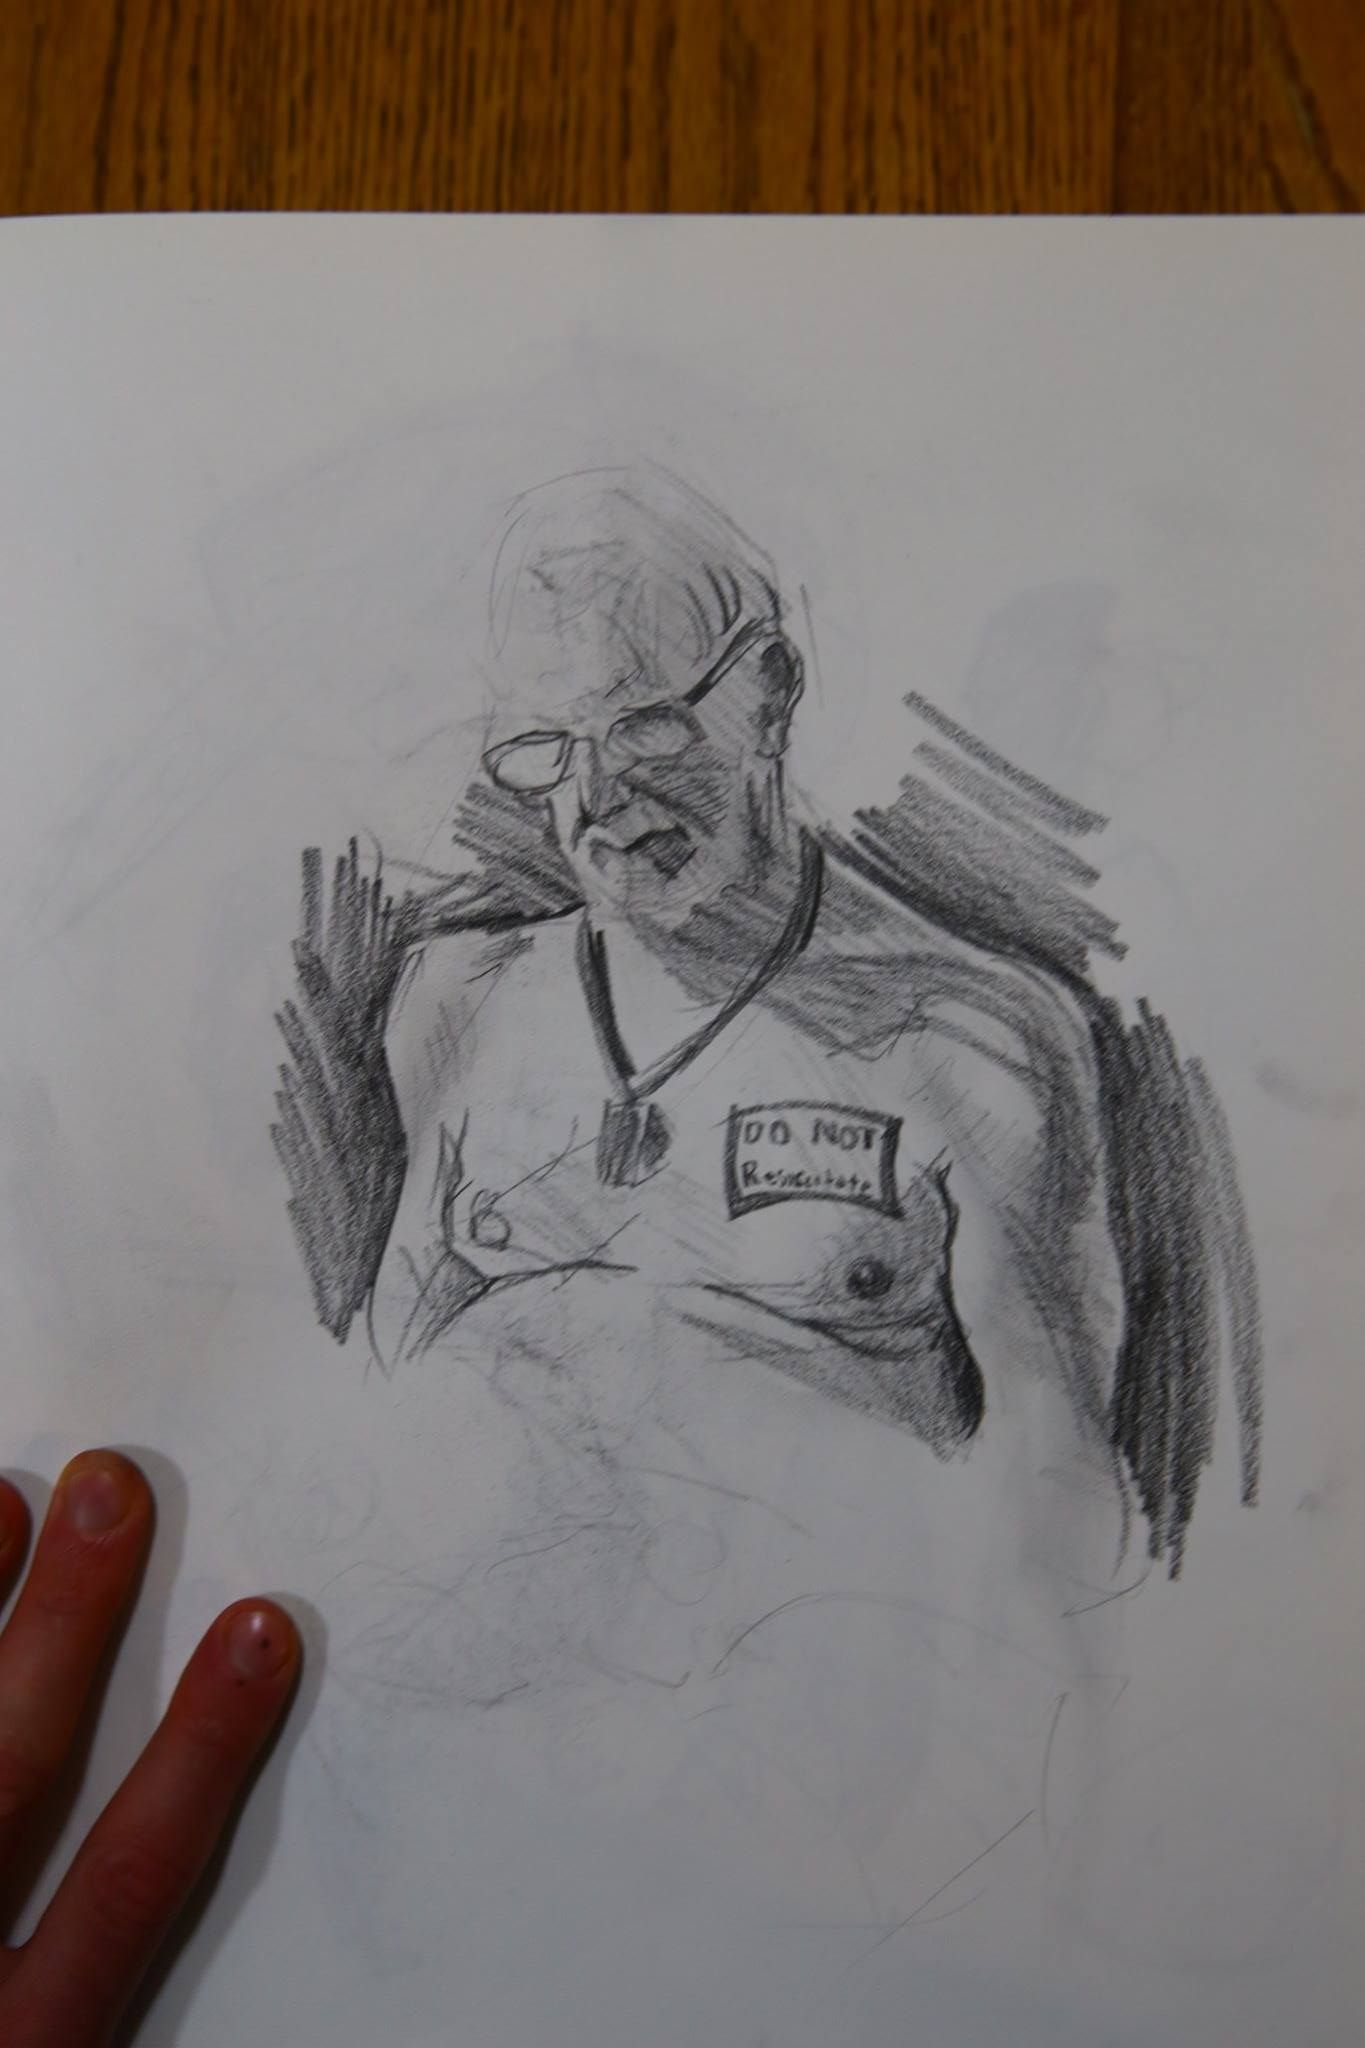
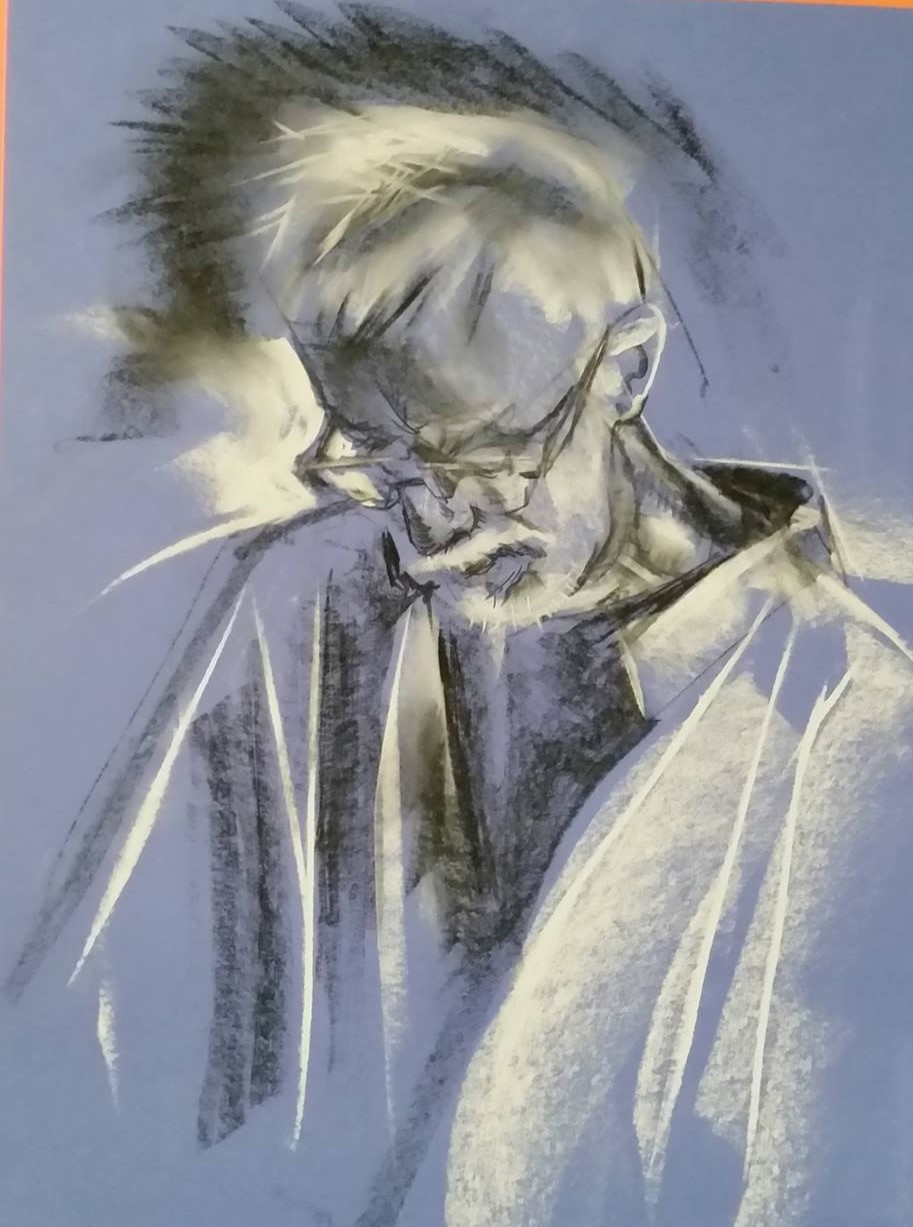
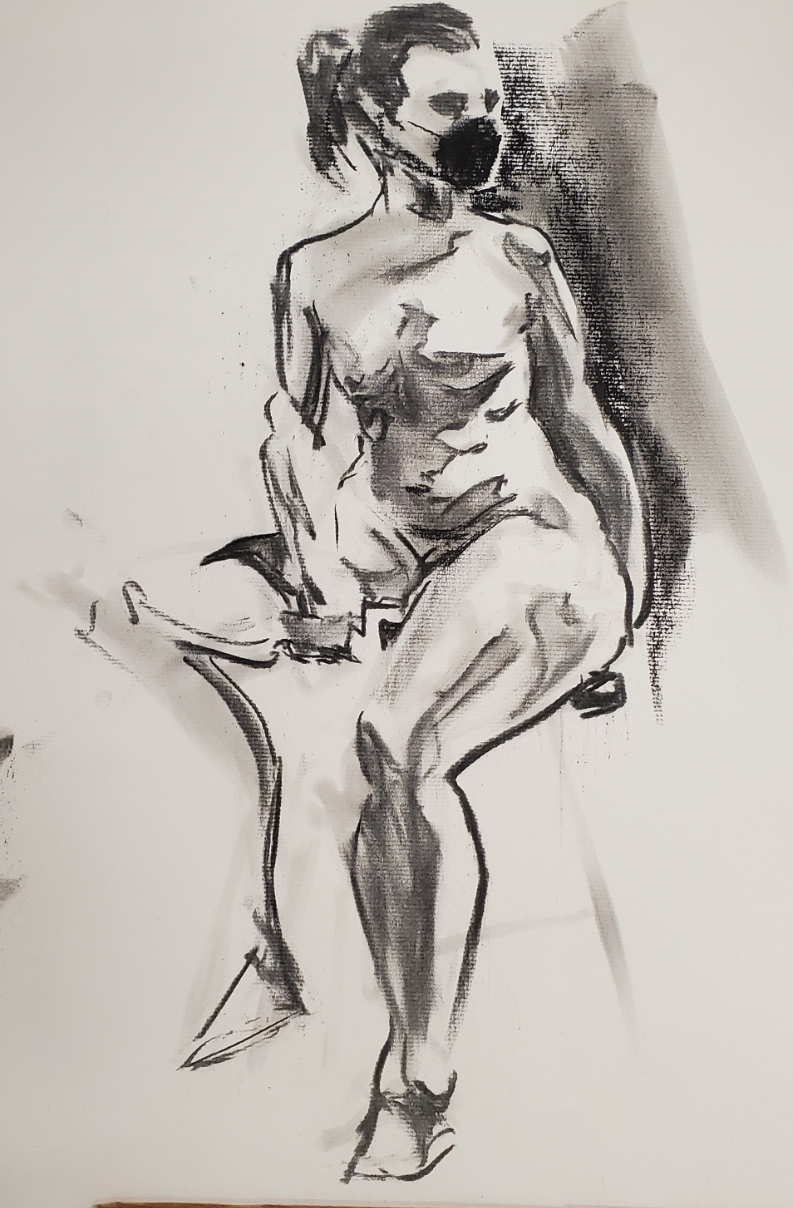
I went to figure drawing for the first time in almost 2 years! Man I missed it. Back in the day, getting practice twice a month while running the Ballard Life Drawing Co-Op was the best.
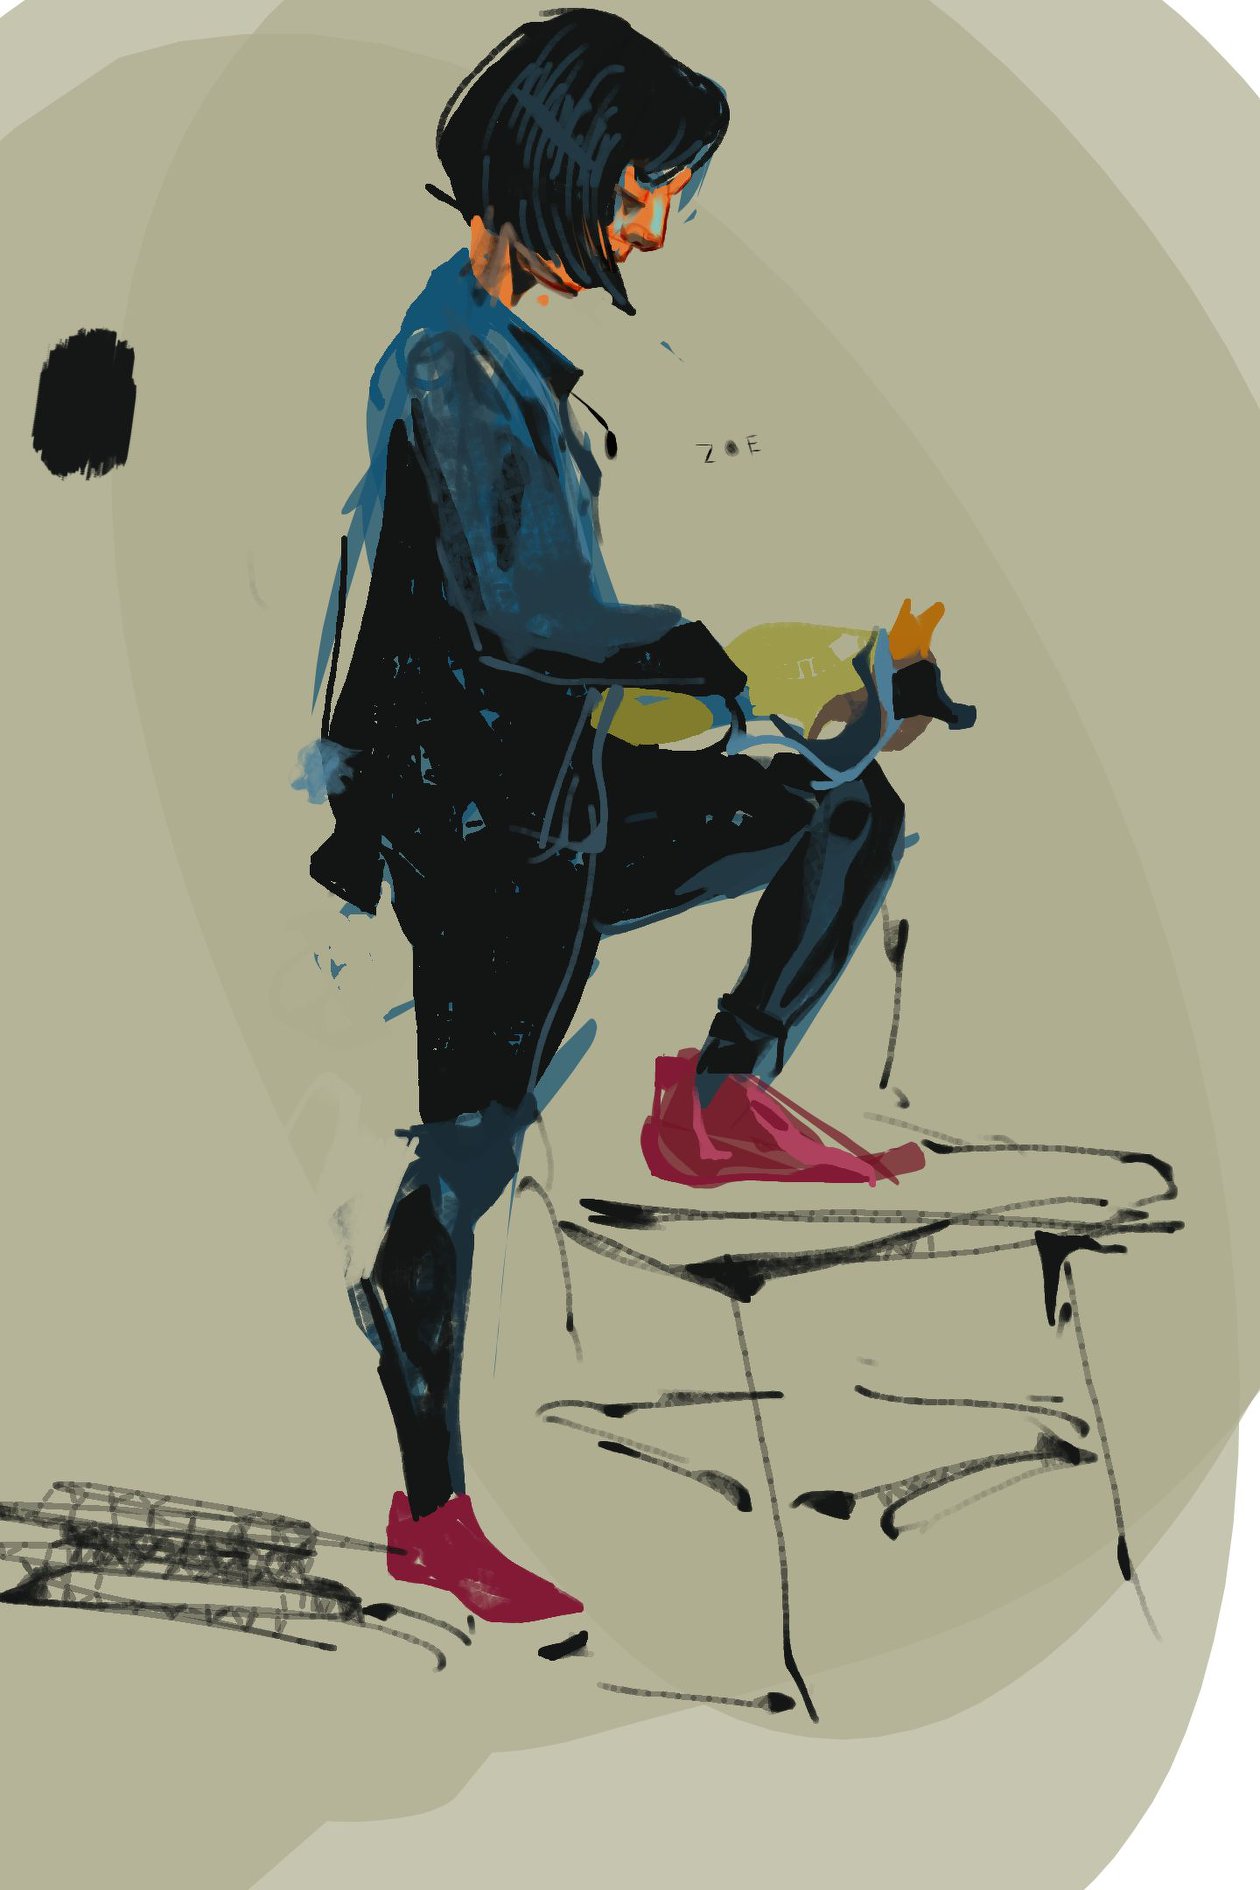
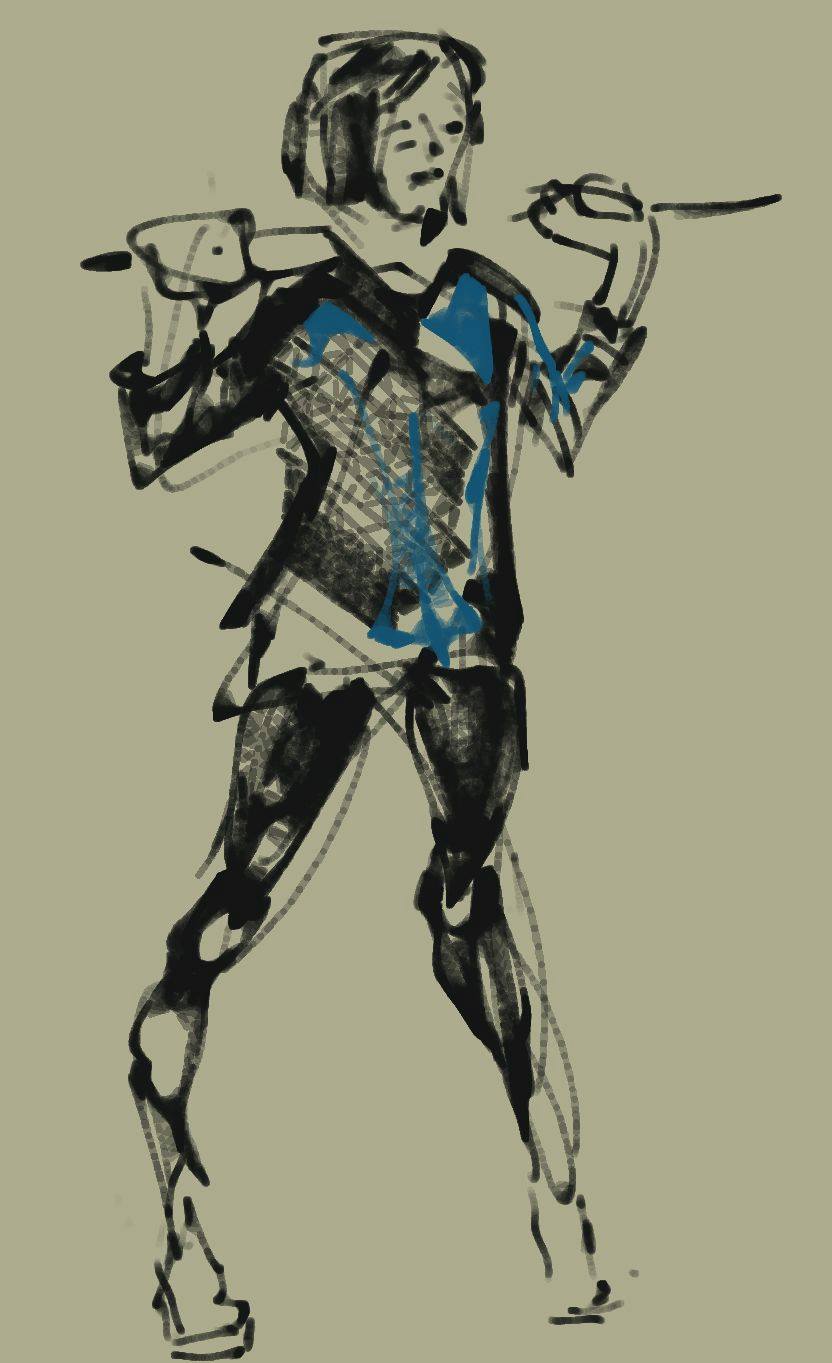
This one was fun. Drawn in Grease Pencil with the Simplify post-processing turned up to .4 or so for automatically straightened lines. I also turned on Additive Drawing and set the framerate to Custom with 1 FPS and a base of 30, then drew while the timeline played, so each frame is roughly 30 seconds of drawing.

 So enter python. First, here’s a geometry nodes setup that makes a label line from instance origin outward for an object at the input index, then makes an input string curve that orients to the camera